• Warning!!

    Riding a tuned or deristricted EMTB is not a trivial offence and can have serious legal consequences. Also, many manufacturers can detect the use of a tuning device or deristricting method and may decline a repair under warranty if it was modified from the intended original specification. Deristricting EMTB's can also add increased loads for motors and batteries. Riding above the local law limit may reclassify the bike as a low-powered bike, requiring insurance, registration and a number plate.

    Be aware of your local country laws. Many laws prohibit use of modified EMTB's. It is your responsibility to check local laws. Ignoring it, has potential implications to trail access, and risk of prosecution in the event of an accident.

    UK Pedelec Law

    Worldwide Laws

    We advise members great caution. EMTB Forums accepts no liability for any content or advice given here. 


Derestricting bosch smart system

Kelv

Member
Jul 30, 2022
3
7
Lincolnshire
I’m using Speedbox 1 a since July 22, shortly after purchasing my whyte e160. Has worked flawlessly since fitting, system updates without removing chip ( I just make sure it is switched off).

At 15 mph I would have sold the bike, it was painful.

600-ish miles and no issues so far.

I usually cruise around at around 20mph.. bliss!!
 
Last edited:
Motohawk75

Active member
Dec 30, 2020
169
104
U.K.
I’m using Speedbox 1 a since July 22, shortly after purchasing my whyte e160. Has worked flawlessly since fitting, system updates without removing chip ( I just make sure it is switched off).

At 15 mph I would have sold the bike, it was painful.

600-ish miles and no issues so far.

I usually cruise around at around 20mph.. bliss!!
Good to hear ! Is that the Bosh 750 smart ?
When you say switched off can you explain ?
 

Kelv

Member
Jul 30, 2022
3
7
Lincolnshire
Good to hear ! Is that the Bosh 750 smart ?
When you say switched off can you explain ?
Yes it’s the 750
By switched off I mean the chip is switched off. The chip is switched off when the bike is turned off and when turning the bike on, by default the chip is switched off. You have to turn the chip on every time the is bike is switched on to override the restriction.
So, I turn the bike on, do any updates prior to activating the chip.
Hope that makes sense.
 

Motohawk75

Active member
Dec 30, 2020
169
104
U.K.
Yes it’s the 750
By switched off I mean the chip is switched off. The chip is switched off when the bike is turned off and when turning the bike on, by default the chip is switched off. You have to turn the chip on every time the is bike is switched on to override the restriction.
So, I turn the bike on, do any updates prior to activating the chip.
Hope that makes sense.
Yes makes sense ! Probably best also to just ignore the updates if the bike and chip are running fine
 

megabobra

Active member
Jul 24, 2022
266
268
Australia
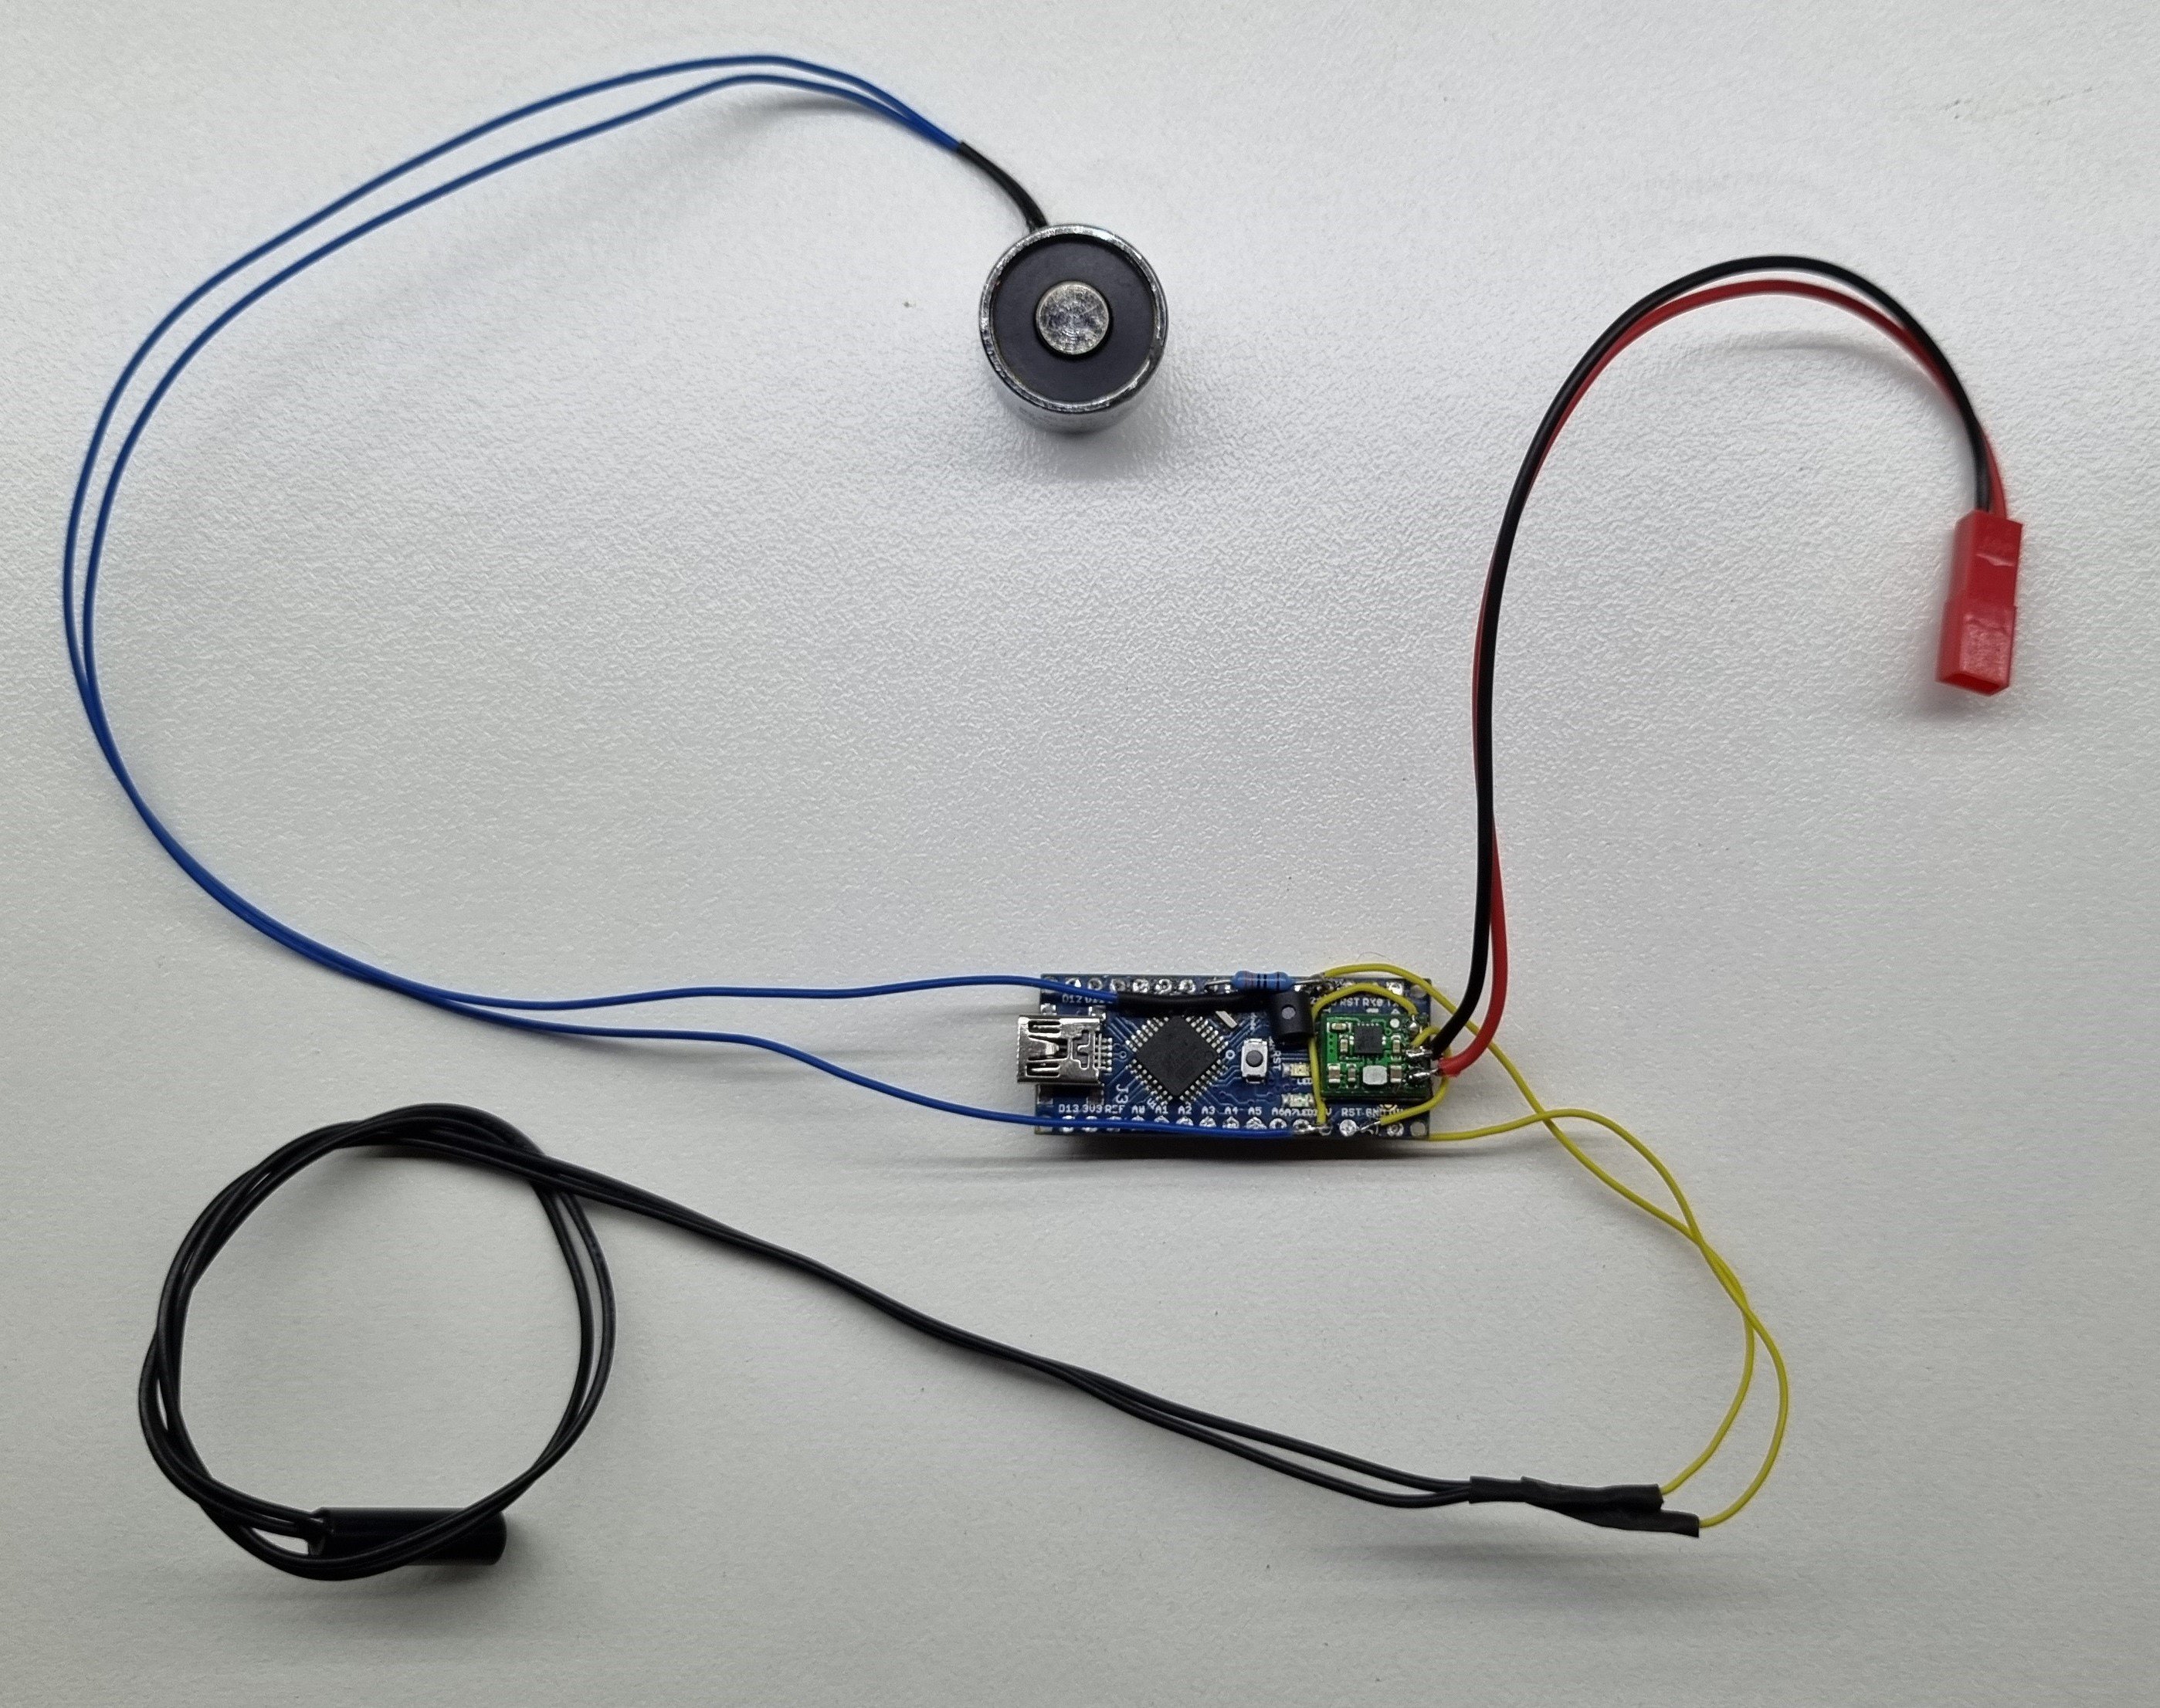
Finally gave up waiting for Eplus to get their unlocker done to suit the rim magnet. Instead, I built something quick and easy that works well, costs a fraction of the price, and should even work for standard setups without the rim magnet.

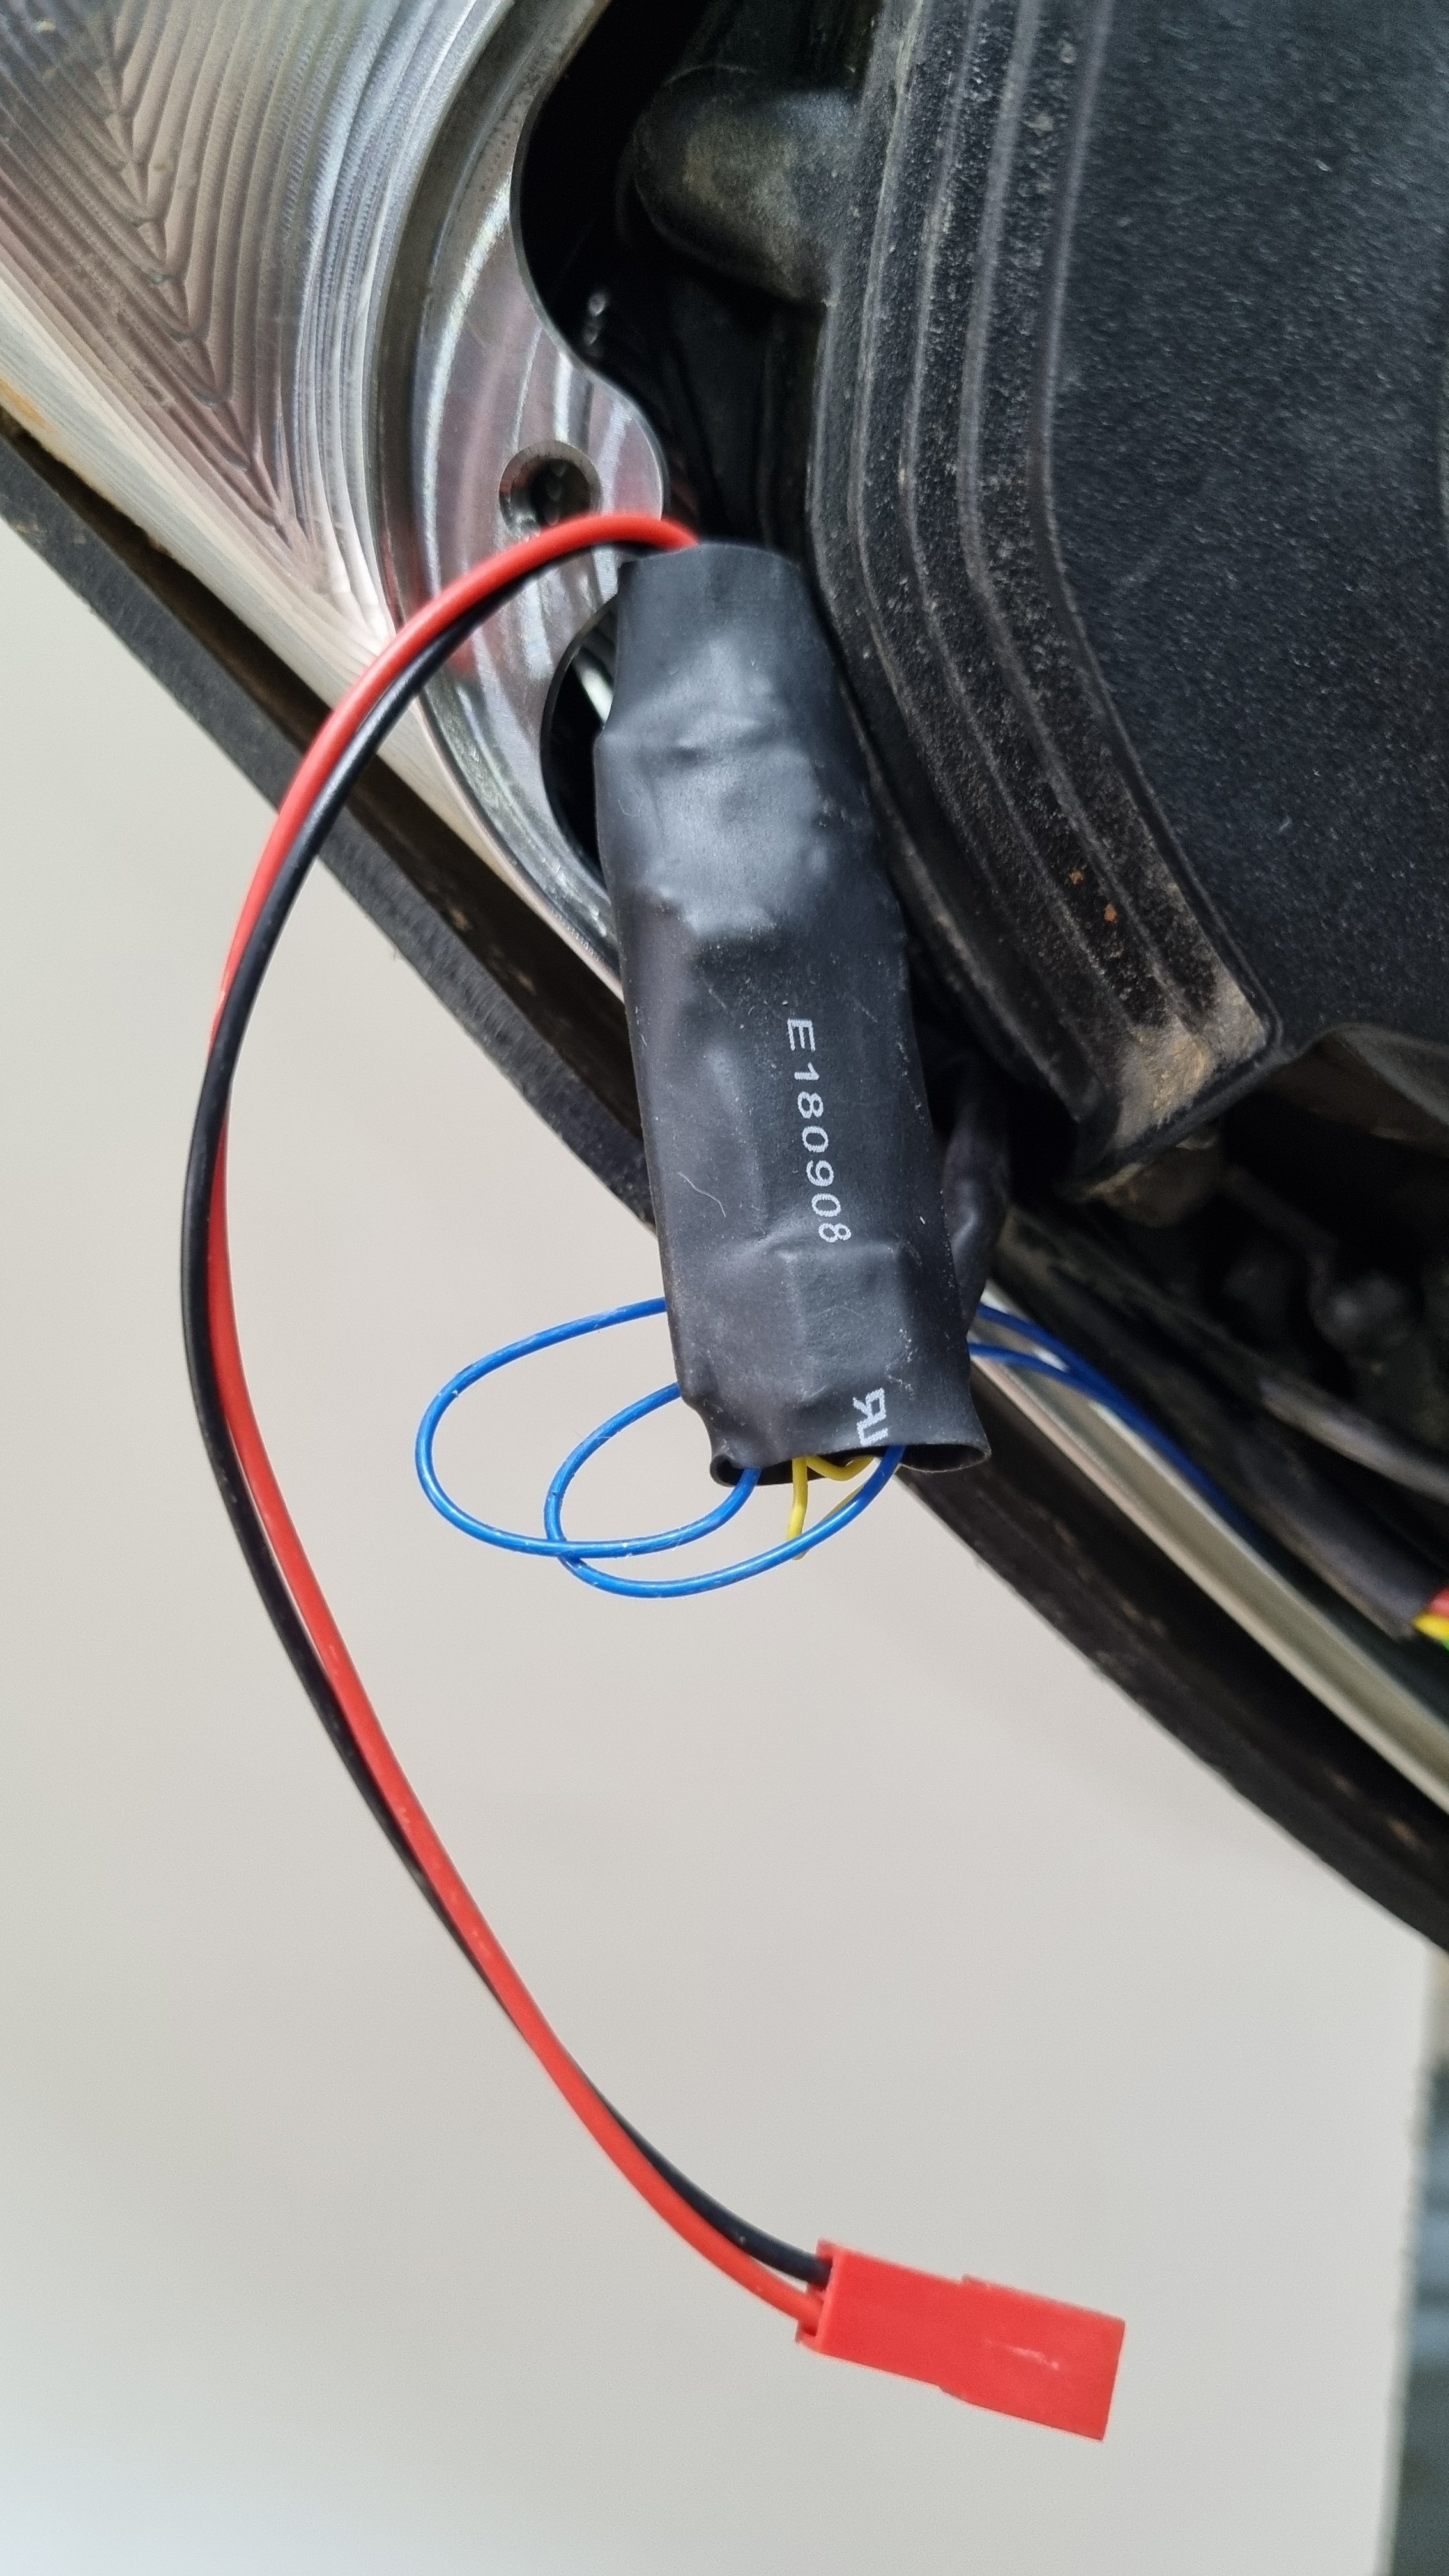
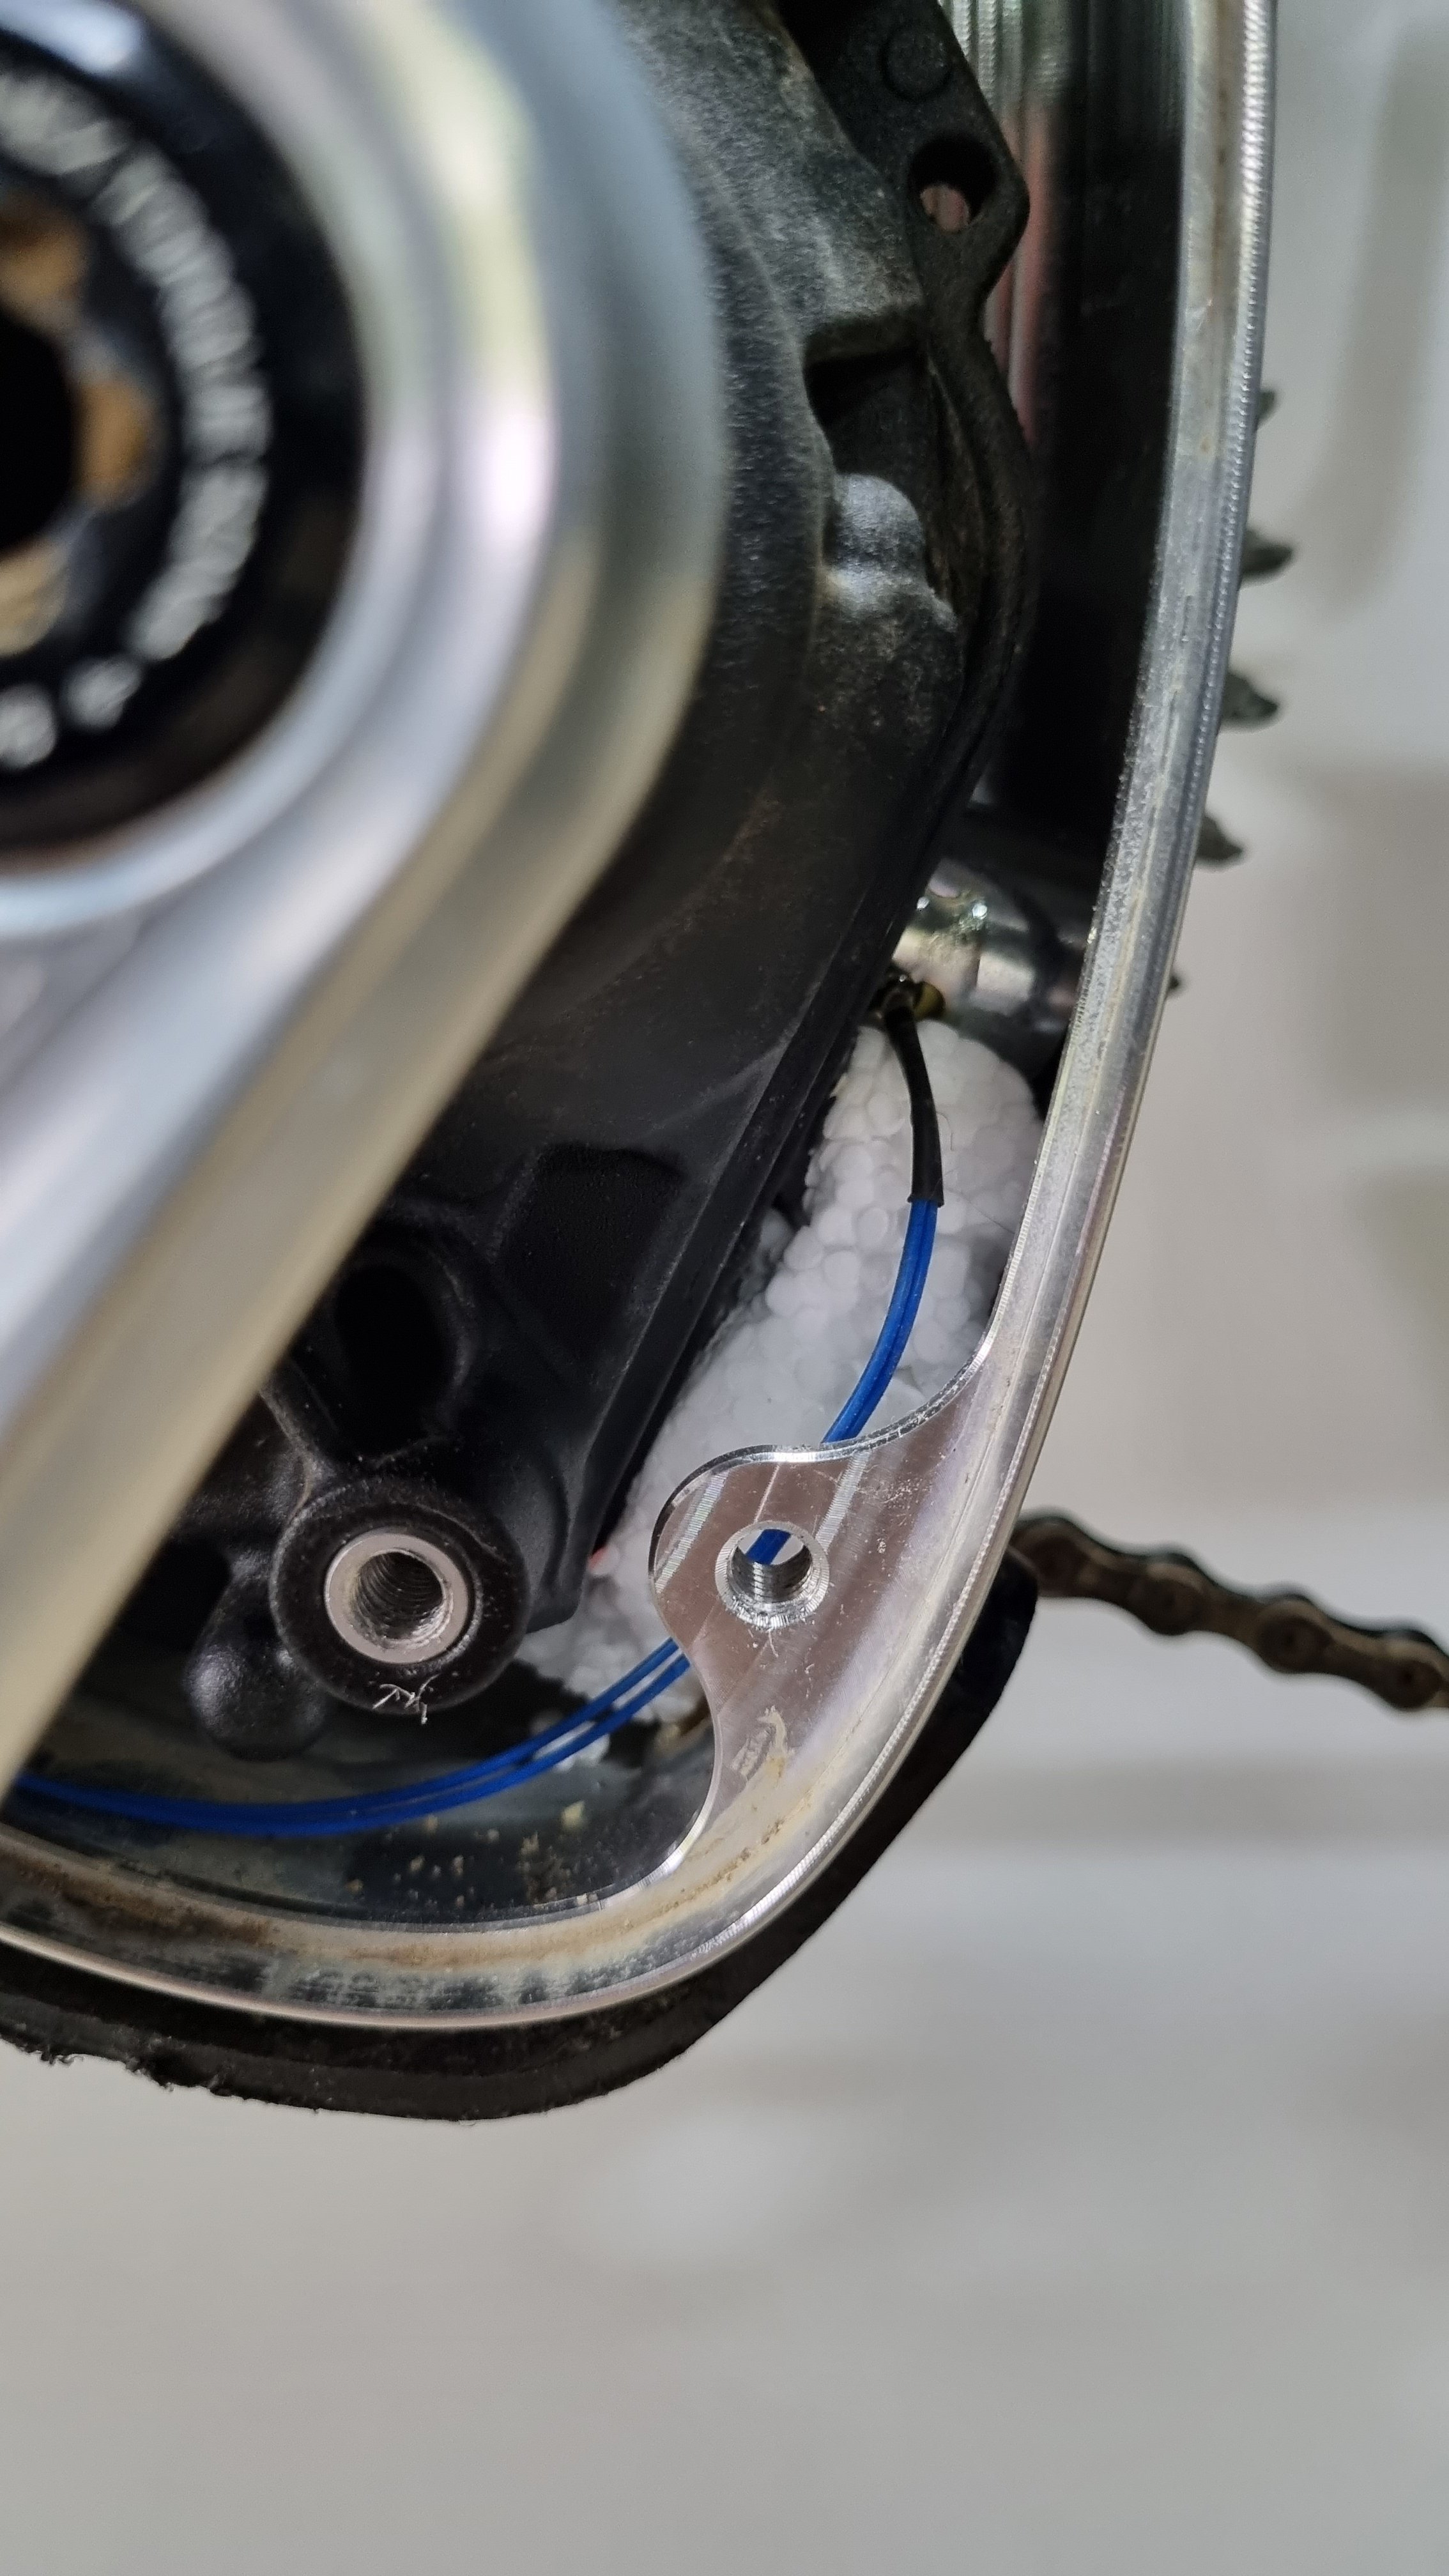
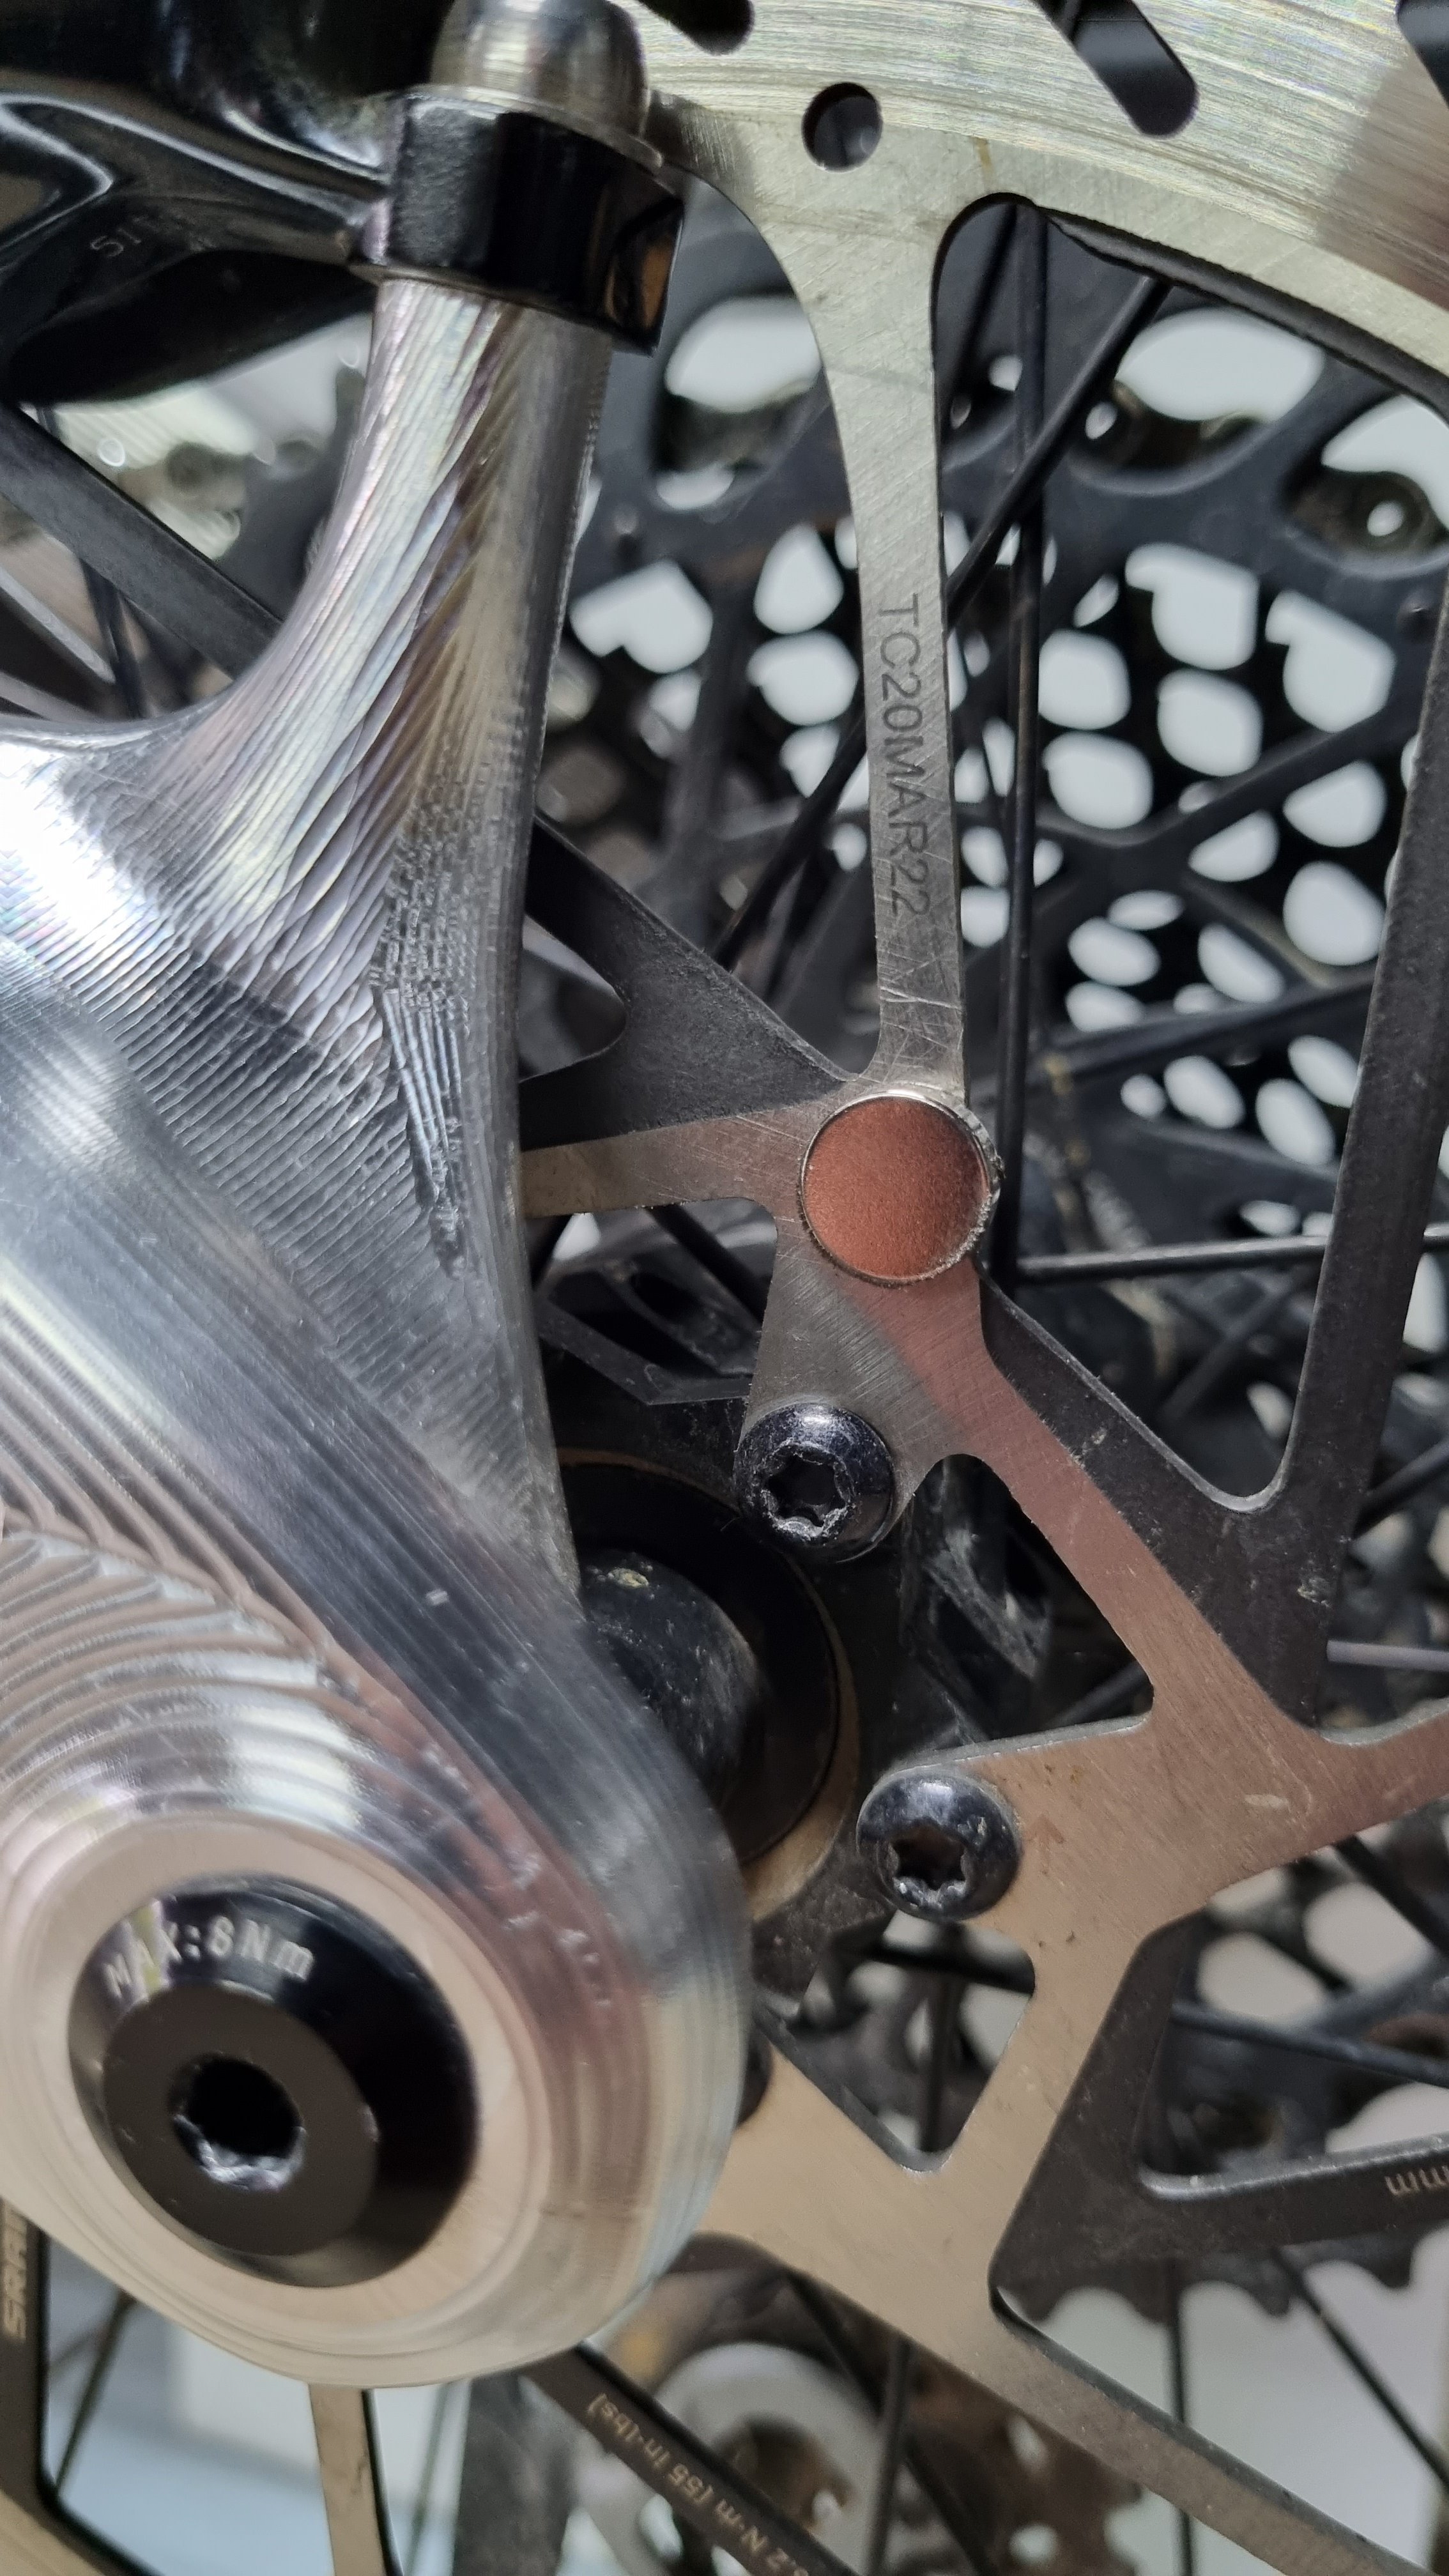
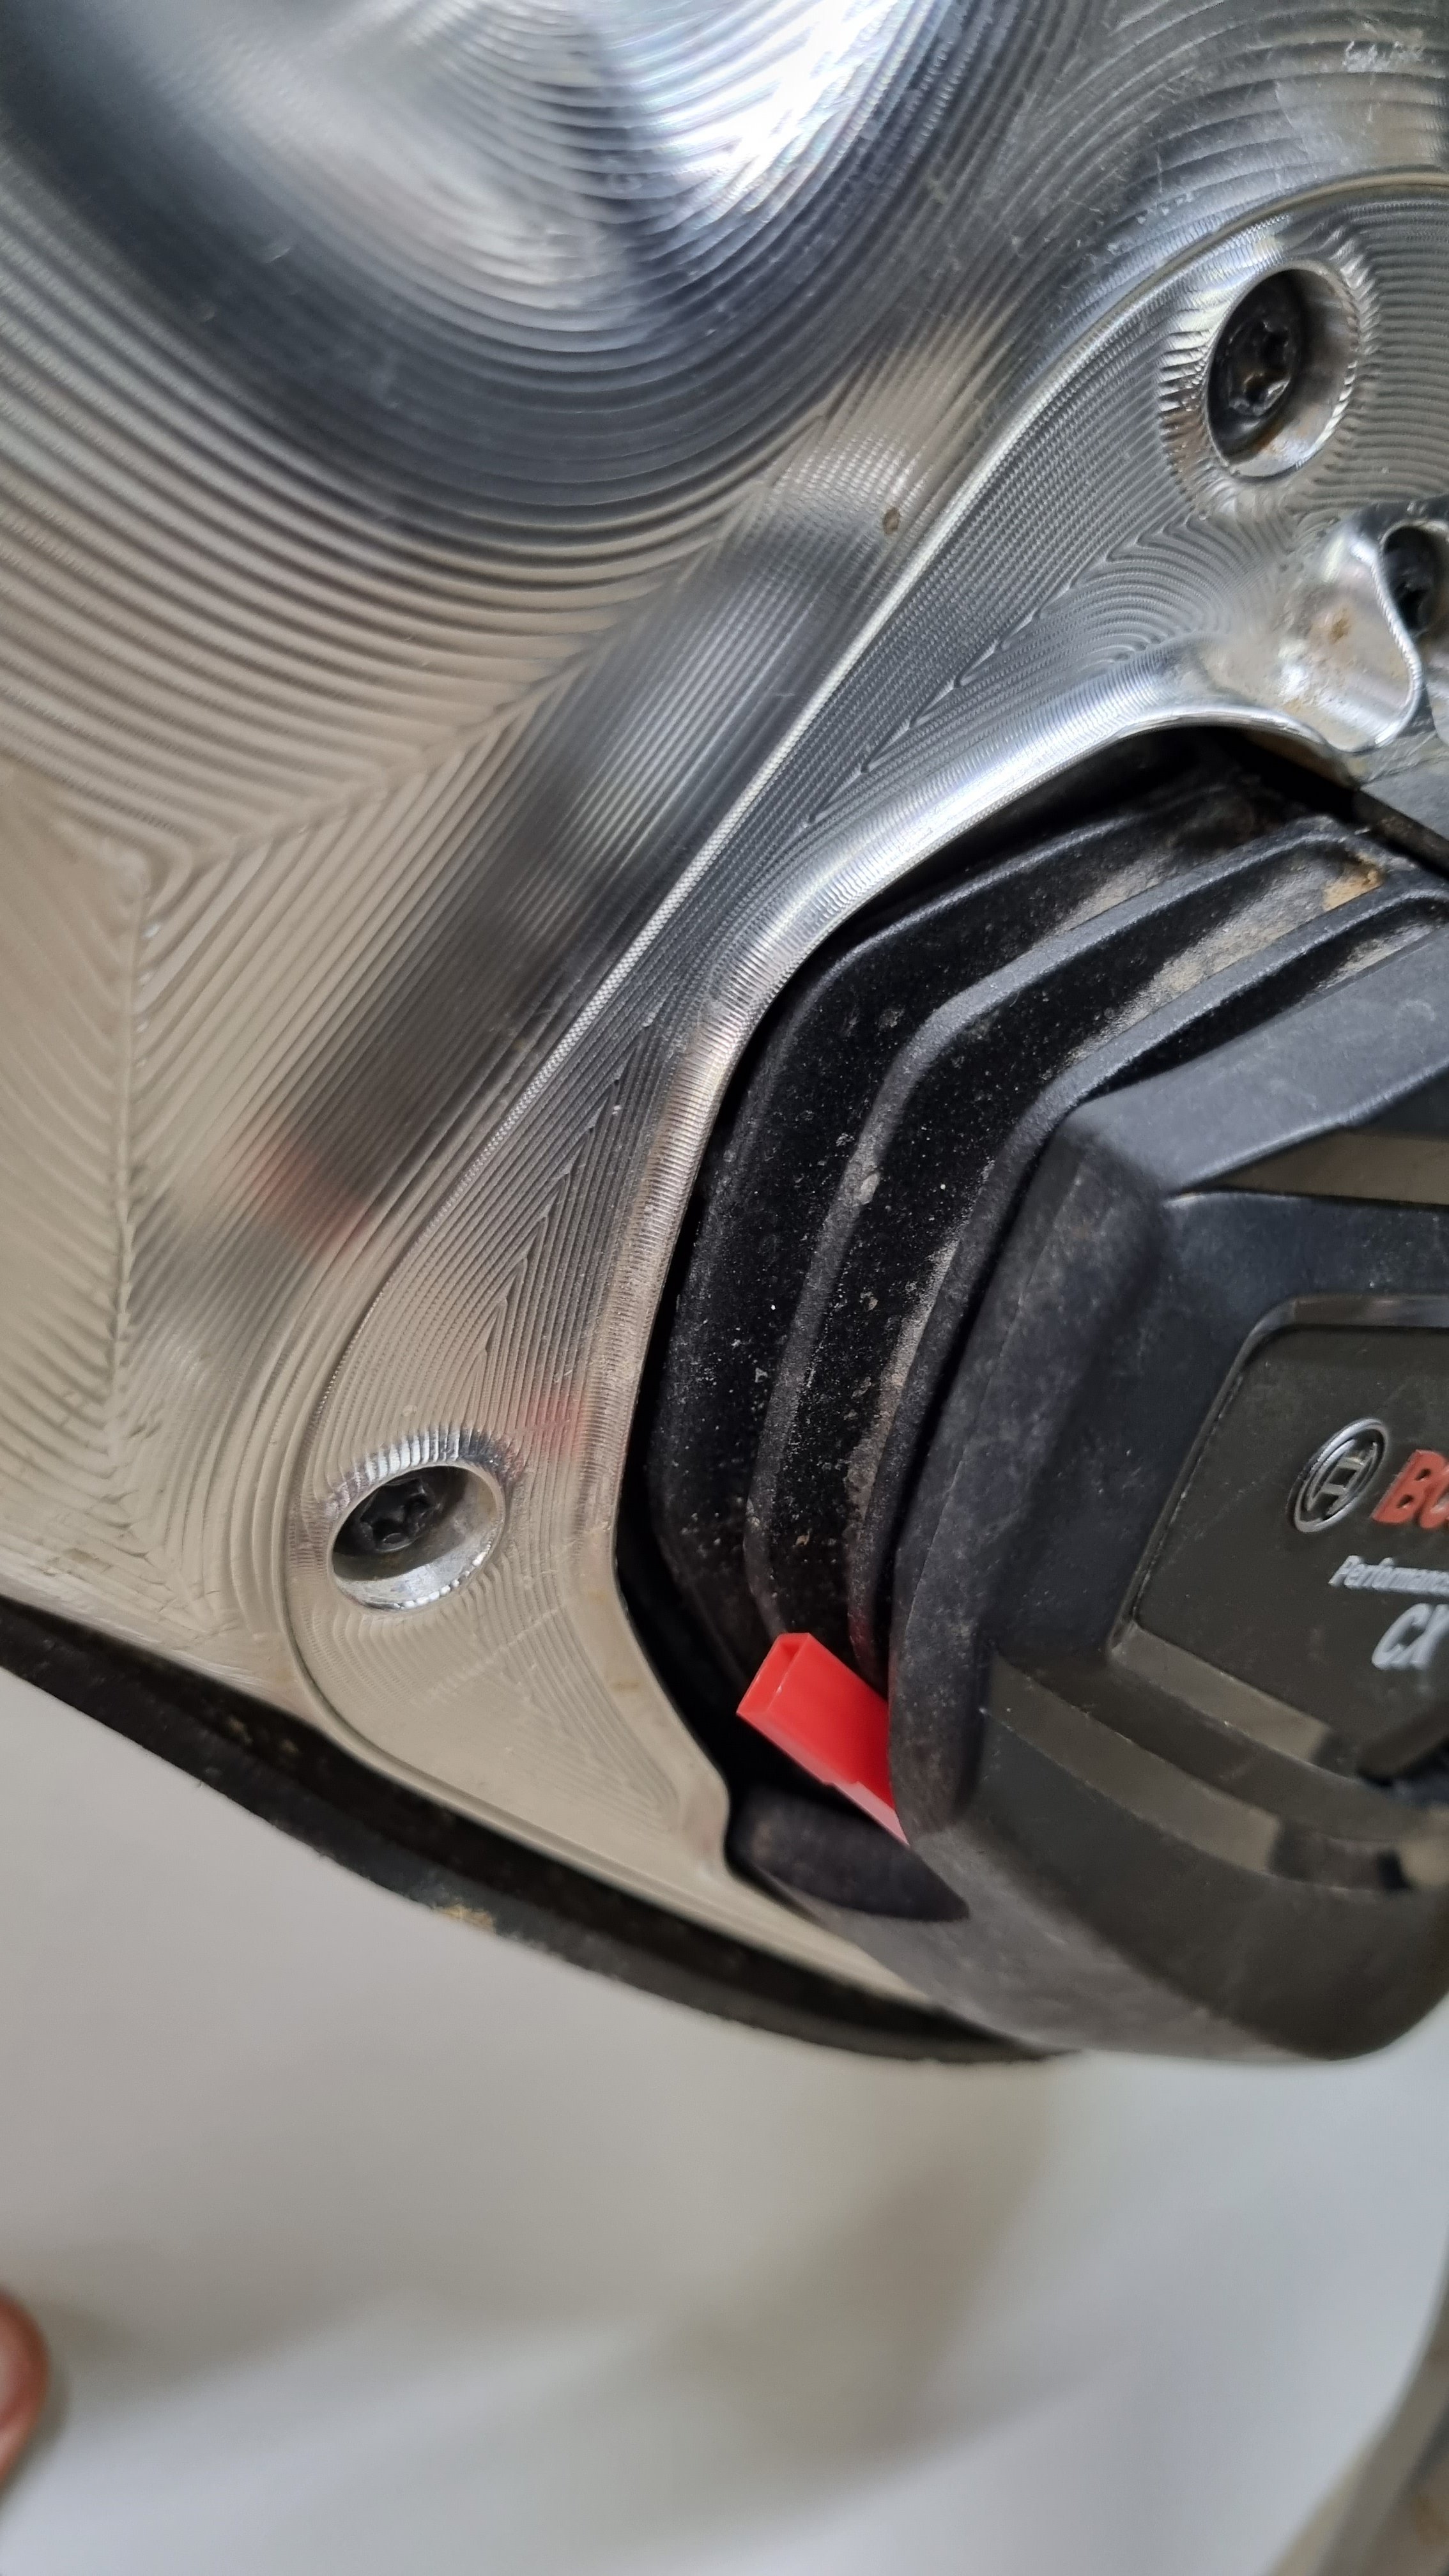
My build is based on an Ardunio microcontroller, reed switch and electromagnet. I removed the bike's rim magnet and instead placed a traditional magnet on the disc rotor. The Arduino then uses the reed switch to sense the true RPM of the wheel, delays the time between magnet passes by a fixed multiplier and then activates the electromagnet at the new interval accordingly. The electromagnet is positioned up against the motor case.

With ~100 lines of code, everything is working great. I've got the multiplier set to 1.4 (eg where true speed is 20kph, motor will be shown 20/1.4= 14.3kph), giving a new max assisted speed of 35kph. The multiplier could be set to anything, say 2 would give assist to 50kph.

The beauty of this setup is the simplicity: no interruption of sensors from the motor, reducing chance of detection. So long as you don't go crazy with the multiplier, it'd be very difficult for the motor to detect this manipulation, as there are so many real-world variables which will mask it; rider weight, gear ratio, terrain etc. Some things may give it away though. For example, if you use a large multiplier, you may reach a point where for a given cadence it's just not physically possible to be traveling so slowly. Also if you use location tracking through the Eplus app, it may compare wheel speed with GPS speed and flag a discrepancy.

I've run this for 60km so far without a hiccup. Granted it's not a long way, so time will tell how it goes in the long term. At the moment I'm powering this with a small lithium battery sitting externally on the motor. Next step will be to try to get some power from the internal battery to simplify further.

Some FAQ:

  • YES it will disrupt your total trip distance and odometer, but it's a simple multiplication to get the true figures. ie reported trip distance * chosen multiplier = true trip distance.
  • YES it should work on setups without the rim sensor. Instead of positioning the elctromagnet against the motor case, position it against the speed sensor.

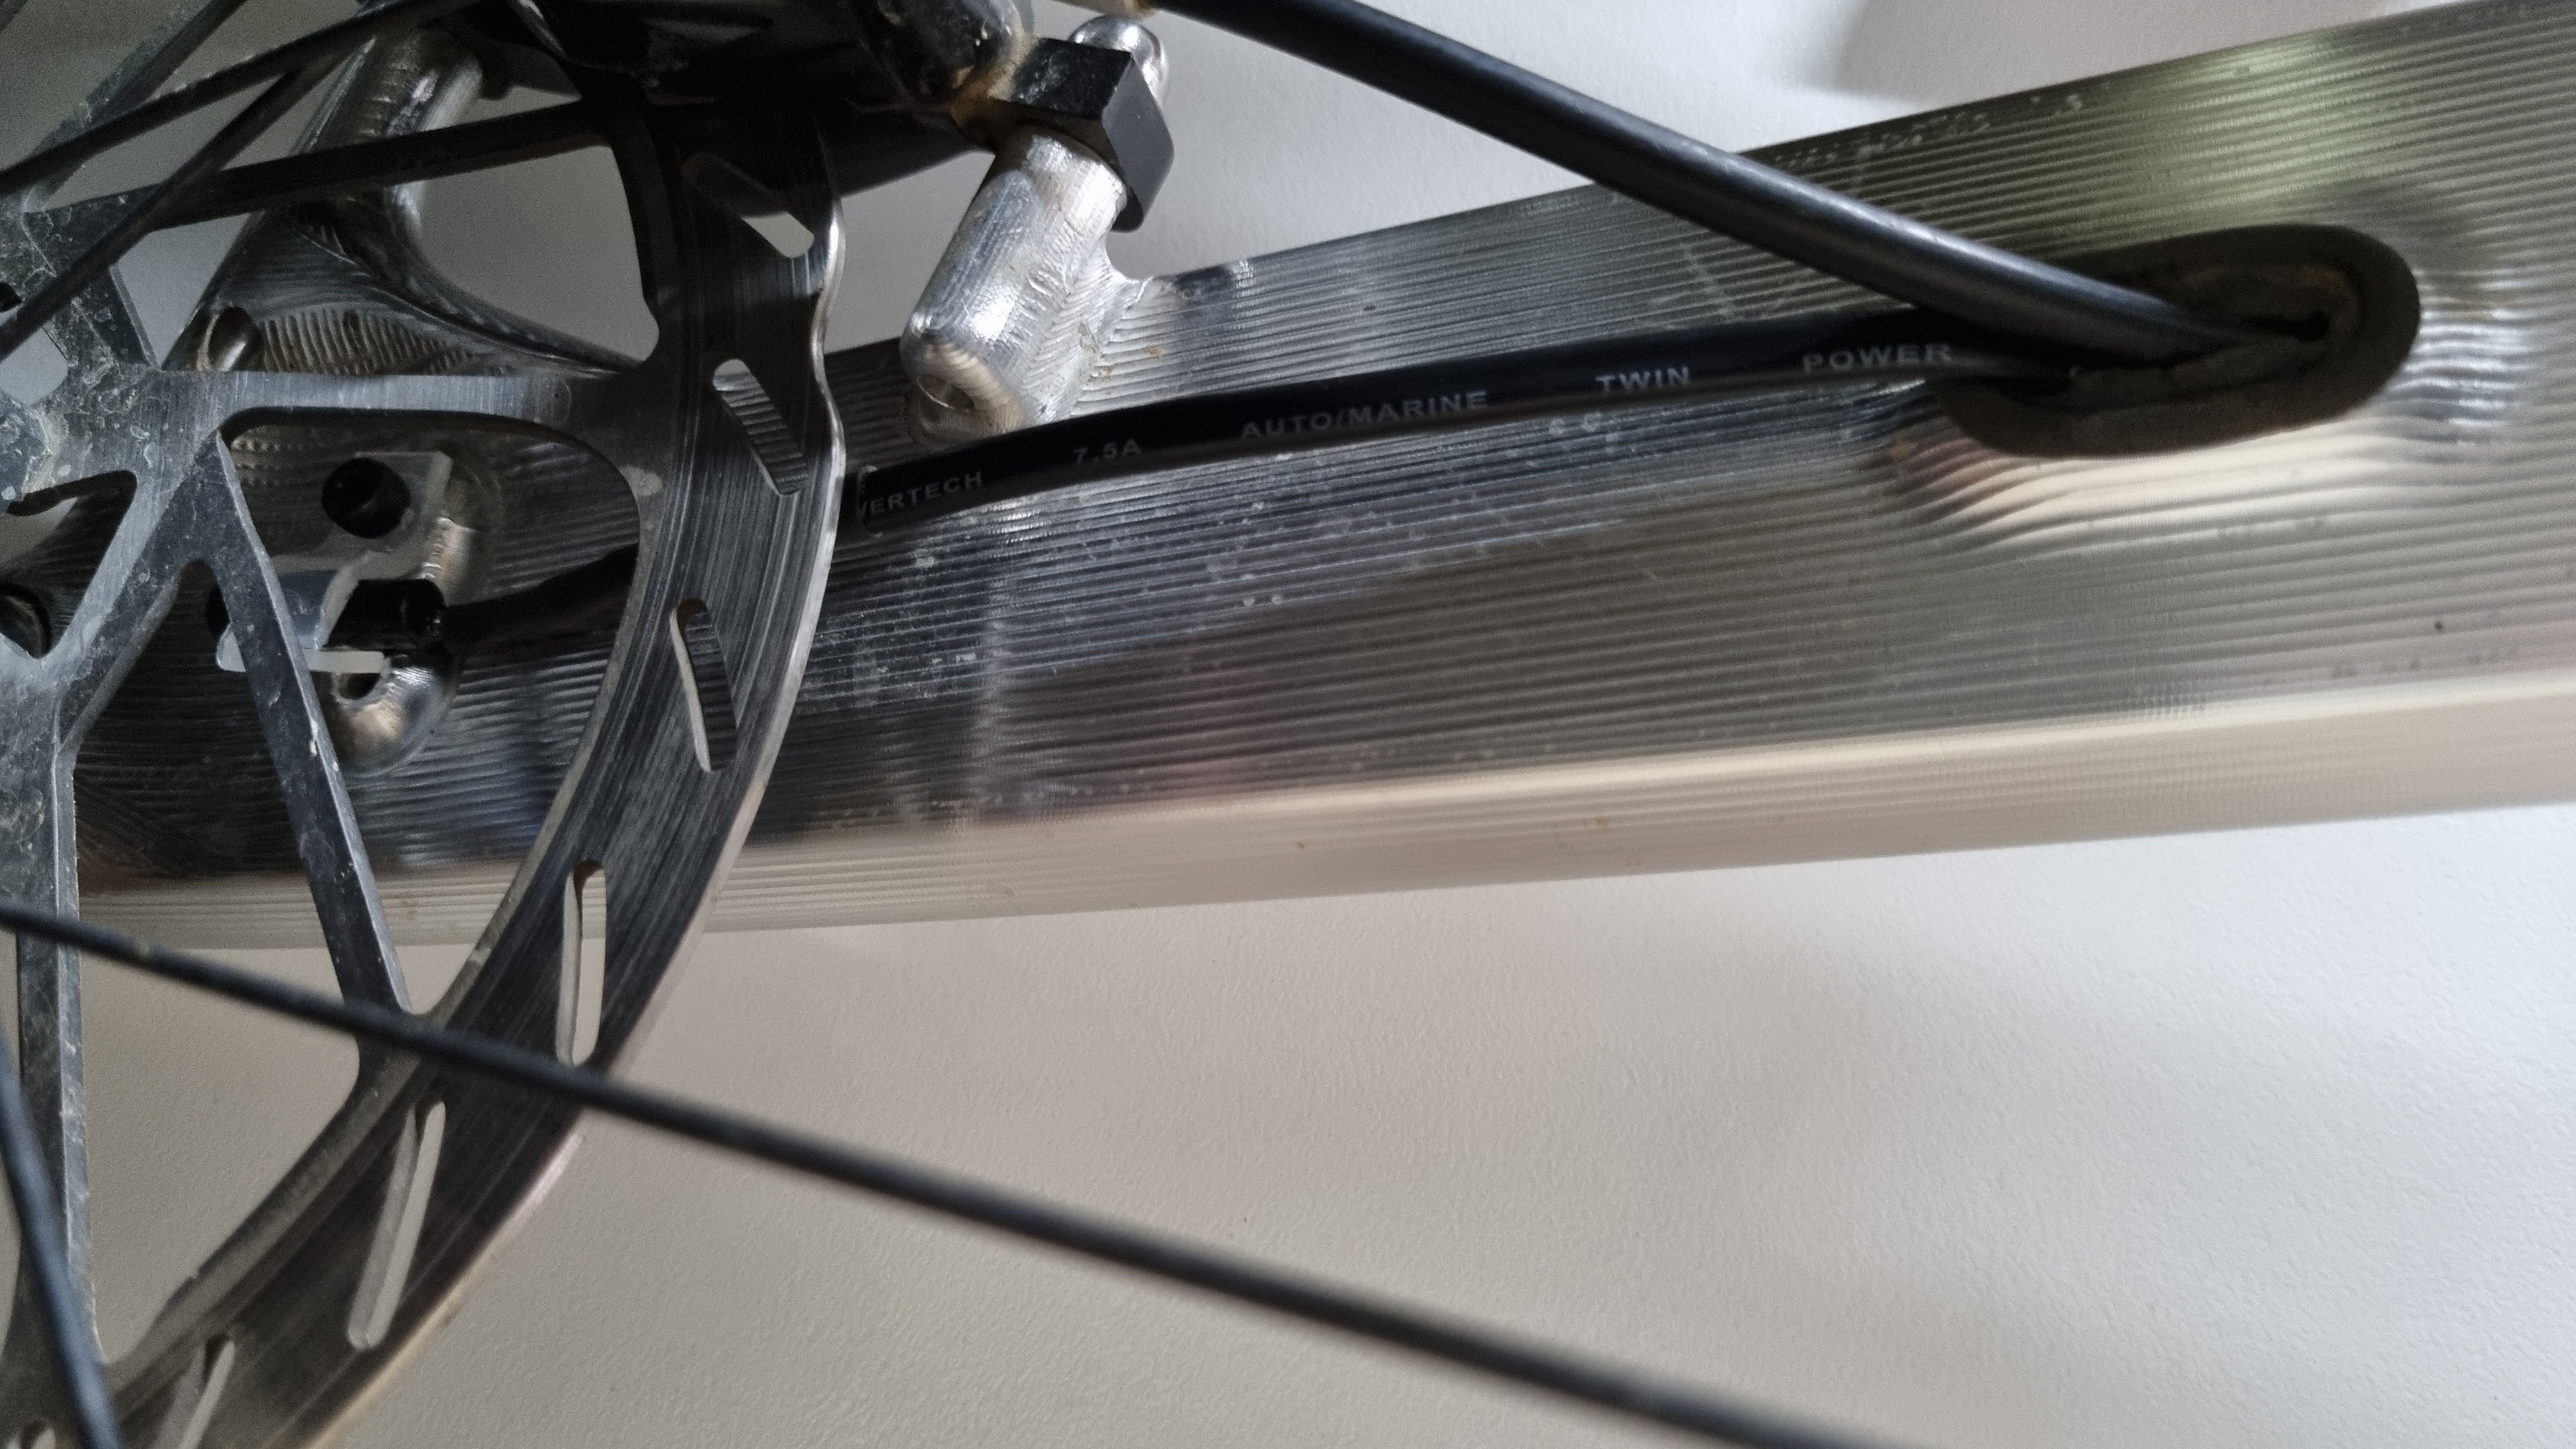
Some photos attached of the setup on my Voima. If anyone's interested I can put together a tutorial so you can build your own.

20230119_160306.jpg 20230120_124119.jpg 20230120_124155.jpg 20230120_124226.jpg 20230120_130427.jpg 20230120_130607.jpg
 

Onetime

Active member
Aug 10, 2022
468
480
Cali
Interesting. If it works for an extended period of time I’d be interested in one.
 
Last edited:

BeBiker

Active member
Aug 26, 2020
700
421
Belgium
Well done.

If your code contains decent windowing(to replace signal conditioning) for the input signal, it will work good.
The difficult part is now to get it automotive compliant, but I doubt if all those commercially available are.
That's why many of them start to fail after 3-6months.
If restart problems start to occur, drop the next one completely in resin, an easy first improvement.
 

megabobra

Active member
Jul 24, 2022
266
268
Australia
Well done.

If your code contains decent windowing(to replace signal conditioning) for the input signal, it will work good.
The difficult part is now to get it automotive compliant, but I doubt if all those commercially available are.
That's why many of them start to fail after 3-6months.
If restart problems start to occur, drop the next one completely in resin, an easy first improvement.

The code measures both the time between magnet passes and also the duration of the magnet pass itself, to ensure electromagnet activations mirror a standard magnet pass. Couple of other functions included to manage the ever-changing time between passes while keeping the longer duration electromagnet interval in check.

Again, it's the simplicity which makes it reliable. Sure, it's not going to catch up your actual KM when you stop moving like the commercial products do, but frankly I'd say that's a prime way for the motor to detect the device - who rolls for 15km without pedaling?

As for the physical reliability, you're right, certainly could be improved. For the moment I've just encased the Arduino in heatshrink. The Arduino itself was one I had laying around, so already ~5yrs old! Probably could paint on some liquid electrical tape as well before the heatshrink. The reed switch at the back wheel is already waterproof.


EDIT: One last point on power consumption. The device seems to consume ~60ma per hour of run time. I'm running it on a 300mah single cell lithium battery @ ~6grams, so should expect to get four hours use from it before a swap is needed. Probably could do with a bigger battery in the future.
 
Last edited:

BeBiker

Active member
Aug 26, 2020
700
421
Belgium
... I'm running it on a 300mah single cell lithium battery @ ~6grams, so should expect to get four hours use from it before a swap is needed. Probably could do with a bigger battery in the future.
Good that you plan to power it from the bike battery, will you use the ACC or LIGHTS port?
(Lights port was always powered ON when the bike was ON on mine, don't know why)
Iirc the dealer can choose for 6V or 12V on those ports.
 
Last edited:

megabobra

Active member
Jul 24, 2022
266
268
Australia
Good that you plan to power it from the bike battery, will you use the ACC or LIGHTS port?
(Lights port was always powered ON when the bike was ON on mine, don't know why)
Iirc the dealer can choose for 6V or 12V on those ports.

Do you have any info on the pins in these ports? Looks like they're four pin but I can't find any info about what is what within them.
 

Onetime

Active member
Aug 10, 2022
468
480
Cali
Do you have any info on the pins in these ports? Looks like they're four pin but I can't find any info about what is what within them.
The blue one is for a headlight and only uses 2 pins of the 4 holes. The red one is for the rear and both of those need to be turned on by a Bosch dealer. I just added a headlight on mine and had my local bike shop/Bosch dealer turn it on. They also have variable input voltage to those ports set by the dealer according to the lights requirements.
 

megabobra

Active member
Jul 24, 2022
266
268
Australia
The blue one is for a headlight and only uses 2 pins of the 4 holes. The red one is for the rear and both of those need to be turned on by a Bosch dealer. I just added a headlight on mine and had my local bike shop/Bosch dealer turn it on. They also have variable input voltage to those ports set by the dealer according to the lights requirements.

Only issue I see with enabling the light ports is the potential reduction in available battery capacity discussed here: Running lights from Bosch gen 4 power port...

Did your dealer mention anything about this?
 

Onetime

Active member
Aug 10, 2022
468
480
Cali
Only issue I see with enabling the light ports is the potential reduction in available battery capacity discussed here: Running lights from Bosch gen 4 power port...

Did your dealer mention anything about this?
I read some, but not all of the link you posted and I’ll read the rest later. Thanks for the info. I assumed there would be a reduced range when the light is on, (but I haven’t ridden it with the light yet, so I’m not sure how much less range I’ll get) but it should be the same range when the light is off or not being used. I got a Magicshine MJ-906S which according to Magicshine has a max output of 7.2v and up to 4,500 lumens. The bike front light port has an output of 6-12v. So when I went to my lbs/Bosch dealer to have him turn on the front light port, he asked me what voltage I wanted to set the output at and I said 7.2v to match the max output of the light, (I assume this is correct but I’m not sure). He also asked if I wanted the port always on or just when the bike is on and I had him set it to only when the bike is on. So when I go on my next night ride, I guess I’ll find out what the range will be. Hopefully not too much less.
1674283476519.png
 
Last edited:

BeBiker

Active member
Aug 26, 2020
700
421
Belgium
... but it should be the same range when the light is off or not being used....
sorry man, fakenews.

Only issue I see with enabling the light ports is the potential reduction in available battery capacity discussed here: Running lights from Bosch gen 4 power port...
Did your dealer mention anything about this?
Yes I had this, and therefor asked the dealer to disable it again.
They mentioned it when I asked to disable, it's a StVZO rule.

Enabling the Acc port didn't have this issue. iirc the dealer can enable i as high-power or low-power.

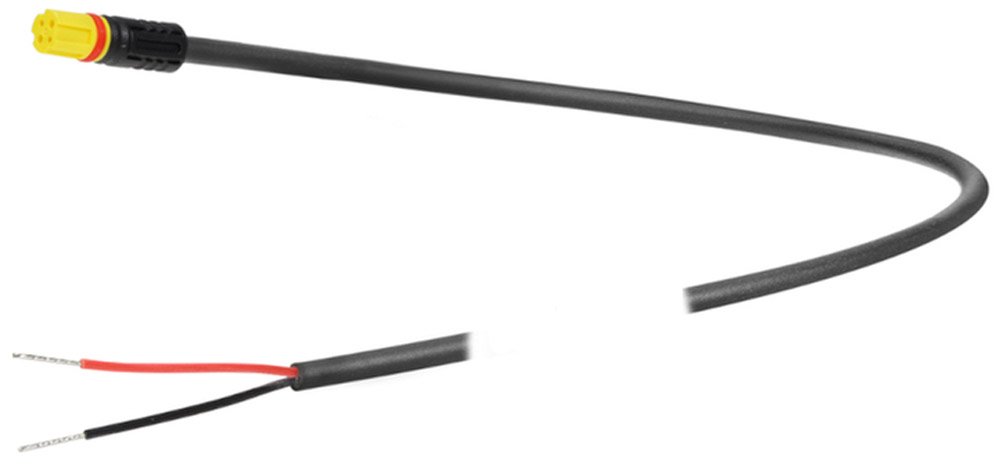
It's 2-pin 12V that on photo looks a bit like 4-pin, and you can buy the HPP connector+cable for it.

Bosch-Kabel-Stromversorgung-3rd-Party-HPP-EB1212000E.jpg

 
Last edited:

Onetime

Active member
Aug 10, 2022
468
480
Cali
sorry man, fakenews.


Yes I had this, and therefor asked the dealer to disable it again.
They mentioned it when I asked to disable, it's a StVZO rule.

Enabling the Acc port didn't have this issue. iirc the dealer can enable i as high-power or low-power.

It's 2-pin 12V that on photo looks a bit like 4-pin, and you can buy the HPP connector+cable for it.

View attachment 104903

So just to confirm, if I disable and unplug from the light port and plug into the accessory port I won’t lose the 10% remaining power on the battery? And it looks like the plug is the same, just a different color, (yellow instead of blue) so no need to change the plug. What input voltage do you set the accessory port to get full power output on the light?
 

BeBiker

Active member
Aug 26, 2020
700
421
Belgium
. What input voltage do you set the accessory port to get full power output on the light?
1) I did not use the ACC port to power a light
2) iirc there is no voltage setting for the ACC port, only 2 max.power settings.
3) there is no you" setting this, it's the dealer who does this.
 

Onetime

Active member
Aug 10, 2022
468
480
Cali
There is no "I" disabling the light port.
It's the dealer that does this.
Yes, I’m aware it’s done by the dealer. “I” is referring to me taking it to my lbs and having it done. Is everything else that I was asking correct? Or not.
1) I did not use the ACC port to power a light
2) iirc there is no voltage setting for the ACC port, only 2 max.power settings.
3) there is no you" setting this, it's the dealer who does this.
Sorry man, fakenews.
What’s up with calling everything fake news? I’m not reporting any news, I was asking a question. Maybe instead of just saying fake news, you could just actually answer the question, like maybe you could say the plugs are different and explain how they are different or maybe even though from my response it looks like I dissabled the light port and then used the accessory port, I did not. When I quoted you and asked a question, maybe just answer without the sarcasm. Sorry man, but you come off like a douche when you do that and it’s not helpful.
 

Zimmerframe

MUPPET
Subscriber
Jun 12, 2019
14,057
20,857
Brittany, France
Probably getting off topic for the thread so this may want moving ?? @Moderator

The auxiliary power cable is therefore available in two variants - once for

There is the "low power port" (green - light output) and "high power port" (yellow - additional current).

Both ports provide 1 ampere of current.

The only difference between the ports is the short-term maximum load.

The High Power Port (Yellow) can provide more amps for a few seconds.

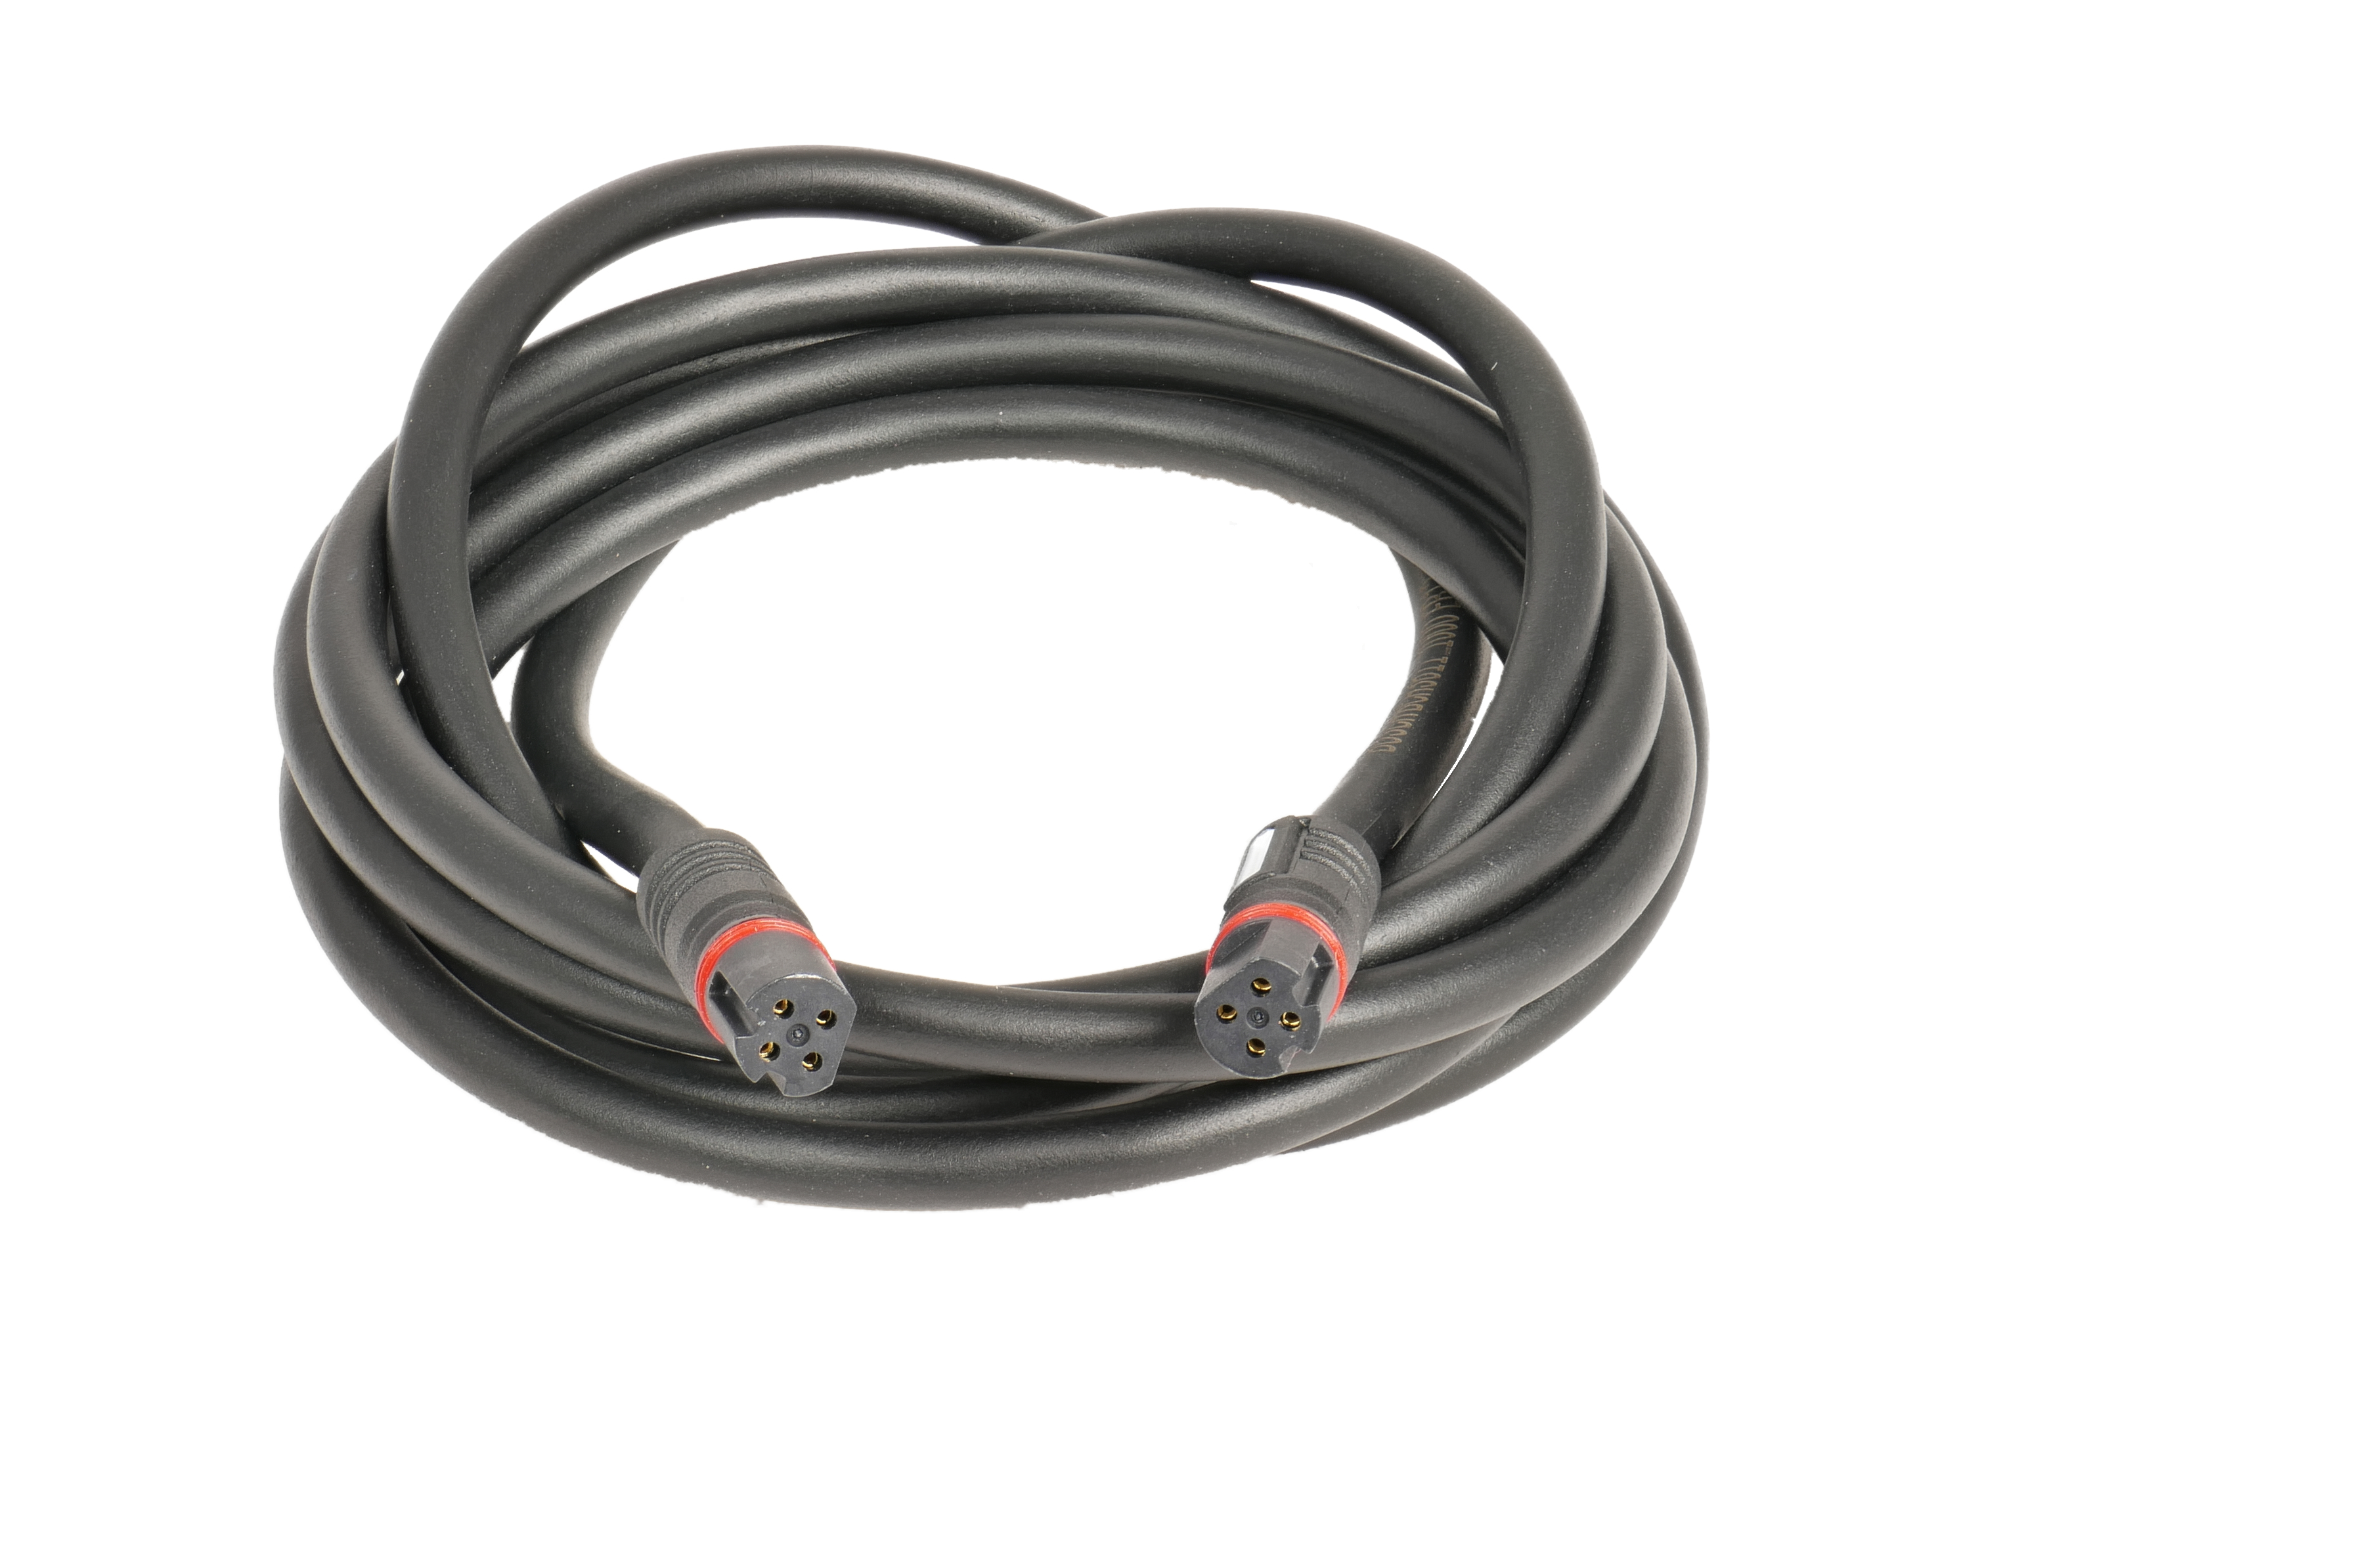
The cables look something like this and cost about €10 ..

1674325937569.png


or - depending what you're doing ..

1674326336427.png


There's other stuff in here relating to lights :


And older, but with all the relevant crap :


Dealer should be able to set the system as "no lights battery reserve" for more range, but this also seems to have different settings for some reason as people have reported different results.
 

Onetime

Active member
Aug 10, 2022
468
480
Cali
Probably getting off topic for the thread so this may want moving ?? @Moderator

The auxiliary power cable is therefore available in two variants - once for

There is the "low power port" (green - light output) and "high power port" (yellow - additional current).

Both ports provide 1 ampere of current.

The only difference between the ports is the short-term maximum load.

The High Power Port (Yellow) can provide more amps for a few seconds.

The cables look something like this and cost about €10 ..

View attachment 104942

or - depending what you're doing ..

View attachment 104944

There's other stuff in here relating to lights :


And older, but with all the relevant crap :


Dealer should be able to set the system as "no lights battery reserve" for more range, but this also seems to have different settings for some reason as people have reported different results.
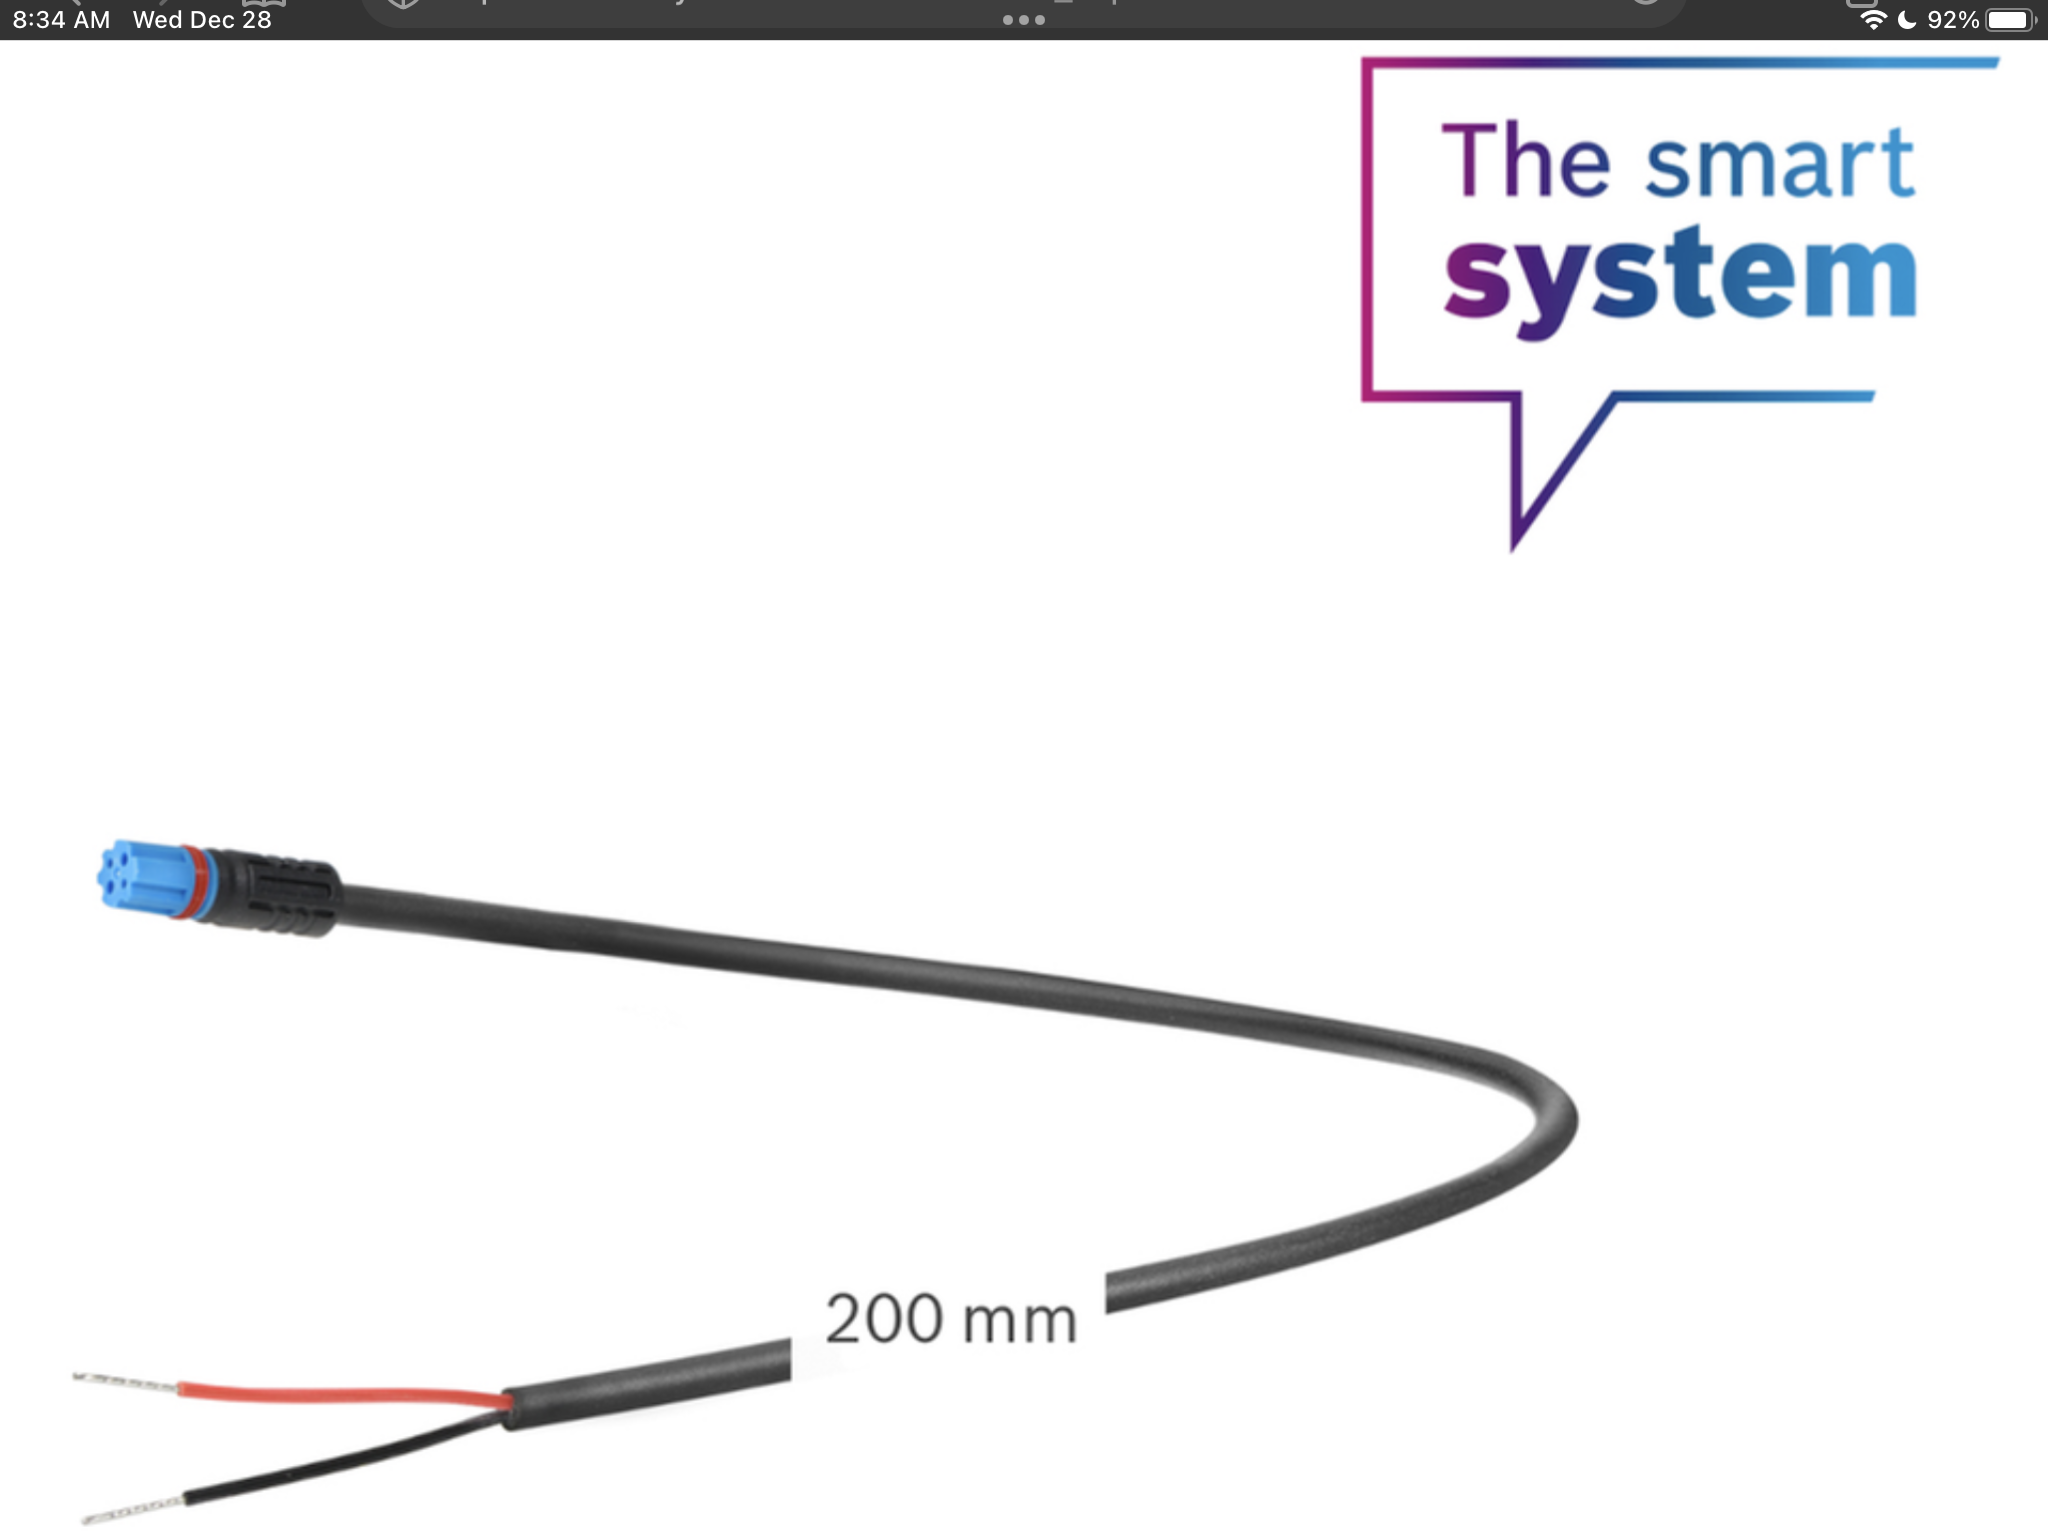
Thanks for your reply, it was helpful and sorry for my part in the thread derailment. One last thing though, the newer light plug for the smart system is round not square. I found out the hard way when I bought my light it came with the square plug instead of the newer round one. The new one looks like this. It looks similar to the green and yellow plug and that’s why I initially thought it was the same. 😎👍🏼

A1331724-5CCF-4E4F-903A-318BDE9F5F64.png
 
Last edited:

Zimmerframe

MUPPET
Subscriber
Jun 12, 2019
14,057
20,857
Brittany, France
Thanks for your reply, it was helpful and sorry for my part in the thread derailment. One last thing though, the newer light plug for the smart system is round not square. I found out the hard way when I bought my light it came with the square plug instead of the newer round one. The new one looks like this. It looks similar to the green and yellow plug and that’s why I initially thought it was the same. 😎👍🏼

View attachment 104946
Yup, that's why I put them both up as I wasn't sure what system you were running. I should have explained.

I don't think you need to apologise. I know the mods like erasing people, but it's the weekend so they're normally more forgiving ... maybe :-D

It is actually relevant as it relates to megabobra's cool device.
 

megabobra

Active member
Jul 24, 2022
266
268
Australia
T
Yup, that's why I put them both up as I wasn't sure what system you were running. I should have explained.

I don't think you need to apologise. I know the mods like erasing people, but it's the weekend so they're normally more forgiving ... maybe :-D

It is actually relevant as it relates to megabobra's cool device.
Thanks guys. I'm going to order one of these:
Bosch Additional Power Cable for Accessories - Smart System

Capture.PNG


Then get my dealer to enable the aux power port. This is a 12v output right? If so, quick switch around on the device to remove the 5v stepup voltage regulator I added and instead use the arduino's built in regulator. One less component!
 

Christer

New Member
Dec 21, 2022
6
2
Norway
I’m using Speedbox 1 a since July 22, shortly after purchasing my whyte e160. Has worked flawlessly since fitting, system updates without removing chip ( I just make sure it is switched off).

At 15 mph I would have sold the bike, it was painful.

600-ish miles and no issues so far.

I usually cruise around at around 20mph.. bliss!!
Hello.
But you dont have the rim magnet on your whyte e160?
That is where the problem is.
Hopefully someone comes around soon with a kit for that.
 

stratosa

Member
Apr 17, 2020
42
14
GREECE
With ~100 lines of code, everything is working great. I've got the multiplier set to 1.4 (eg where true speed is 20kph, motor will be shown 20/1.4= 14.3kph), giving a new max assisted speed of 35kph. The multiplier could be set to anything, say 2 would give assist to 50kph.
Hi and congratulations. I was wondering if it is possible to program Arduino in a way that it sends the real frequency that it receives down to 0.4 sec between pulses and keep sending a signal to electromagnet every 0.4 sec if the real value is less than that.
 
Last edited:

megabobra

Active member
Jul 24, 2022
266
268
Australia
Hi and congratulations. I was wondering if it is possible to program Arduino in a way that it sends the real frequency that it receives down to 0.4 sec between pulses and keep sending a signal to electromagnet every 0.4 sec if the real value is less than that.

Certainly is possible yes, but by essentially capping the top speed that the motor will see irrespective of an increase in cadence, for example, it's likely the manipulation would be detected... Maybe I'm giving Bosch too much credit, as that's what other derestrictors on the market do, but seems like an easy one to pick up on 🤷‍♂️
 

Sander

Member
Dec 29, 2022
56
29
NL
Finally gave up waiting for Eplus to get their unlocker done to suit the rim magnet. Instead, I built something quick and easy that works well, costs a fraction of the price, and should even work for standard setups without the rim magnet.

My build is based on an Ardunio microcontroller, reed switch and electromagnet. I removed the bike's rim magnet and instead placed a traditional magnet on the disc rotor. The Arduino then uses the reed switch to sense the true RPM of the wheel, delays the time between magnet passes by a fixed multiplier and then activates the electromagnet at the new interval accordingly. The electromagnet is positioned up against the motor case.

With ~100 lines of code, everything is working great. I've got the multiplier set to 1.4 (eg where true speed is 20kph, motor will be shown 20/1.4= 14.3kph), giving a new max assisted speed of 35kph. The multiplier could be set to anything, say 2 would give assist to 50kph.

The beauty of this setup is the simplicity: no interruption of sensors from the motor, reducing chance of detection. So long as you don't go crazy with the multiplier, it'd be very difficult for the motor to detect this manipulation, as there are so many real-world variables which will mask it; rider weight, gear ratio, terrain etc. Some things may give it away though. For example, if you use a large multiplier, you may reach a point where for a given cadence it's just not physically possible to be traveling so slowly. Also if you use location tracking through the Eplus app, it may compare wheel speed with GPS speed and flag a discrepancy.

I've run this for 60km so far without a hiccup. Granted it's not a long way, so time will tell how it goes in the long term. At the moment I'm powering this with a small lithium battery sitting externally on the motor. Next step will be to try to get some power from the internal battery to simplify further.

Some FAQ:

  • YES it will disrupt your total trip distance and odometer, but it's a simple multiplication to get the true figures. ie reported trip distance * chosen multiplier = true trip distance.
  • YES it should work on setups without the rim sensor. Instead of positioning the elctromagnet against the motor case, position it against the speed sensor.

Some photos attached of the setup on my Voima. If anyone's interested I can put together a tutorial so you can build your own.

View attachment 104808 View attachment 104809 View attachment 104810 View attachment 104811 View attachment 104812 View attachment 104813
I would love to see your tutorial 👍
 

EMTB Forums

Since 2018

The World's largest electric mountain bike community.

559K
Messages
28,301
Members
Join Our Community

Latest articles


Top