You are using an out of date browser. It may not display this or other websites correctly.
You should upgrade or use an alternative browser.
You should upgrade or use an alternative browser.
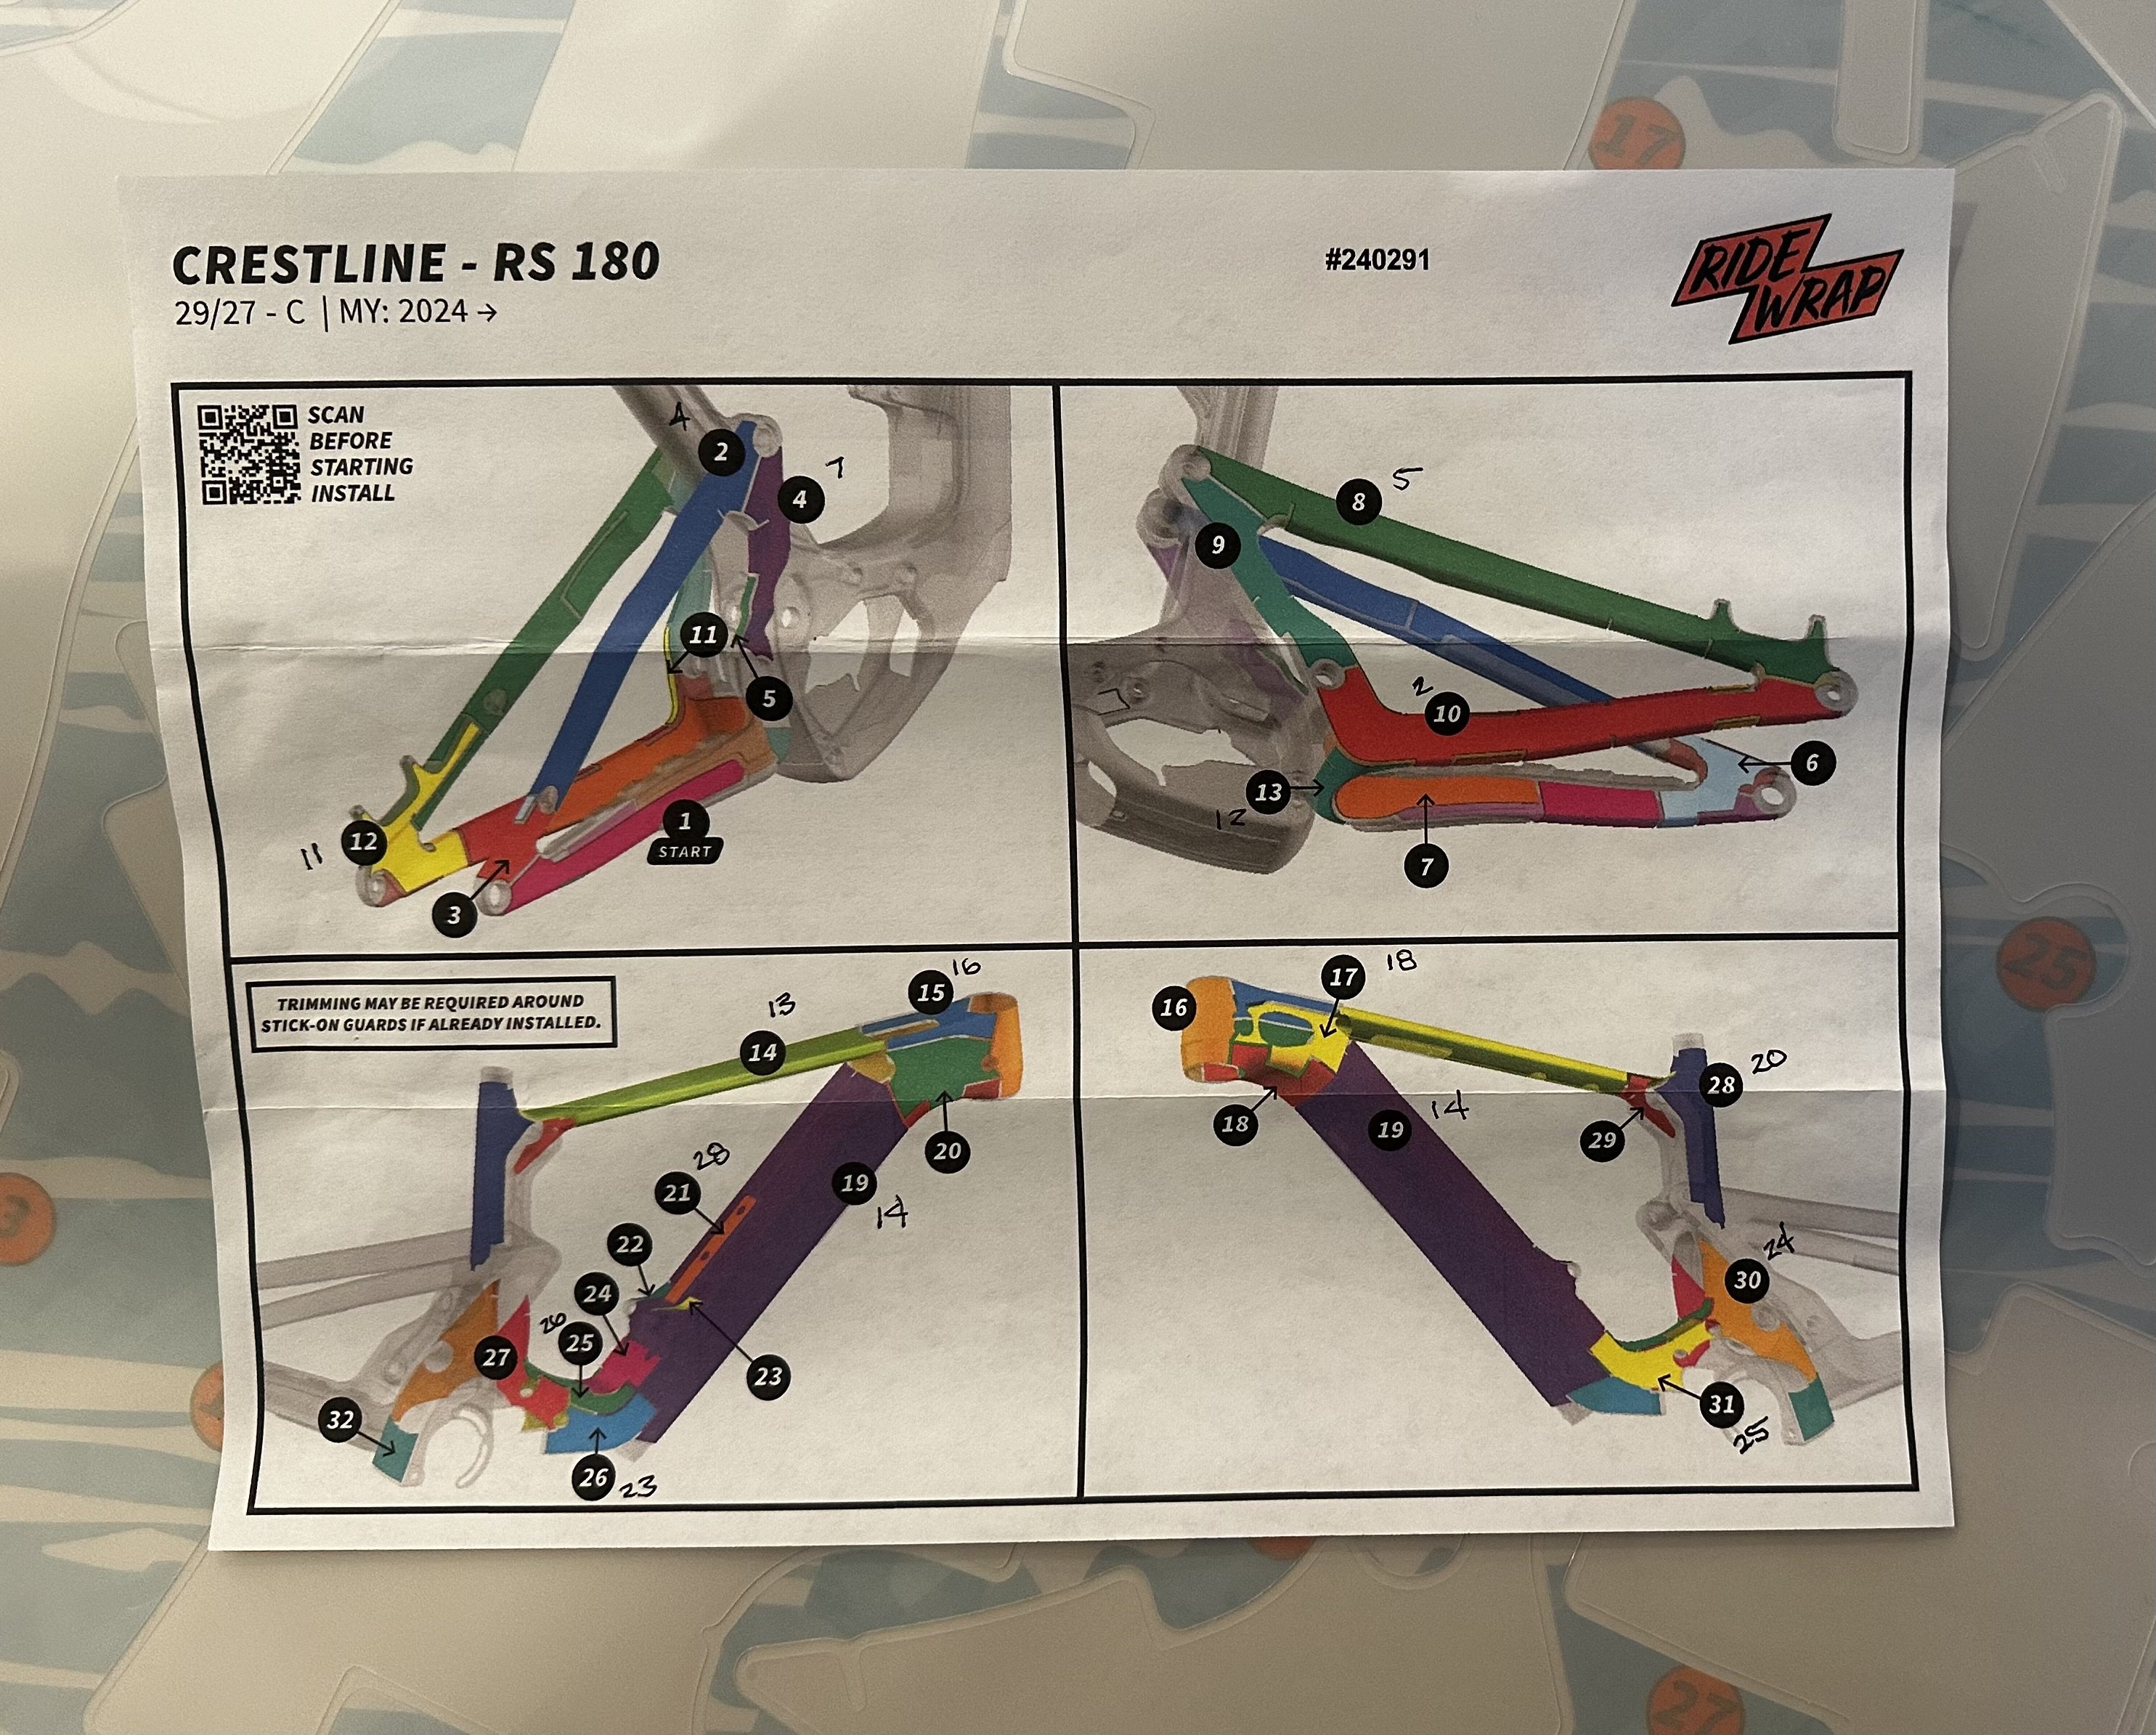
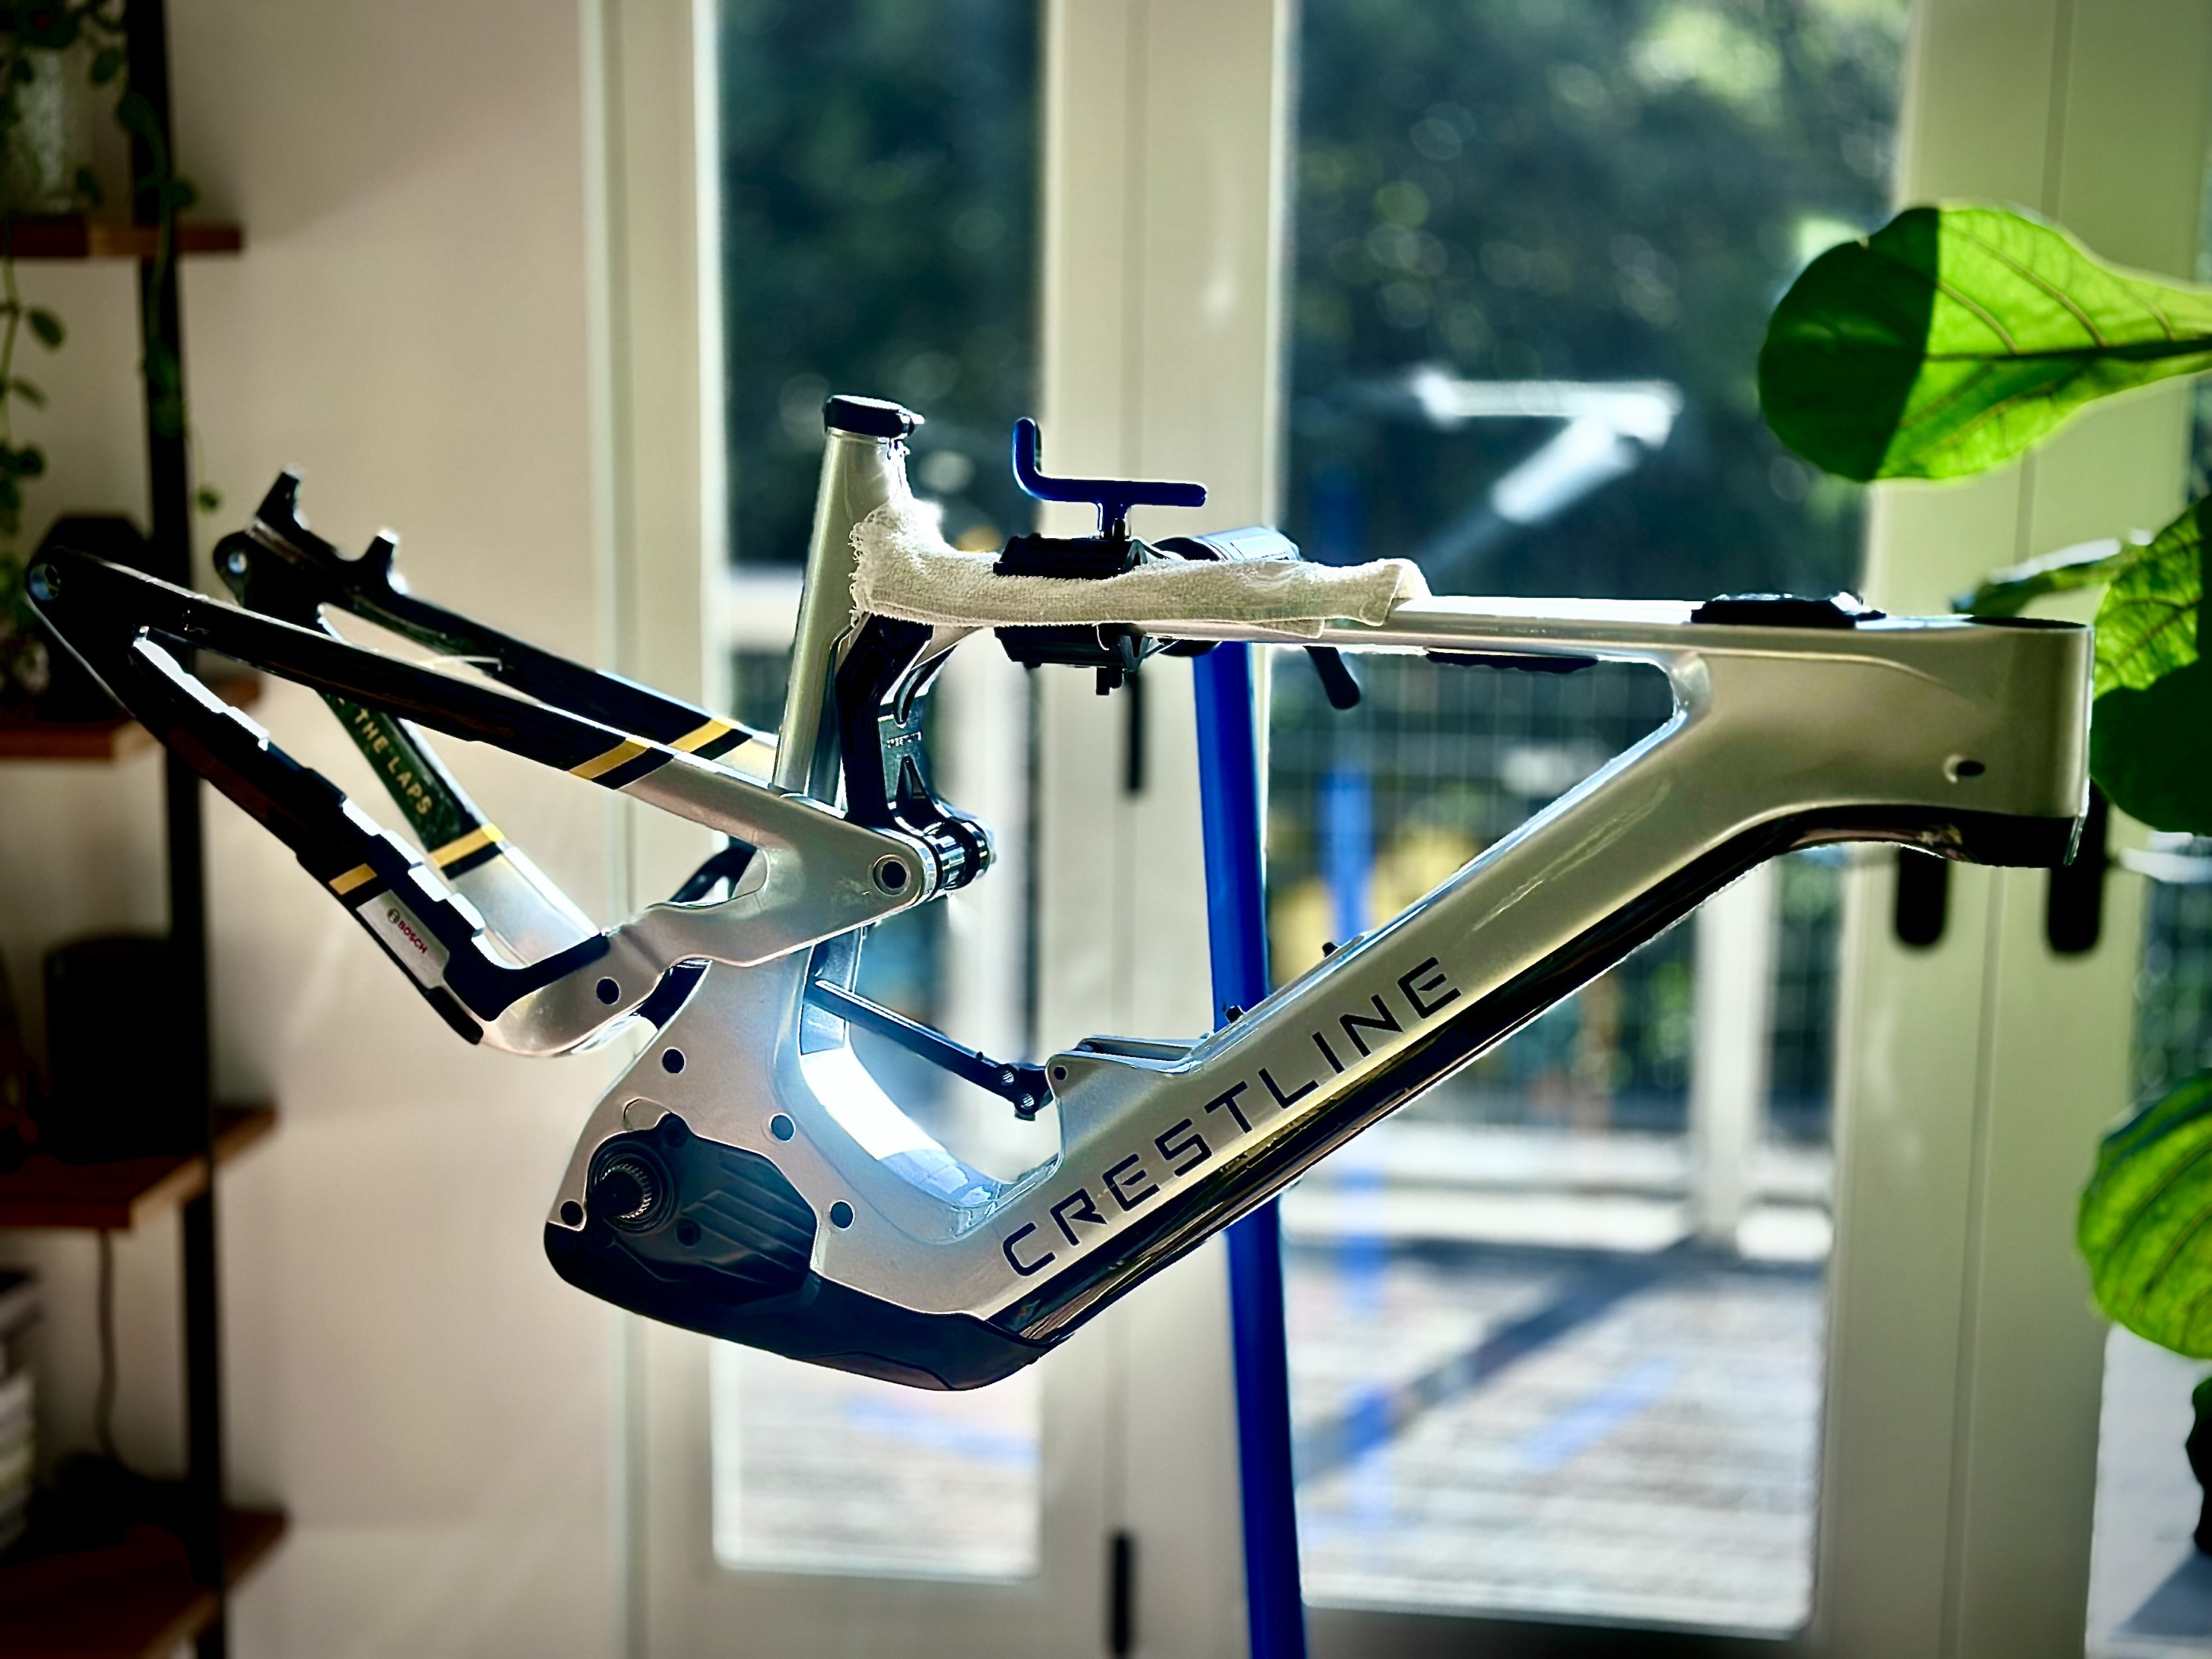
ISSUE Warning: Crestline RS180 RideWrap install diagrams numbering order is all f’ed up!
- Thread starter Arethustra
- Start date
- Thread starter
- #2
Ok, so the big thing to know is that they combined piece 1 & 3 into a single piece but that didn’t just throw everything off by 1 number…oh no, it’s like they sniffed a bunch of model glue and went for a totally inconsistent numbering scheme.
Good thing I like puzzles because a lot of the shapes are so seemingly random that it became a process of elimination to figure out what went where for at least 3 of the 32 pieces.
I’m down to the last big pieces and have figured out where everything goes and will share the numbering map today once I get the last pieces onto the frame.
- Thread starter
- #3
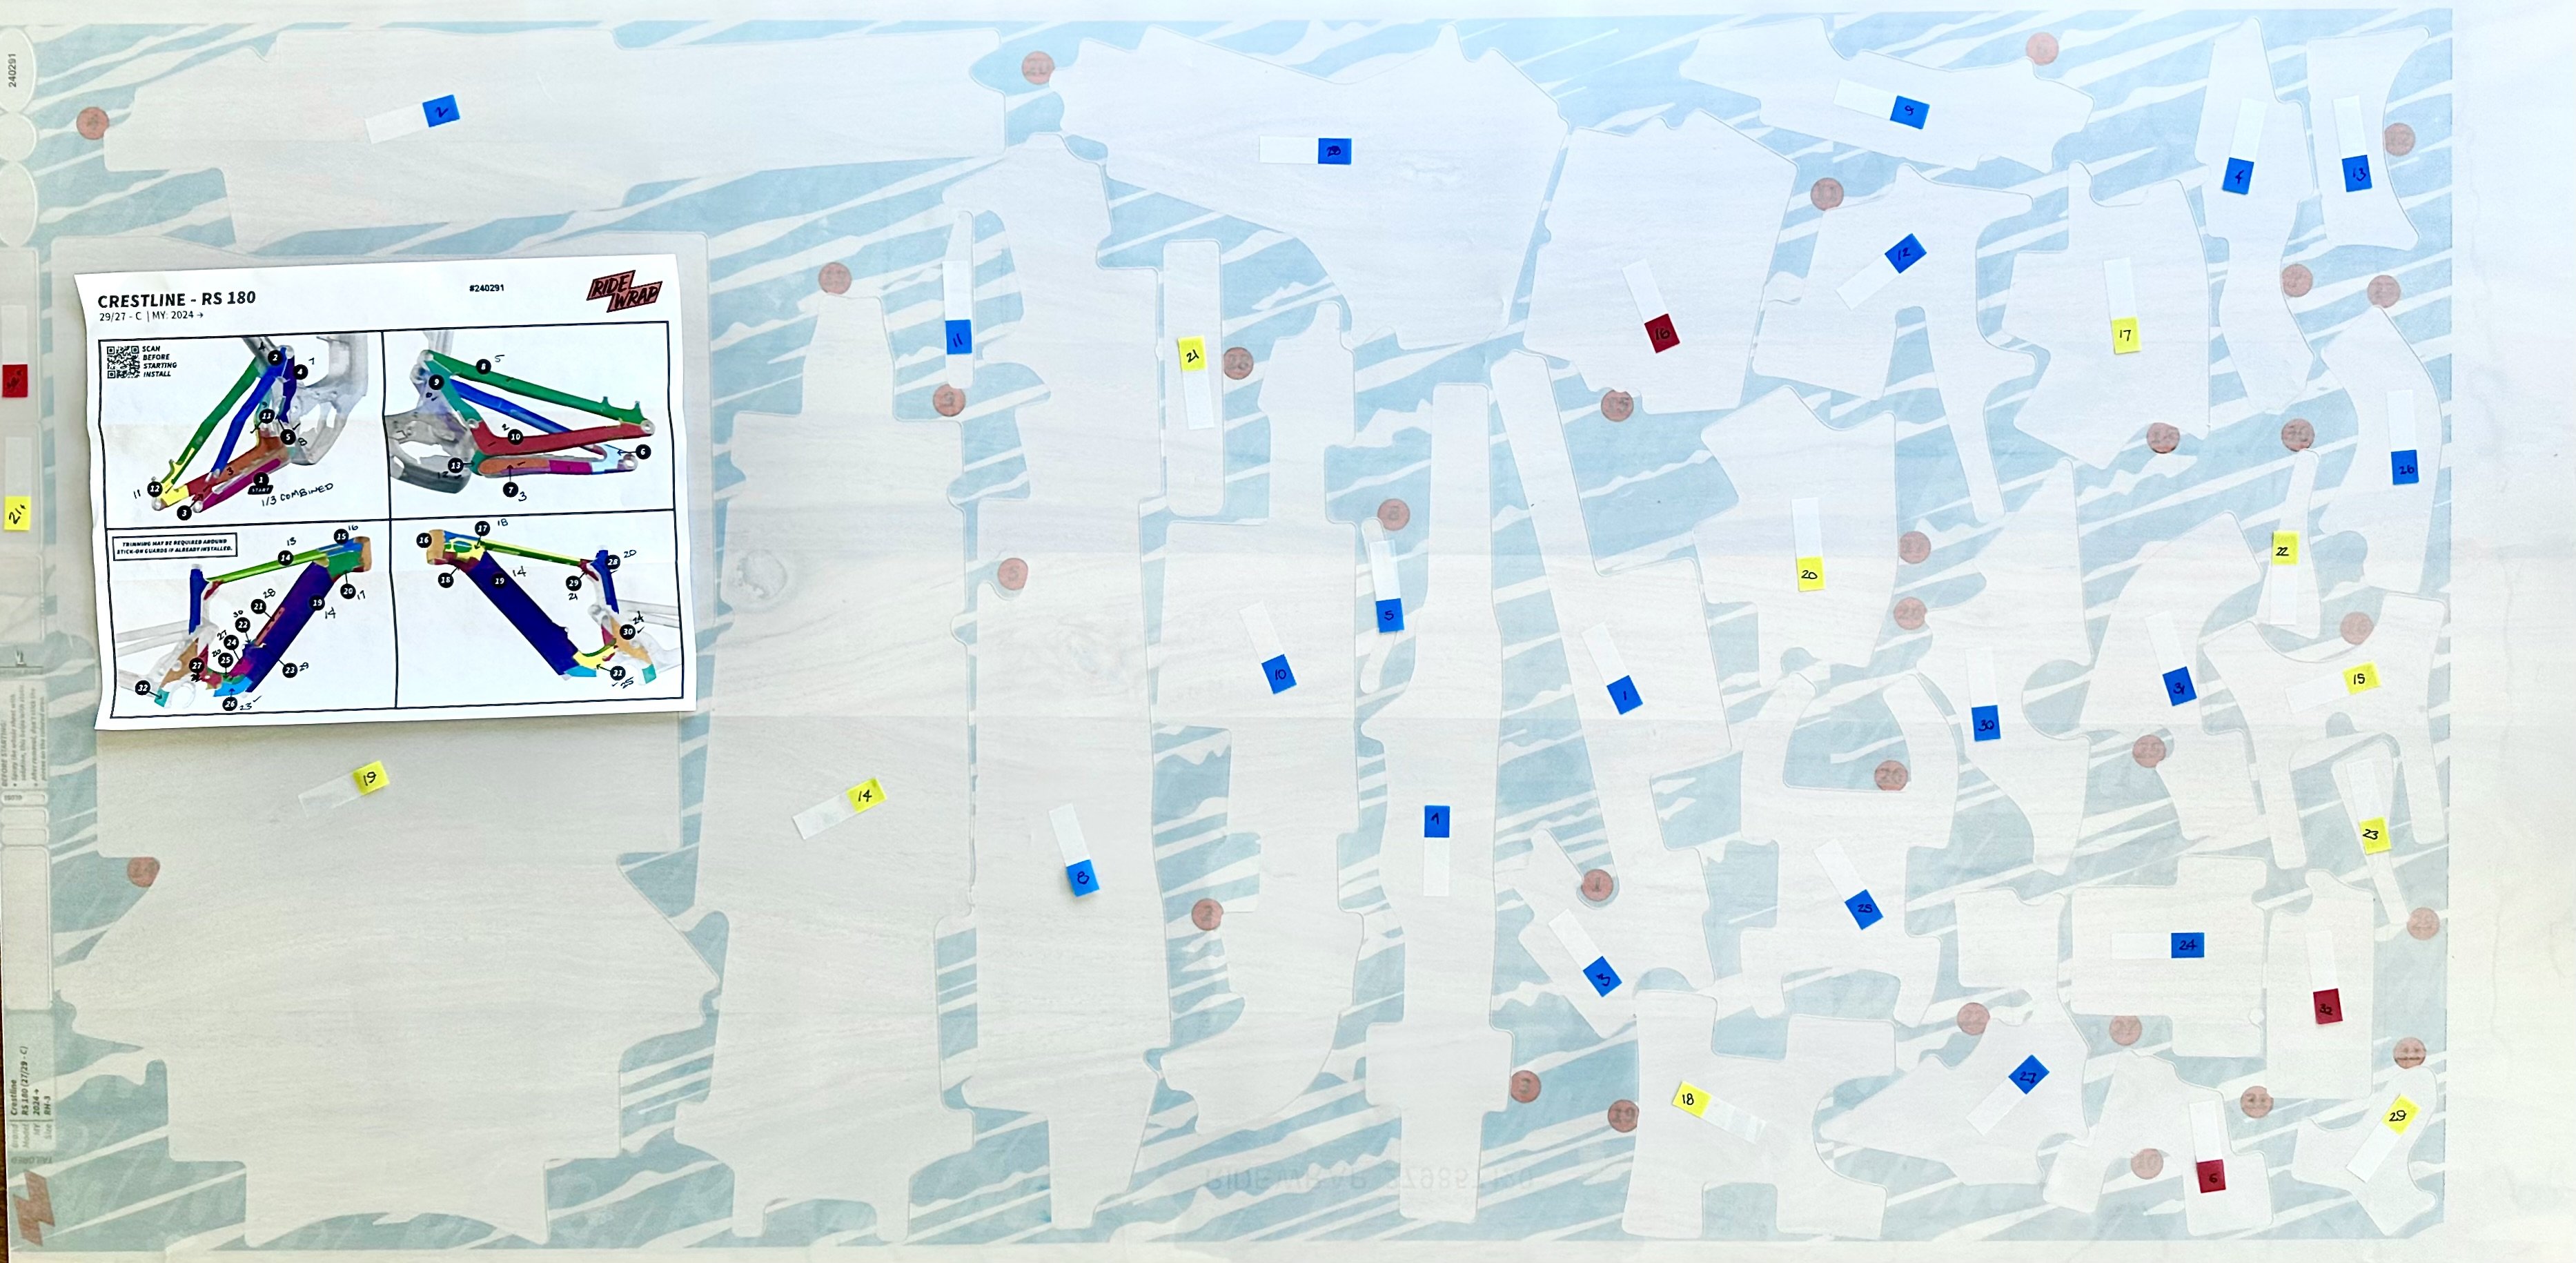
Here is a map that I created as I puzzled through the process. The map takes the piece number from the instruction page (3D render) and maps it to the shape on the film sheet.
You’ll have to zoom in to see the handwritten numbers on the stickies.
I sent RideWrap an email about the problem as well as this map, hopefully, they'll get it sorted out so that no one else gets to enjoy this.
Also dropping Troydon a note so that he’s aware and can warn anyone that is planning to wrap their RS180.

Last edited:
- Thread starter
- #4
Thanks for this! Putting ride wrap on my rs180 this week. So this will be super helpful
- Thread starter
- #6
Because I was trying to figure out the shapes, I didn’t follow the order of putting the pieces on the bike so it was probably a bit harder than it needed to be but overall it wasn’t as bad as I expected. The most annoying pieces were the area down by the bottom bracket and the biggest piece for the downtube…hope it goes more smoothly for you now that you have a map that’s correct.Thanks for this! Putting ride wrap on my rs180 this week. So this will be super helpful
- Thread starter
- #7
Troydon confirmed that he's also going to reach out to RideWrap to let them know about the issue as he just heard from another person about this same issue.Here is a map that I created as I puzzled through the process. The map takes the piece number from the instruction page (3D render) and maps it to the shape on the film sheet.
You’ll have to zoom in to see the handwritten numbers on the stickies.
I sent RideWrap an email about the problem as well as this map, hopefully, they'll get it sorted out so that no one else gets to enjoy this.
Also dropping Troydon a note so that he’s aware and can warn anyone that is planning to wrap their RS180.
View attachment 139851
Quick question. Did you take off the chainstay protector and then put it back on once you had applied the ride wrap?
Does it stick back on ok? Any tips
Does it stick back on ok? Any tips
My bike has just arrrived! I see that the chainstay is not yet attached - yay 
- Thread starter
- #10
You don’t need to take off the chainstay armor; the film piece there fits perfectly in between the upper and lower portions.My bike has just arrrived! I see that the chainstay is not yet attached - yay
Might actually be more annoying to try and get it in place without than with with the chainstay in place as you’ll need to guess where it will be.
Mine was already installed and I had no issues.
I was also going to say that I bought some additional frame protector film and have been adding in a few extra bits as they don't cover some of the places I always get branch hits like the very front of the upper pivot on the rear triangle (just above brake hole for the brake hose)...when you finish your install you'll probably see what I mean. Good luck with the wrap install! I have mine out baking in the sun so that I can dry up the bubbles that are filled with install solution (hate this part) and then deal with any air bubbles. Also decided to wrap my new Zeb since it's super high gloss and looks like it will be a scratch magnet...
Jcolborn48
Active member
This is interesting , I just wrapped mine last week and everything was perfect, numbers matched up etc…
Also if anyone is looking for a matte ride wrap kit for a Crestline, I have one I’ll get rid of for a steal
Also if anyone is looking for a matte ride wrap kit for a Crestline, I have one I’ll get rid of for a steal
- Thread starter
- #12
When did you buy the kit? Maybe they had a few bad ones go out and then course corrected.
Mine was fine as well. I bought it off the RideWrap site and it shipped from australia
Jcolborn48
Active member
I bought mine April 22nd.When did you buy the kit? Maybe they had a few bad ones go out and then course corrected.
I brought mine April 30
- Thread starter
- #16
Hmmm, I ordered mine on April 16 - came from Santa Cruz.
AlumiPro
Active member
I recommend cutting some extra wrap pieces to be applied in between the swing arm and each side of the shock tunnel, as rocks get flung off the top of the rear tire into this tight clearanced area, getting stuck as the swing arm moves through the travel cycle. This required removing a pivot axle to gain access.
I also applied extra wrap to some other areas shown in red in the last two pics, which get hit with rocks from the rear tire. I did these areas while I was swapping out the 175mm link for the new 180mm link.
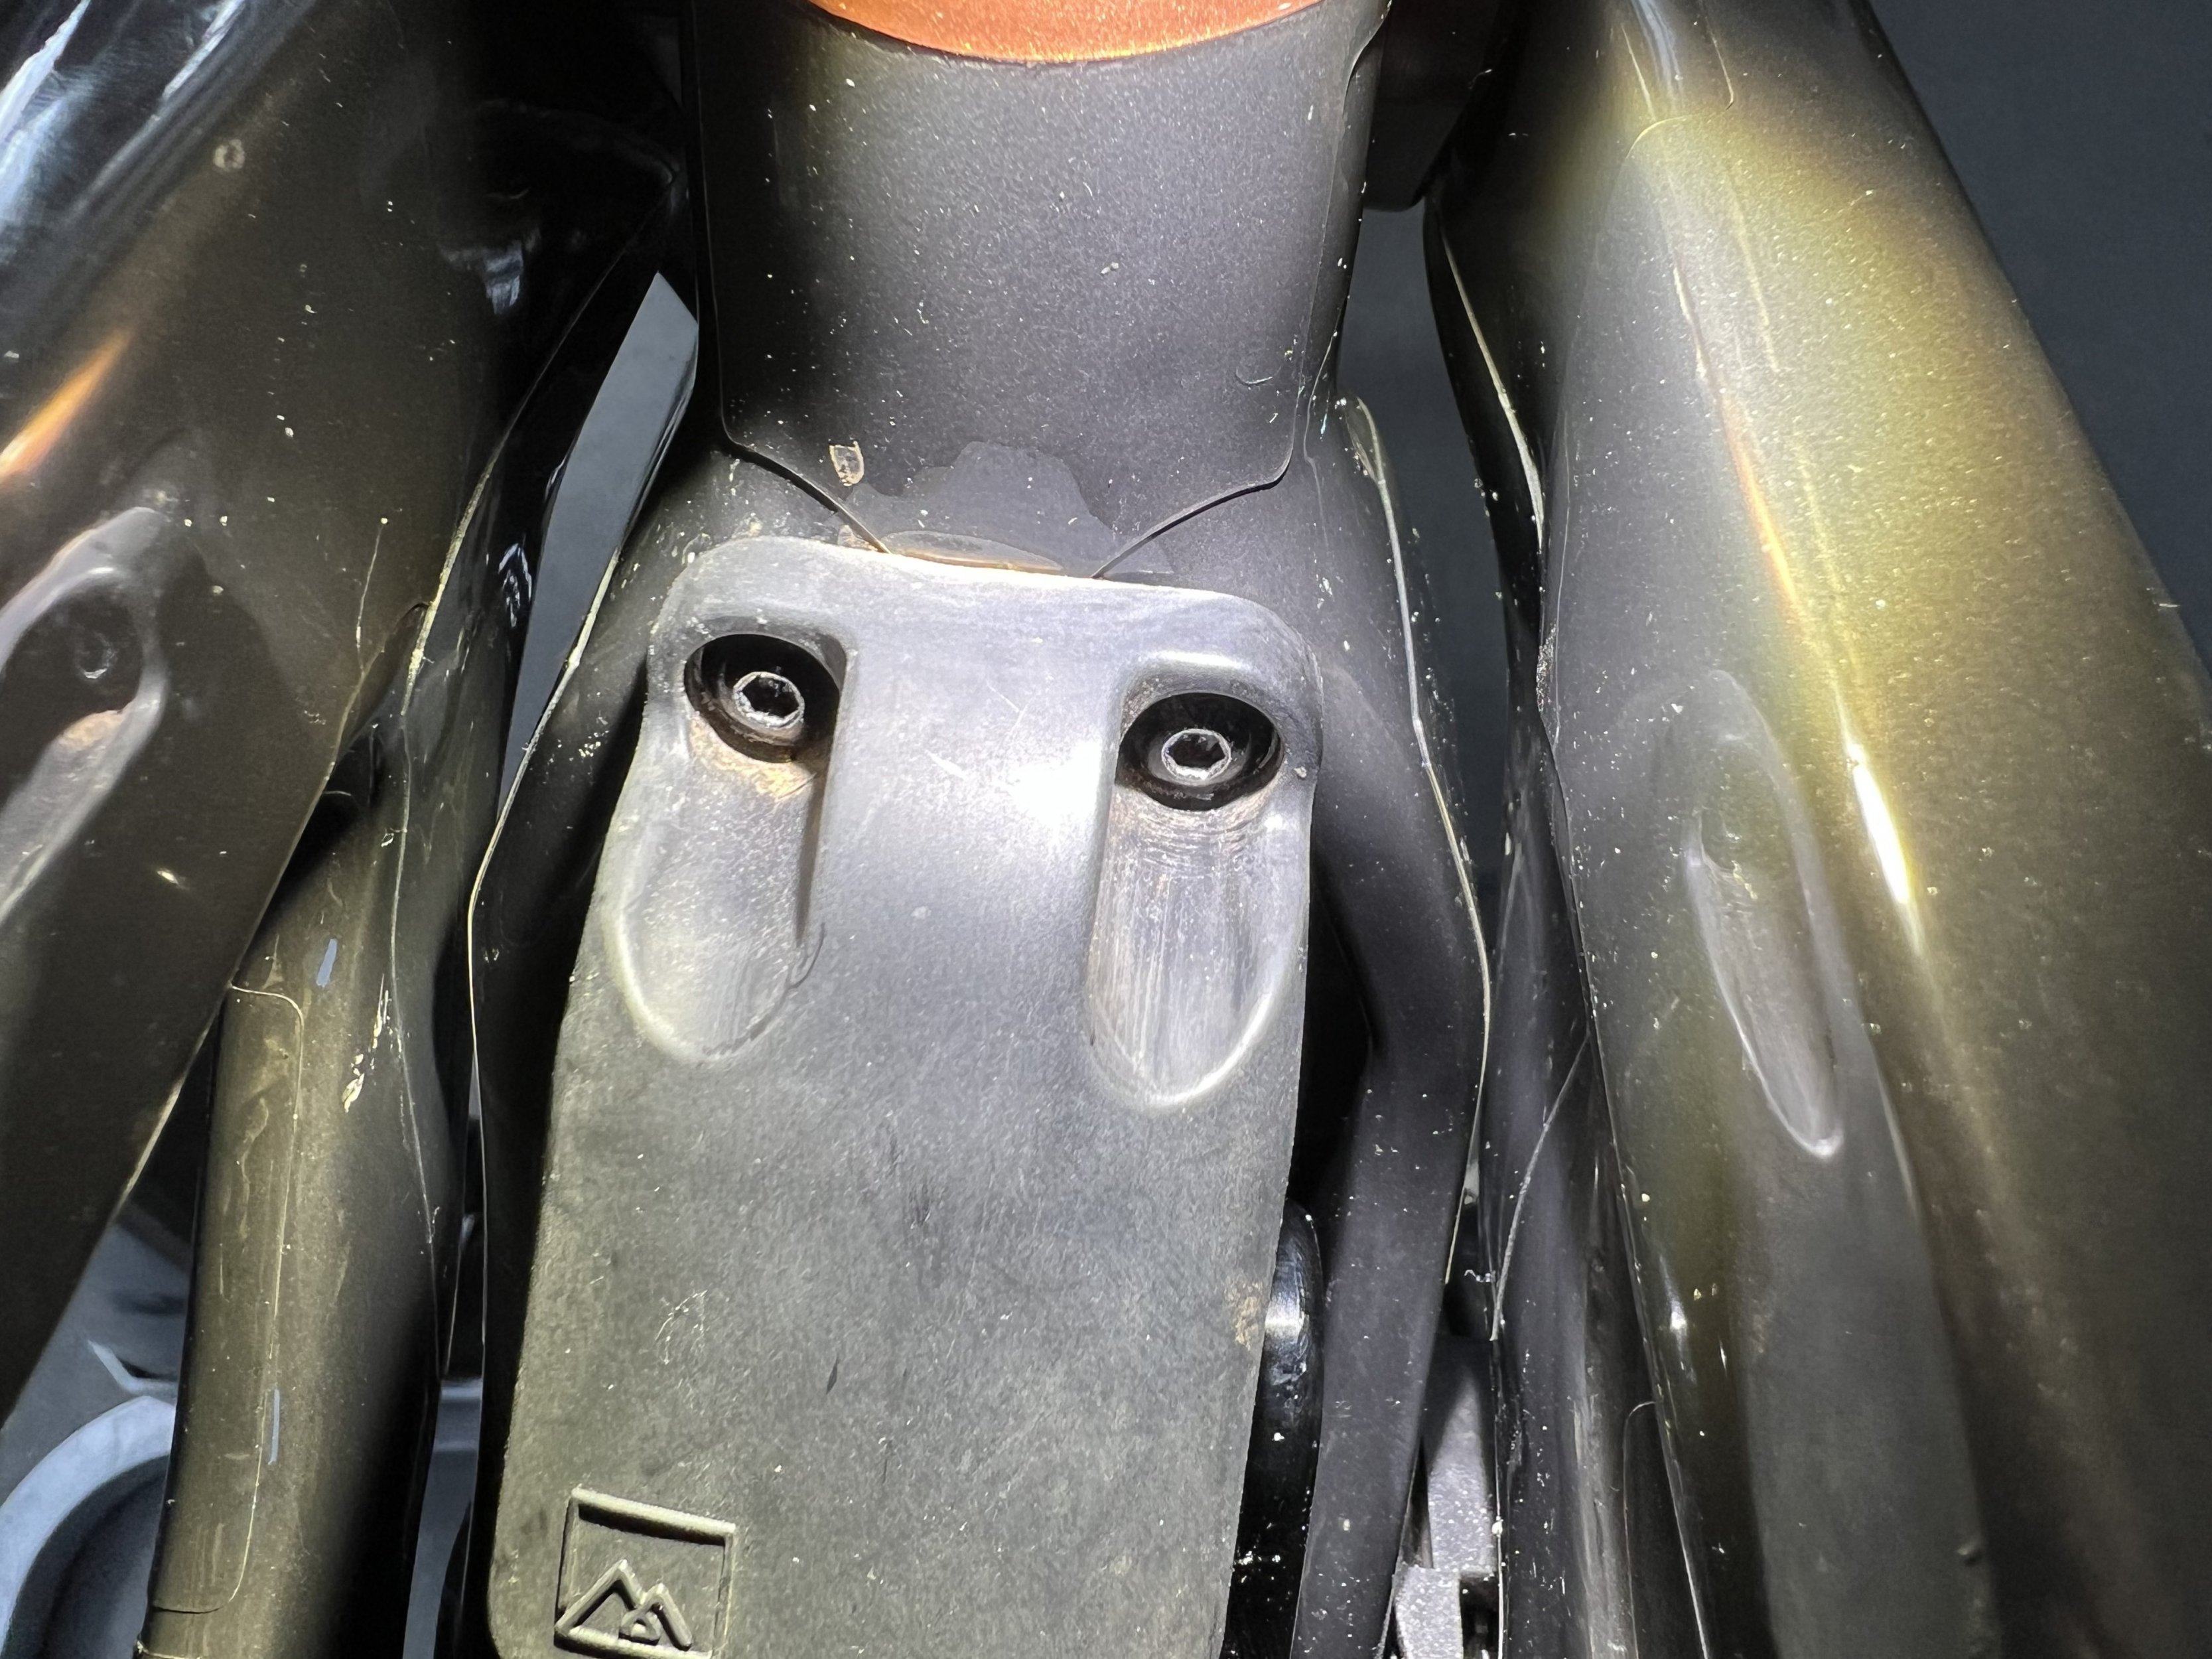
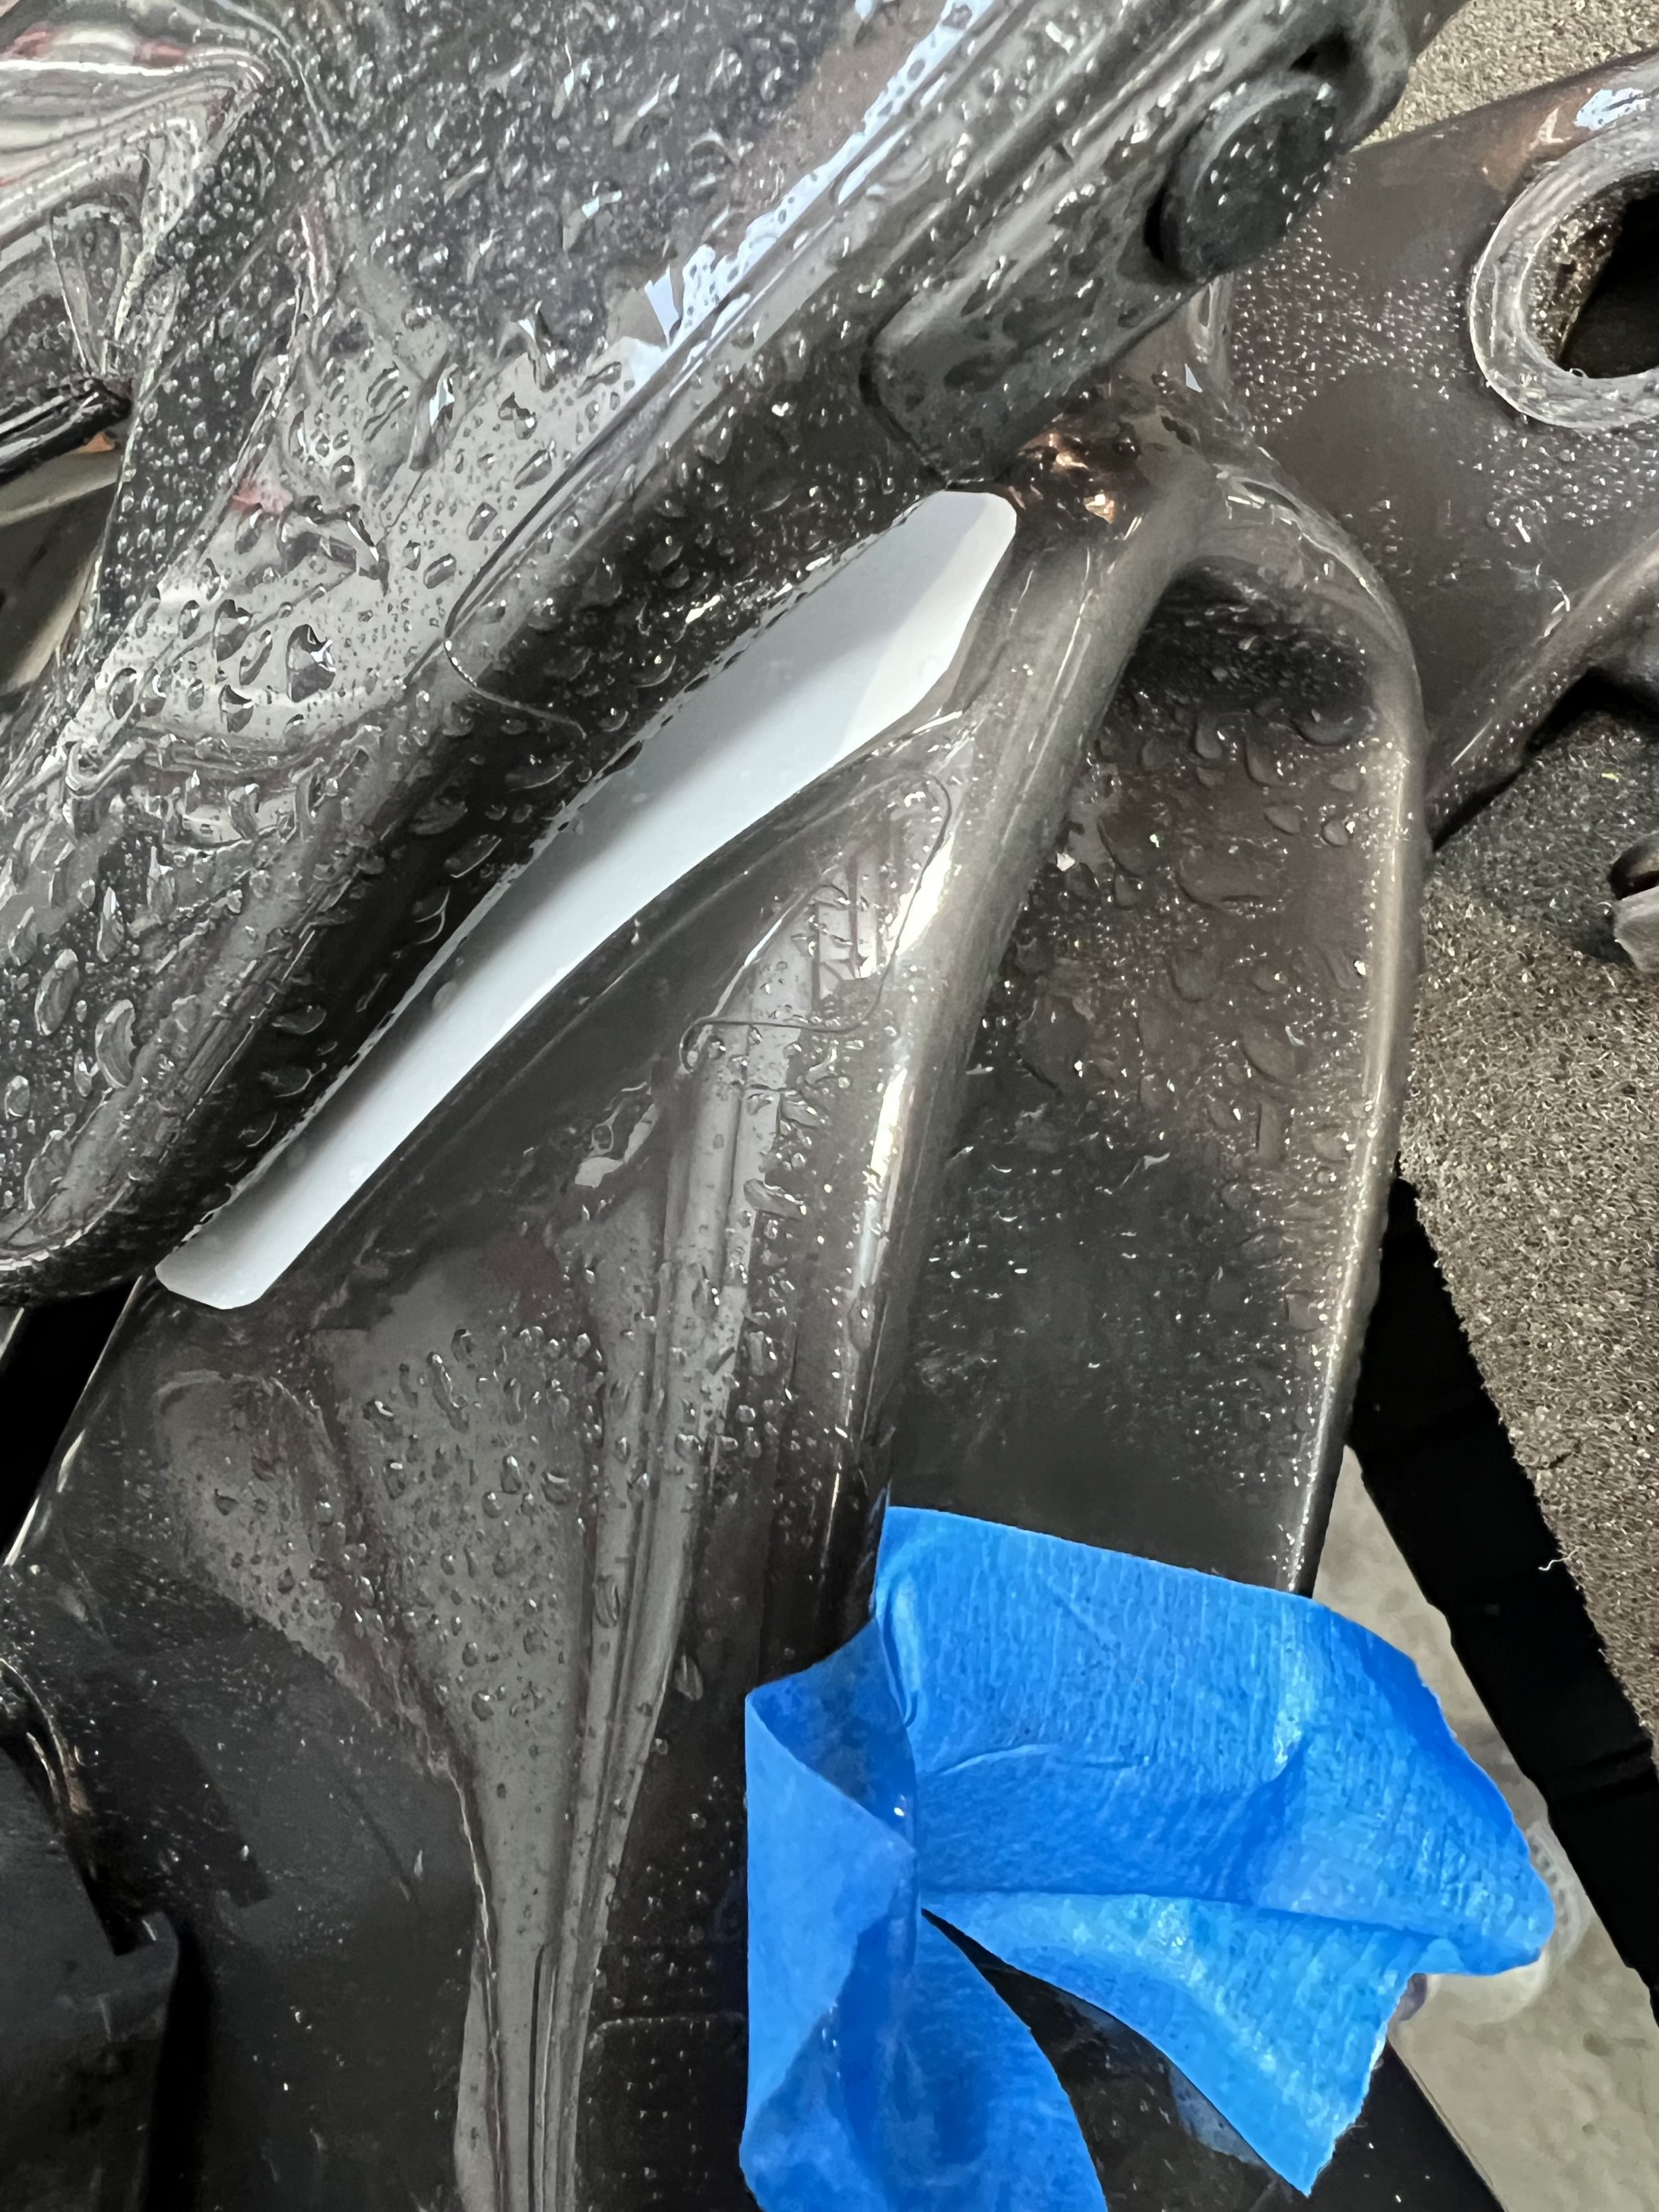
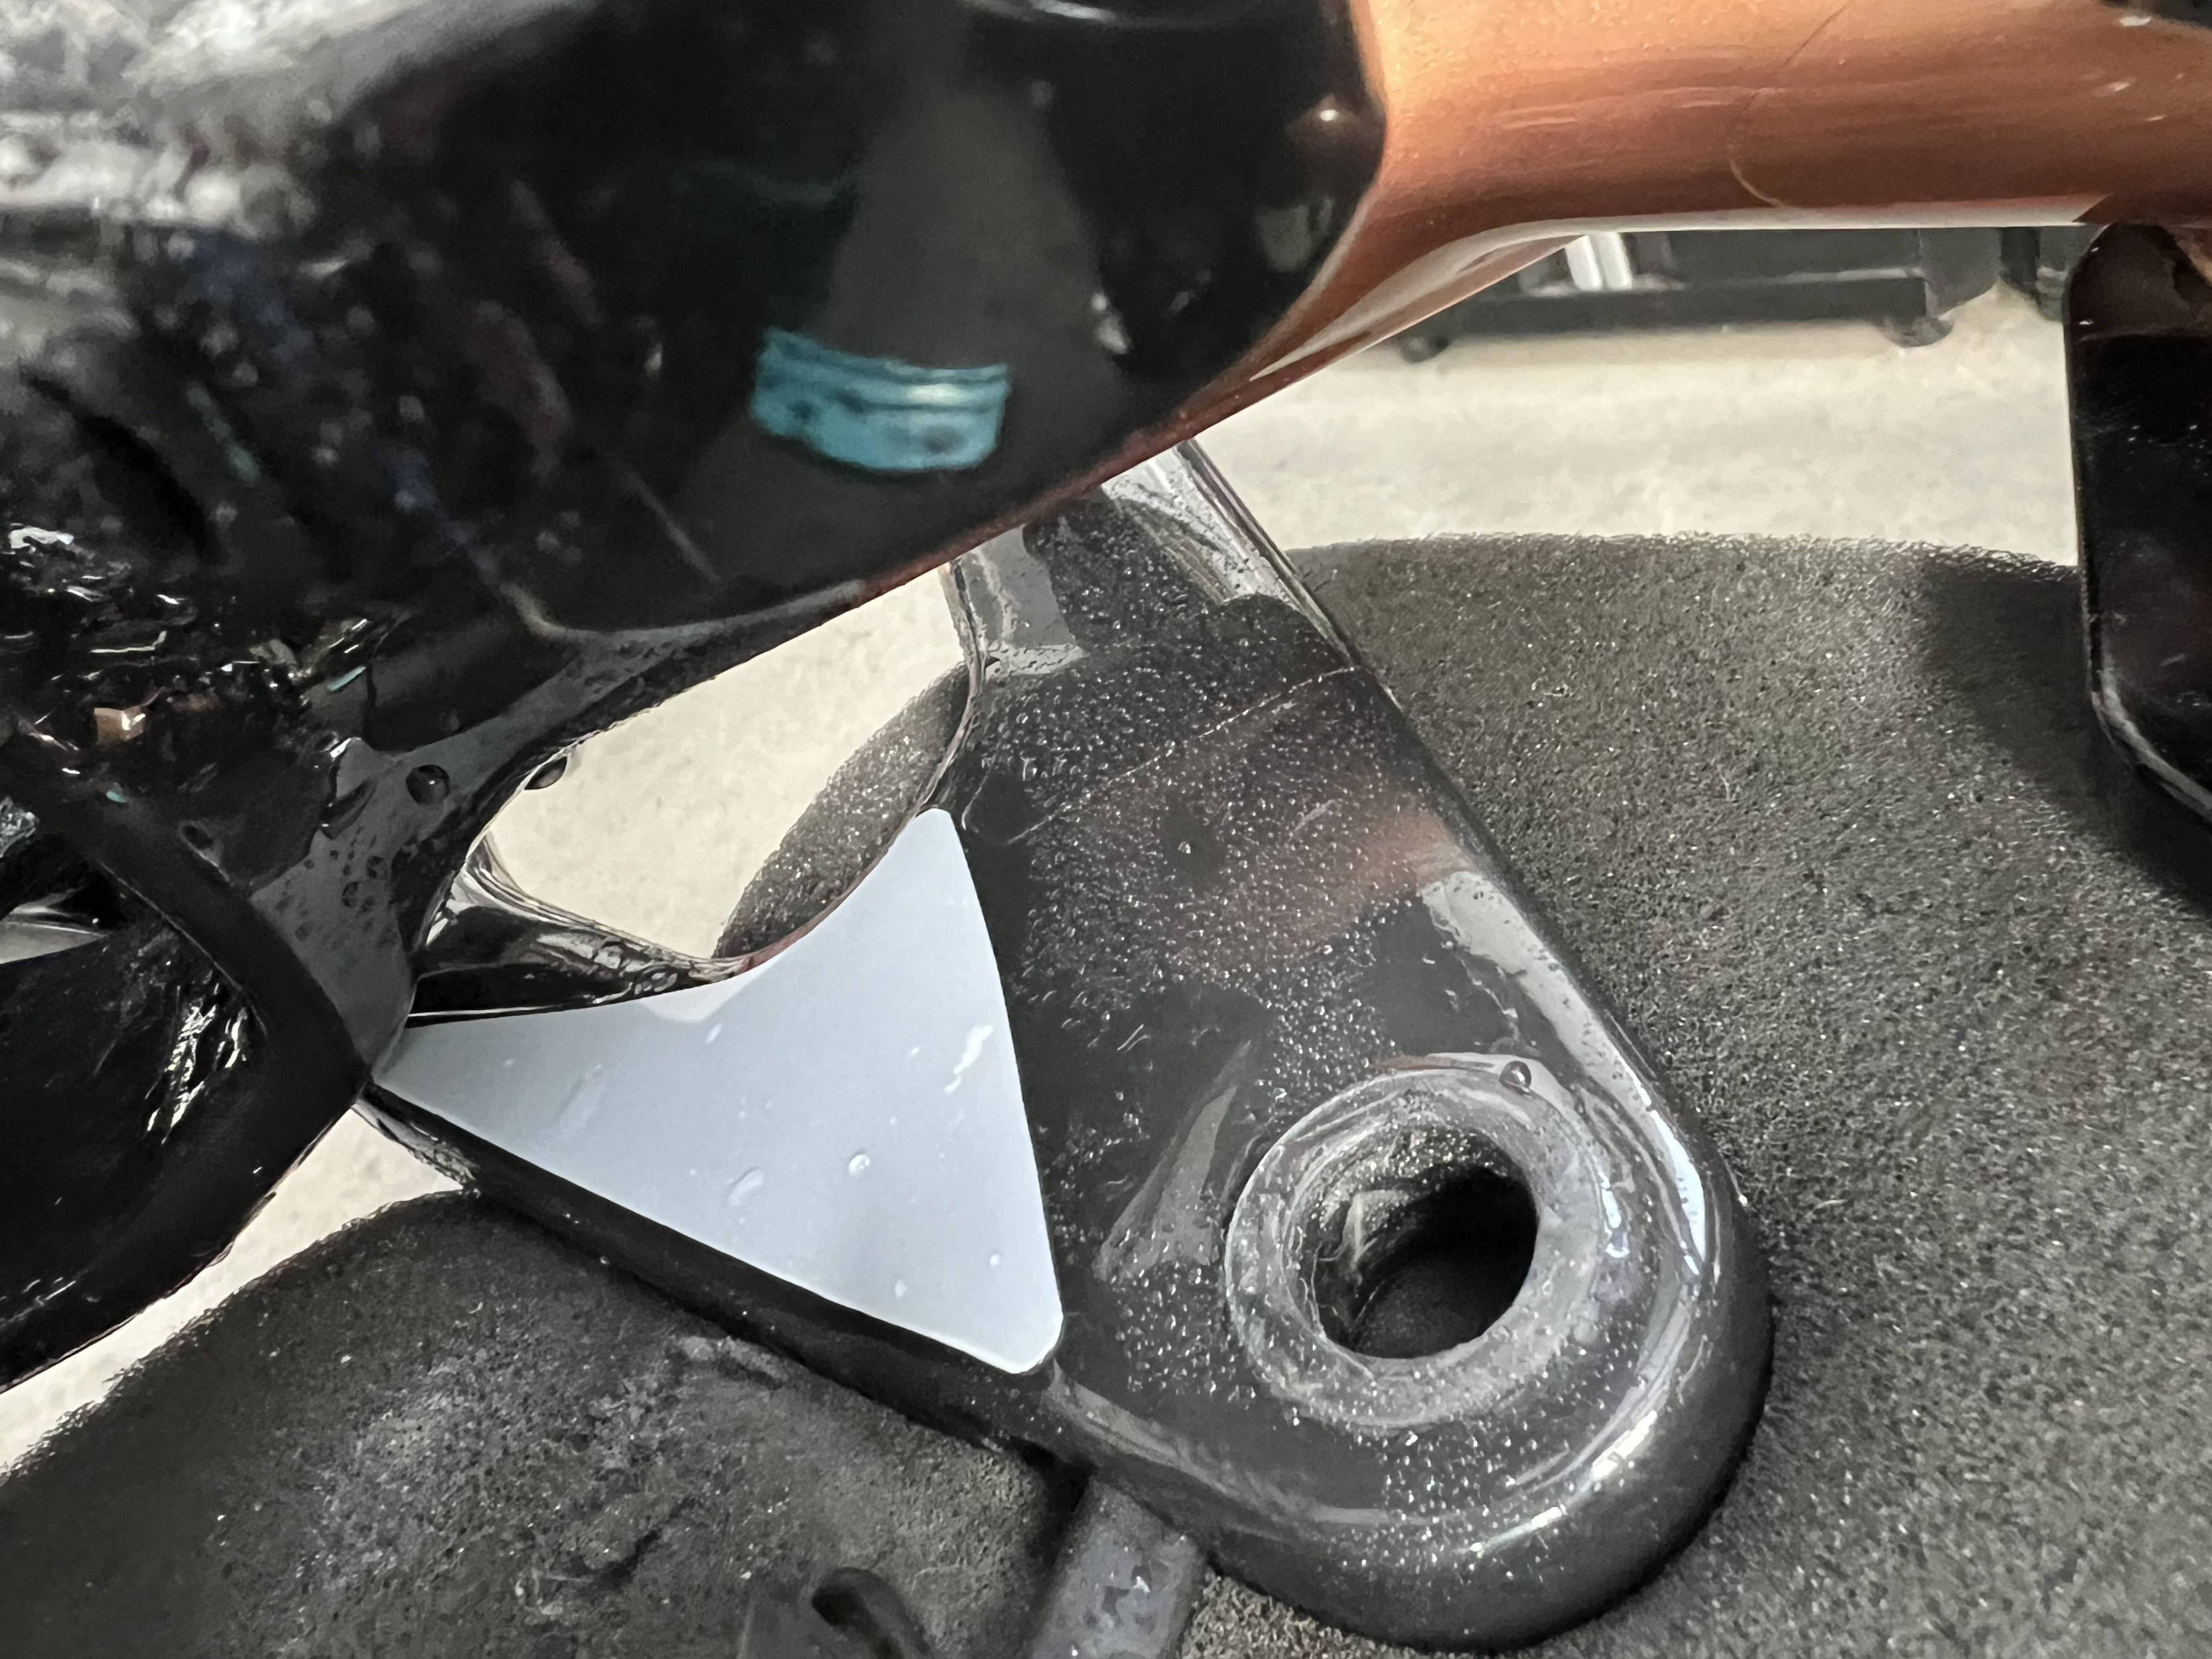
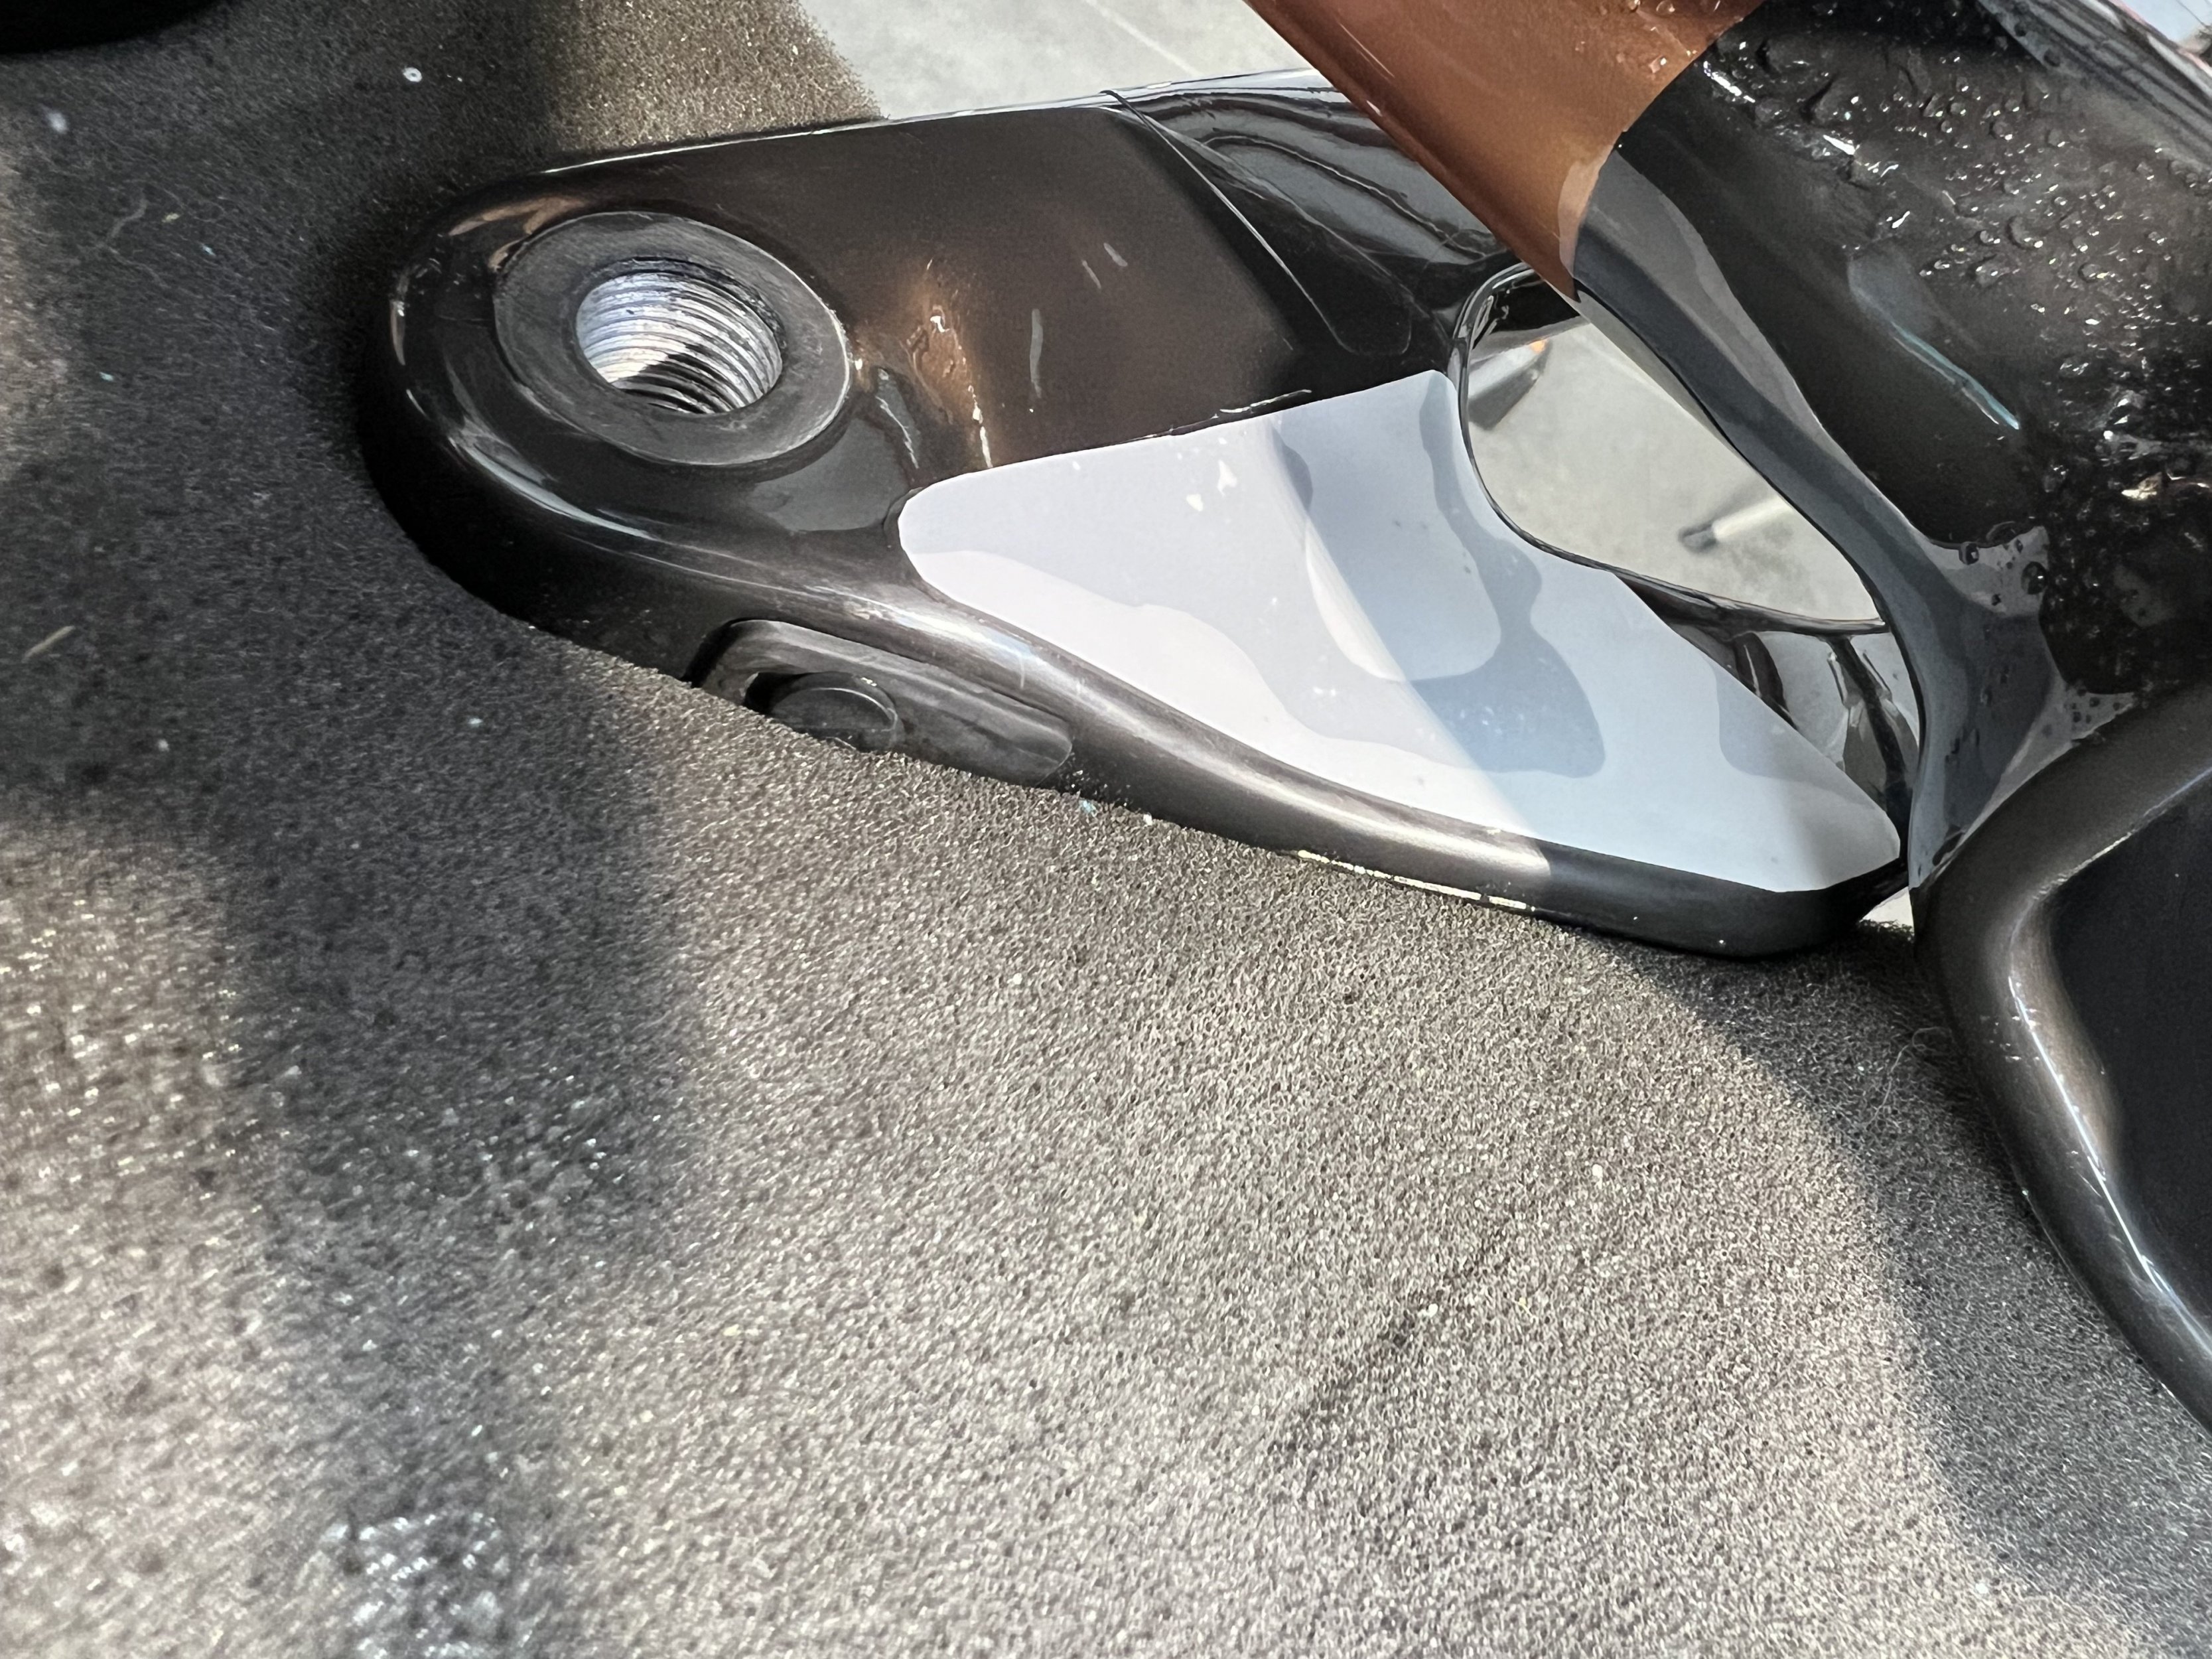
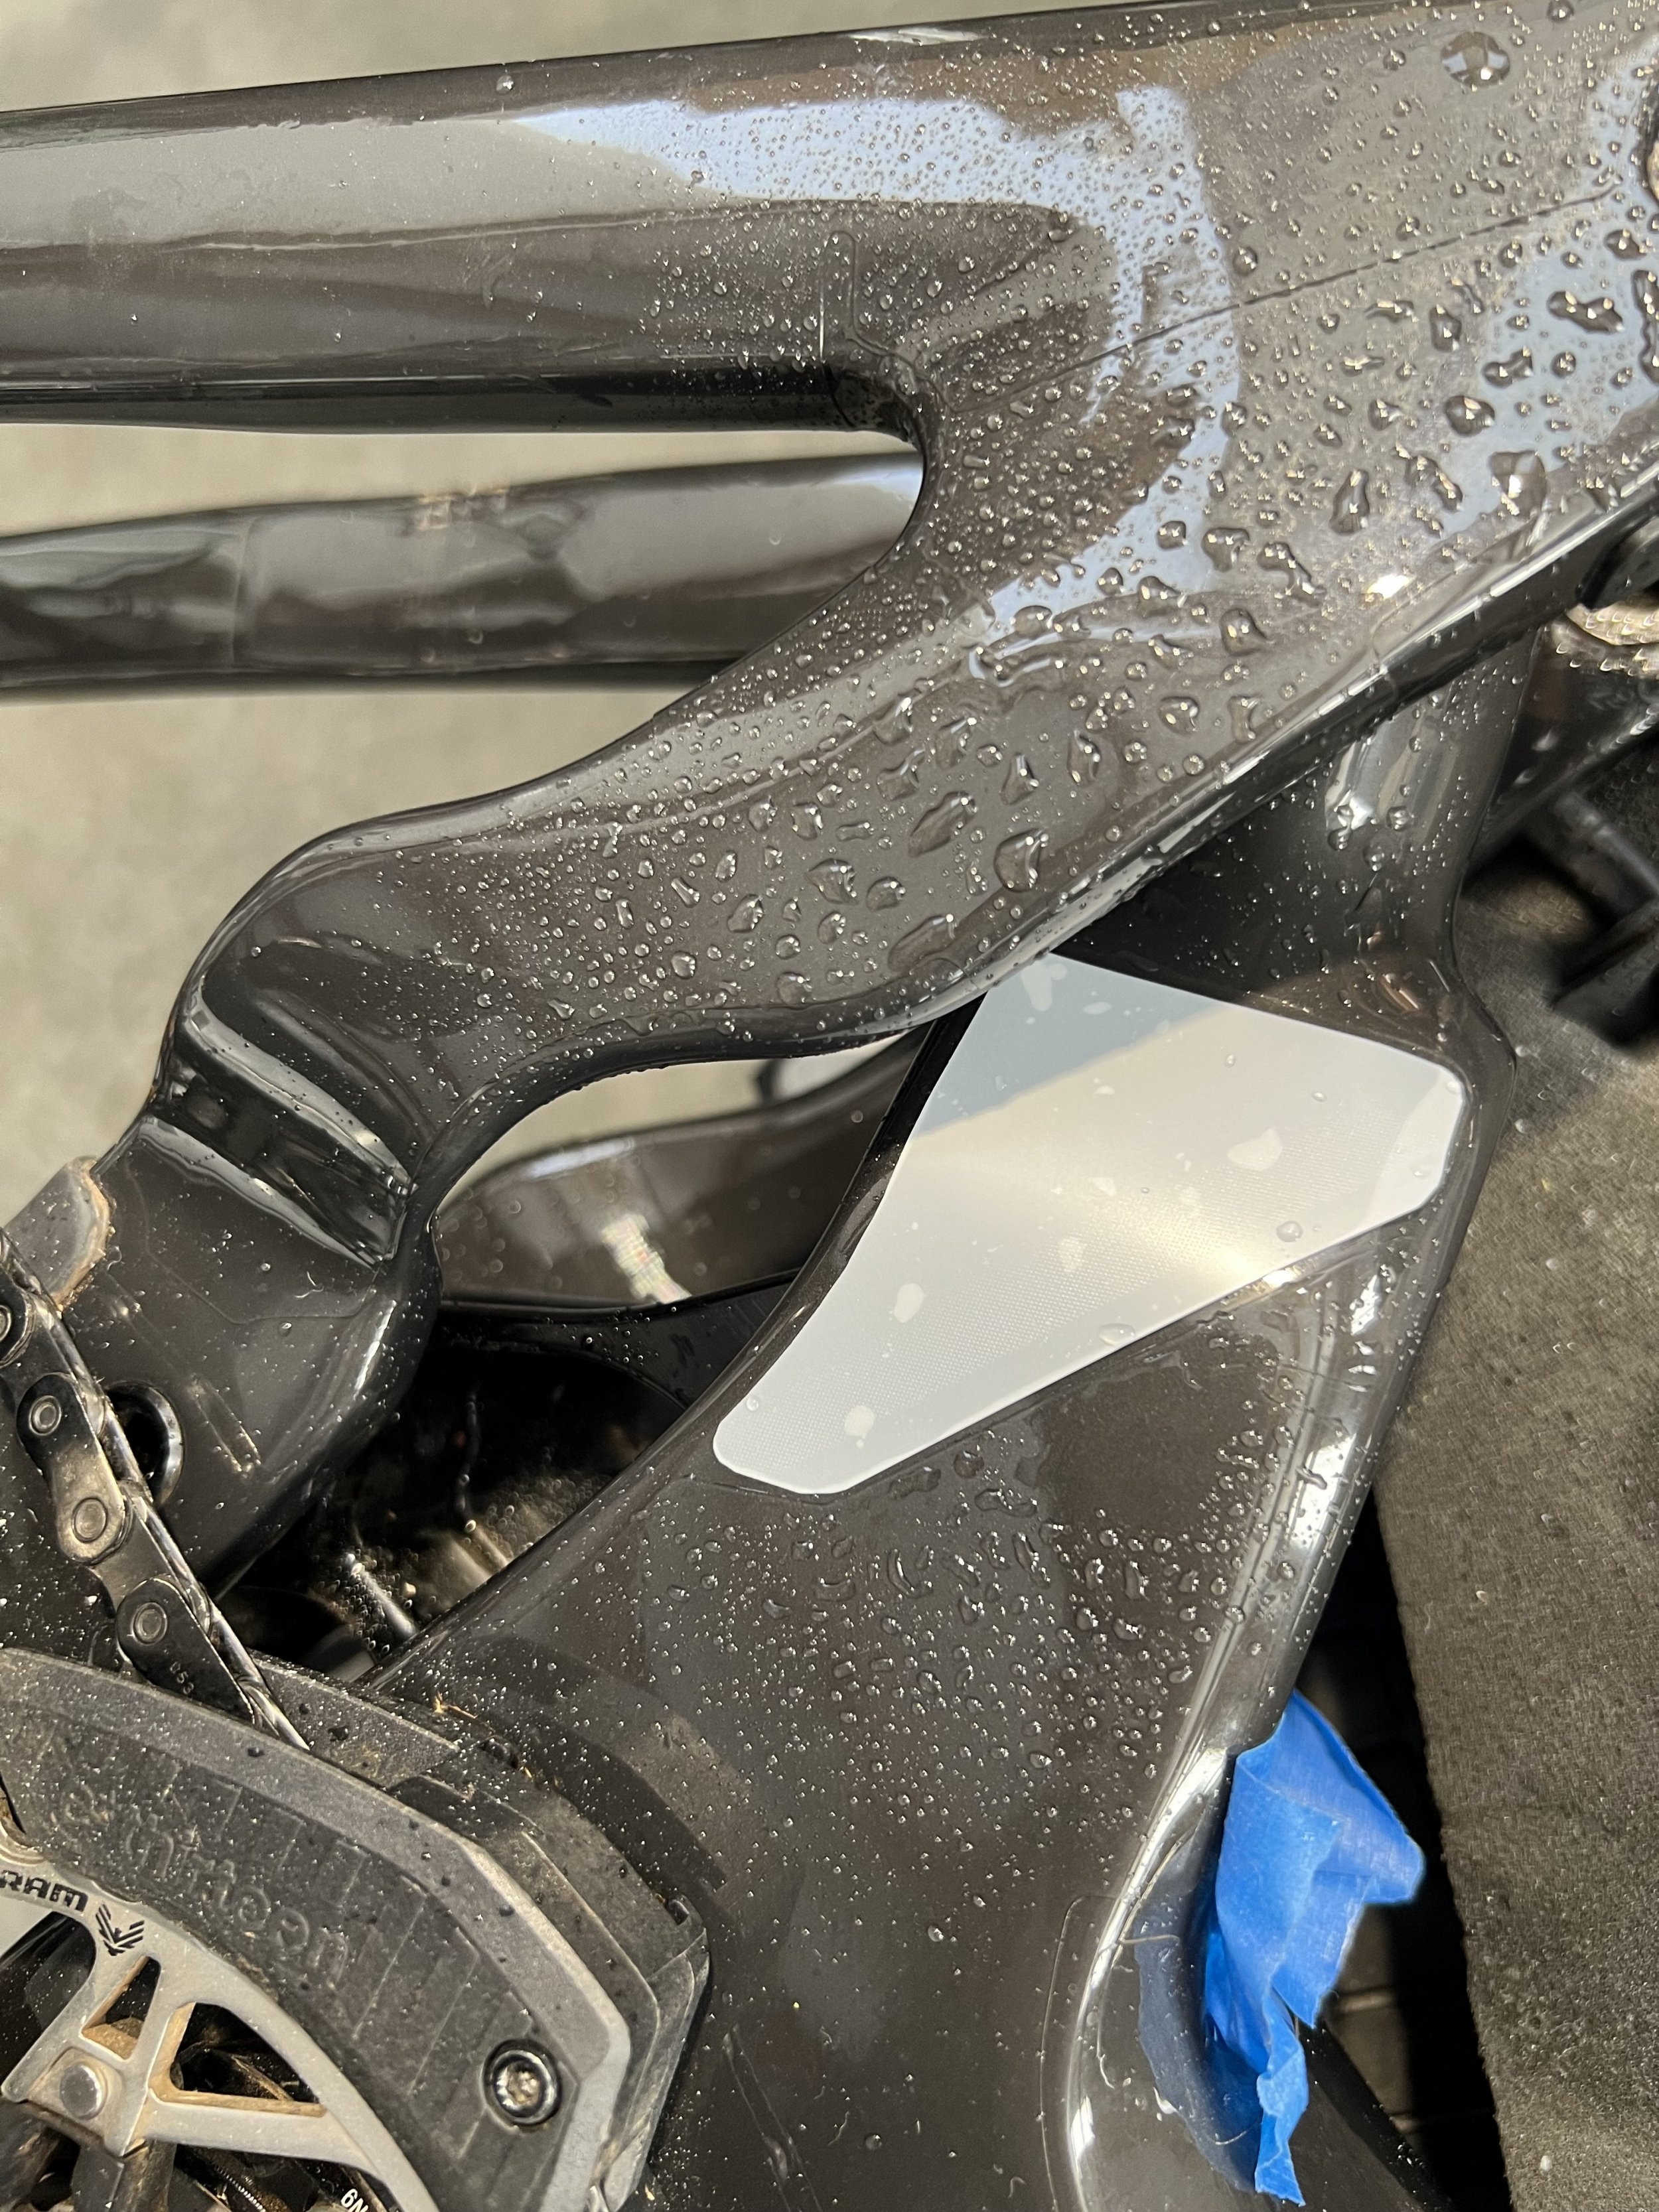
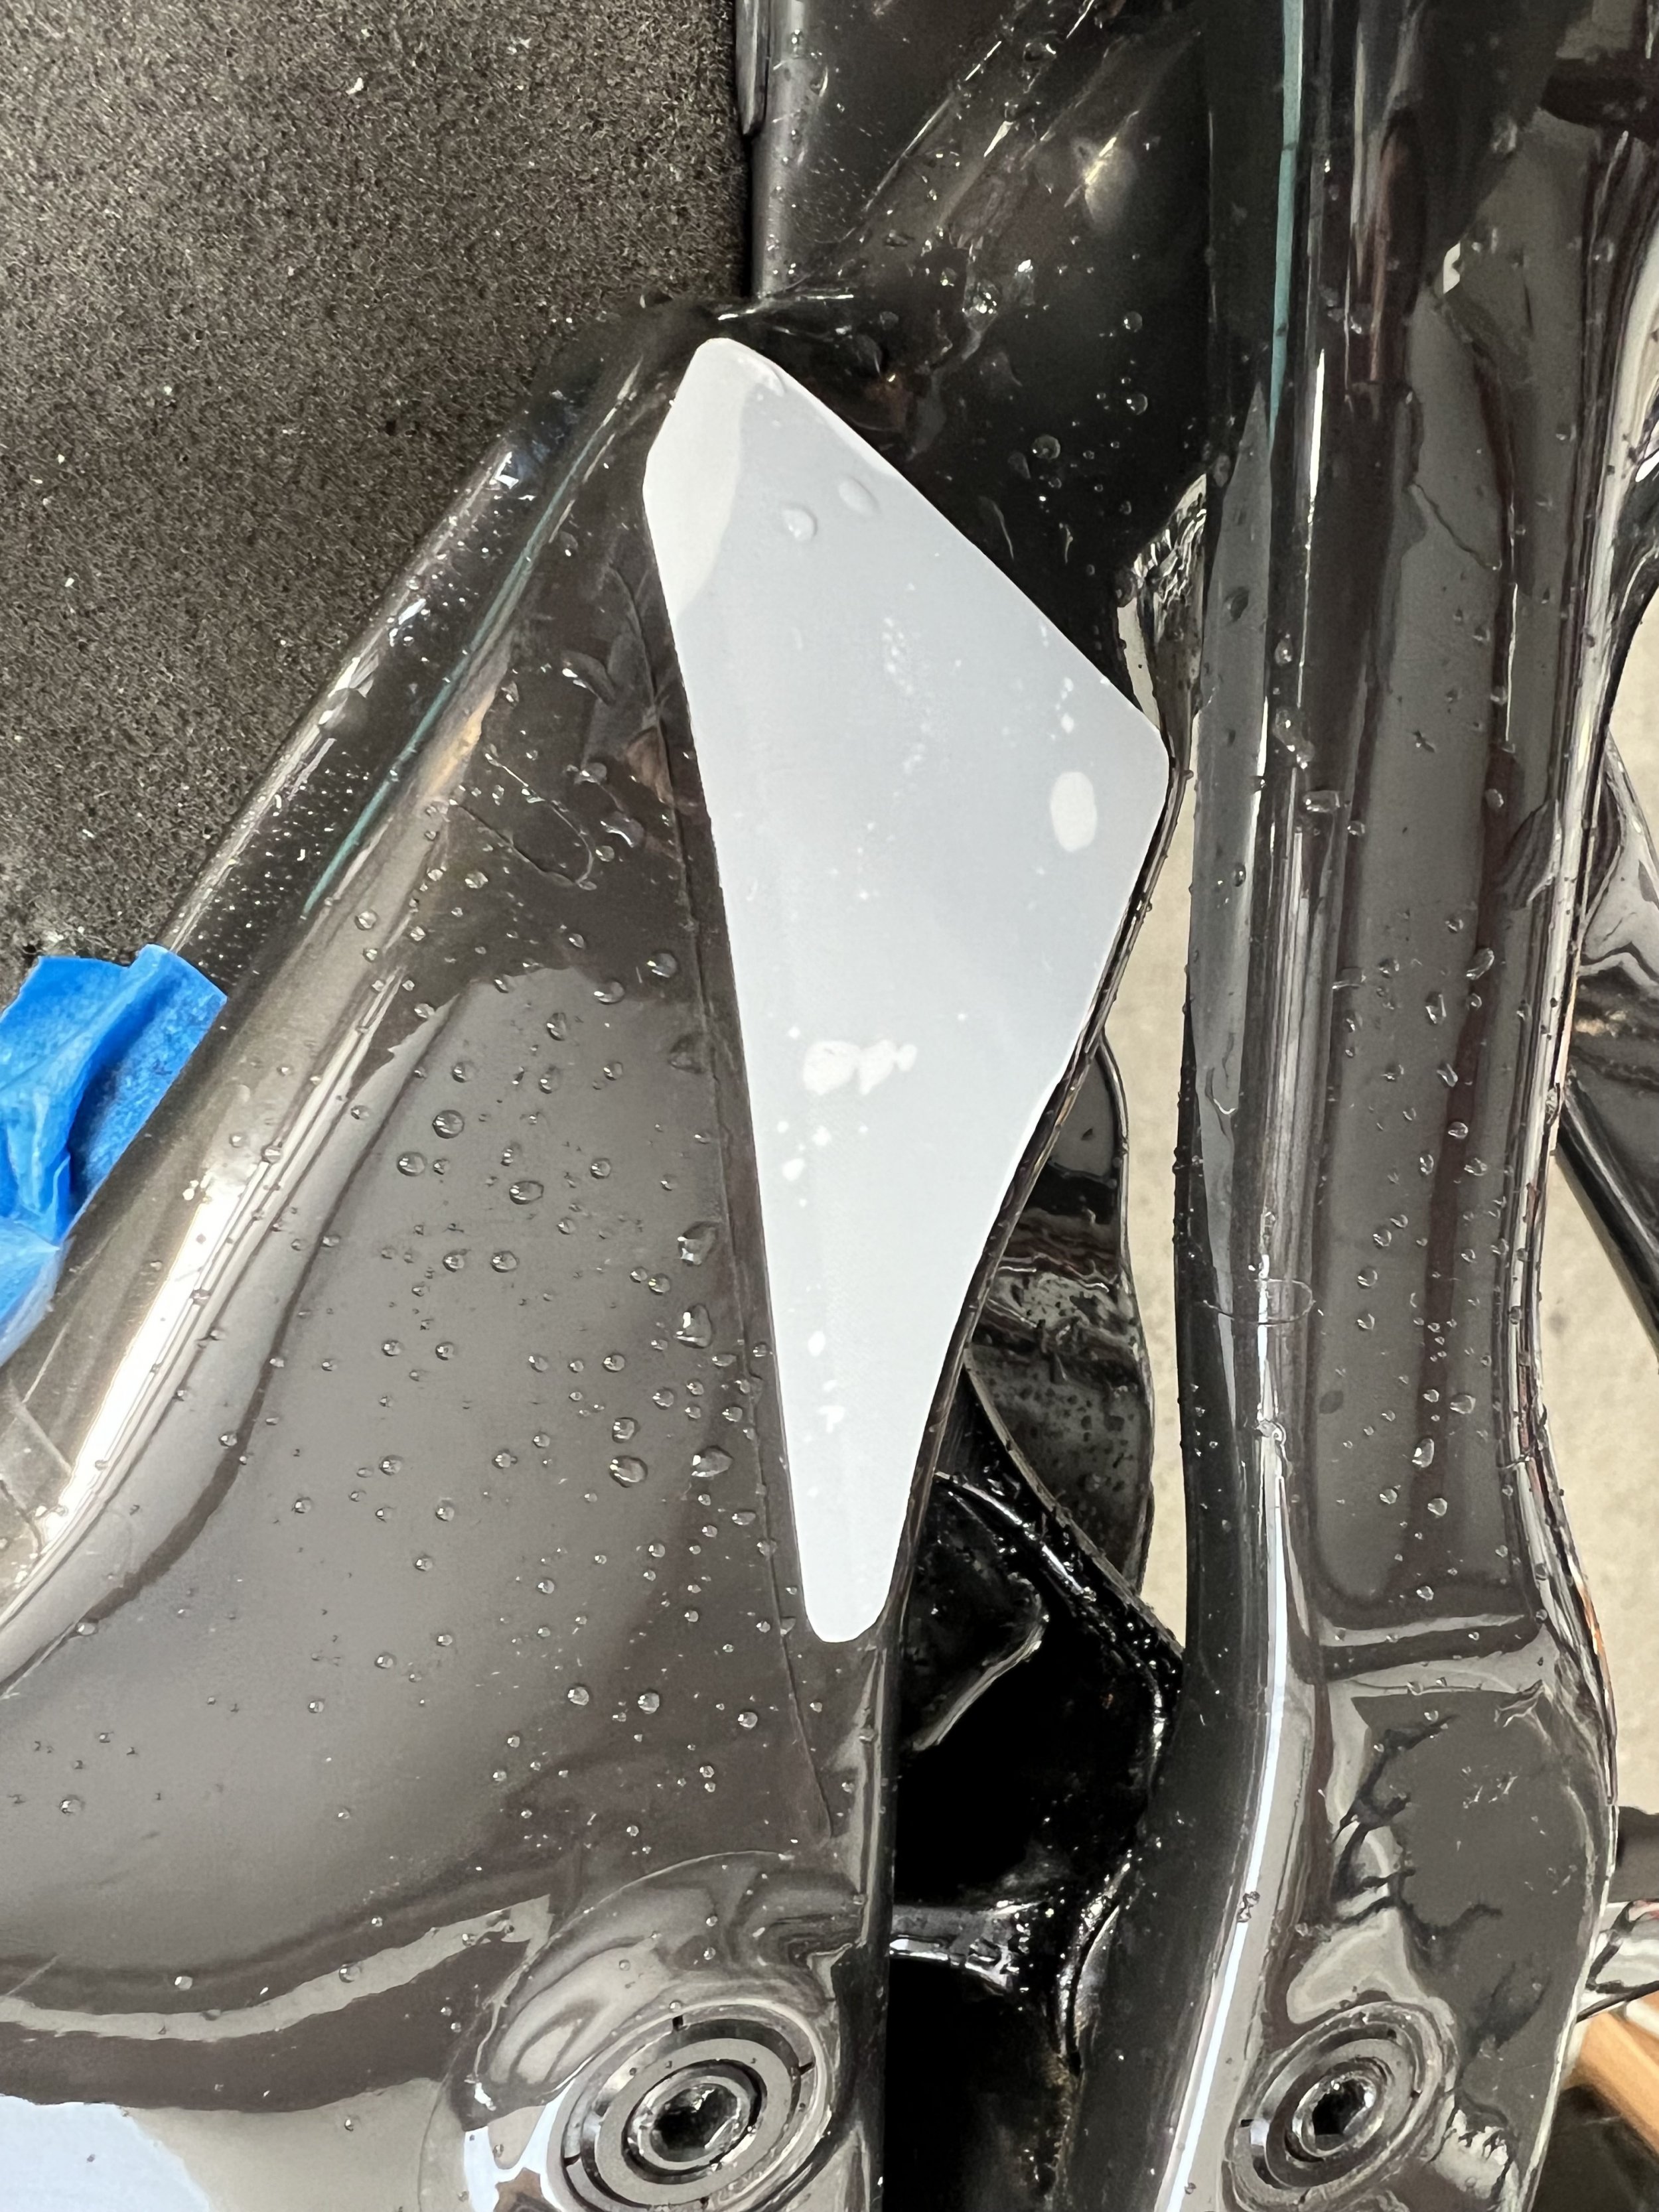
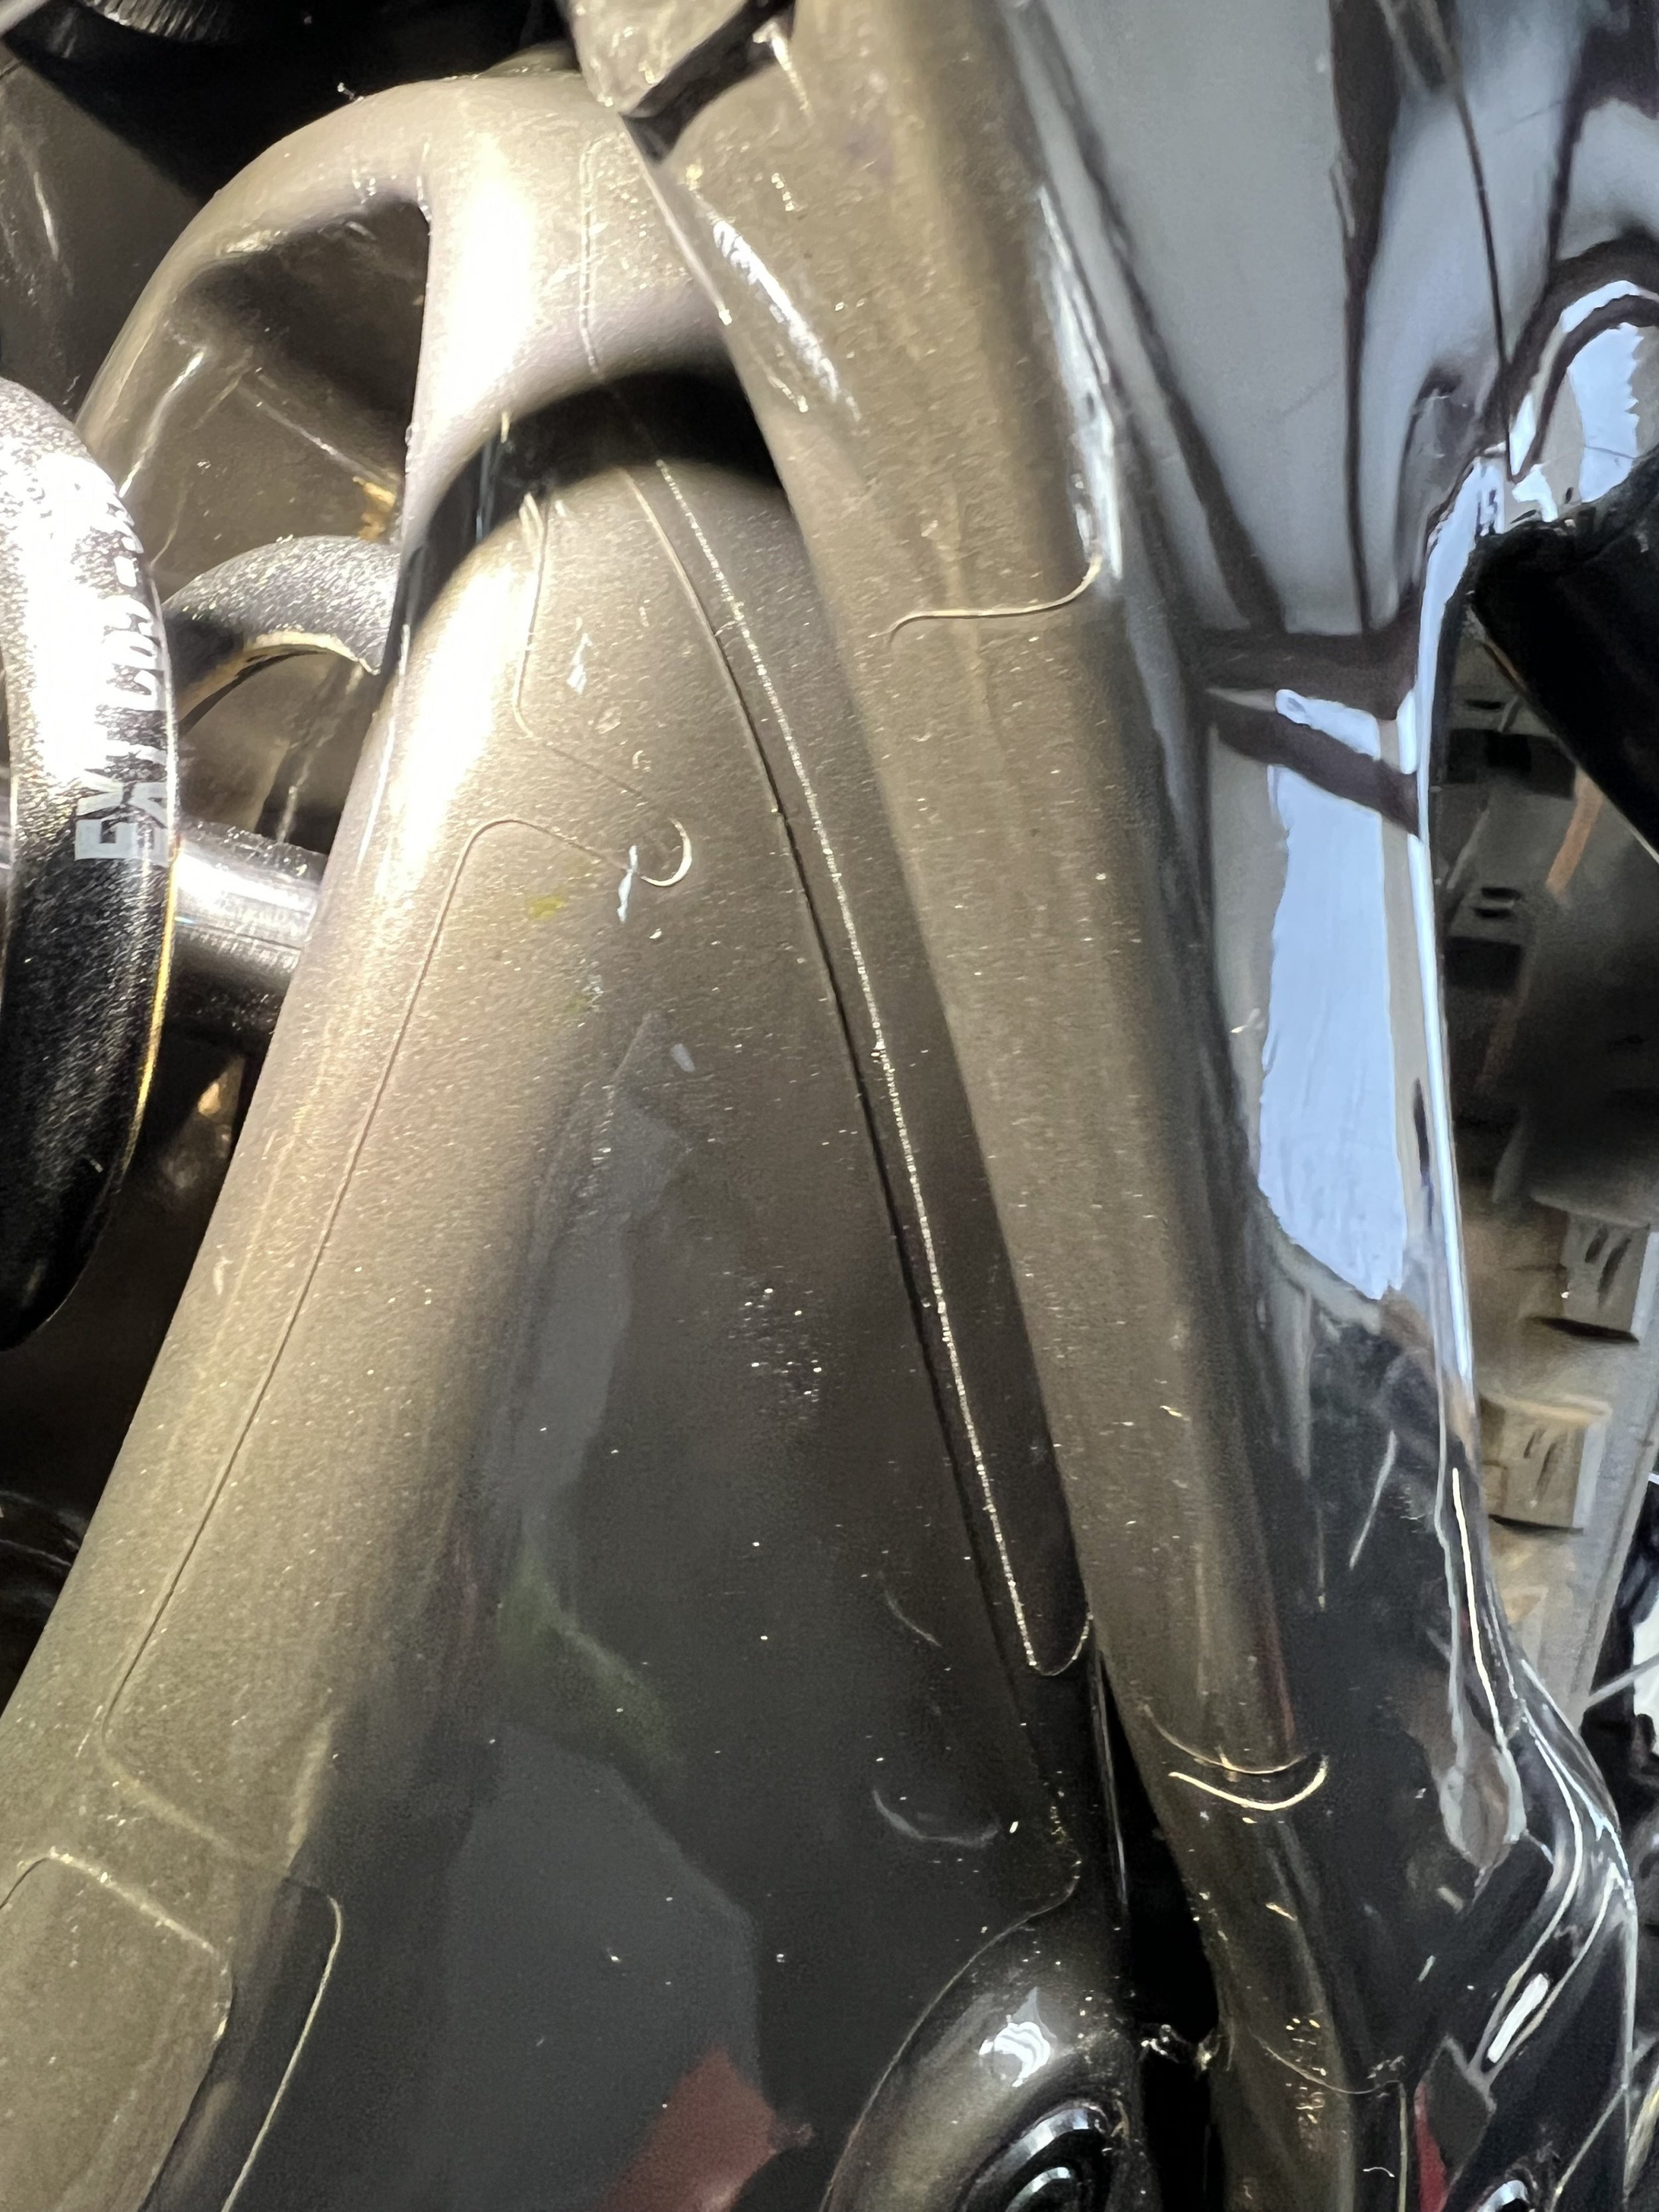
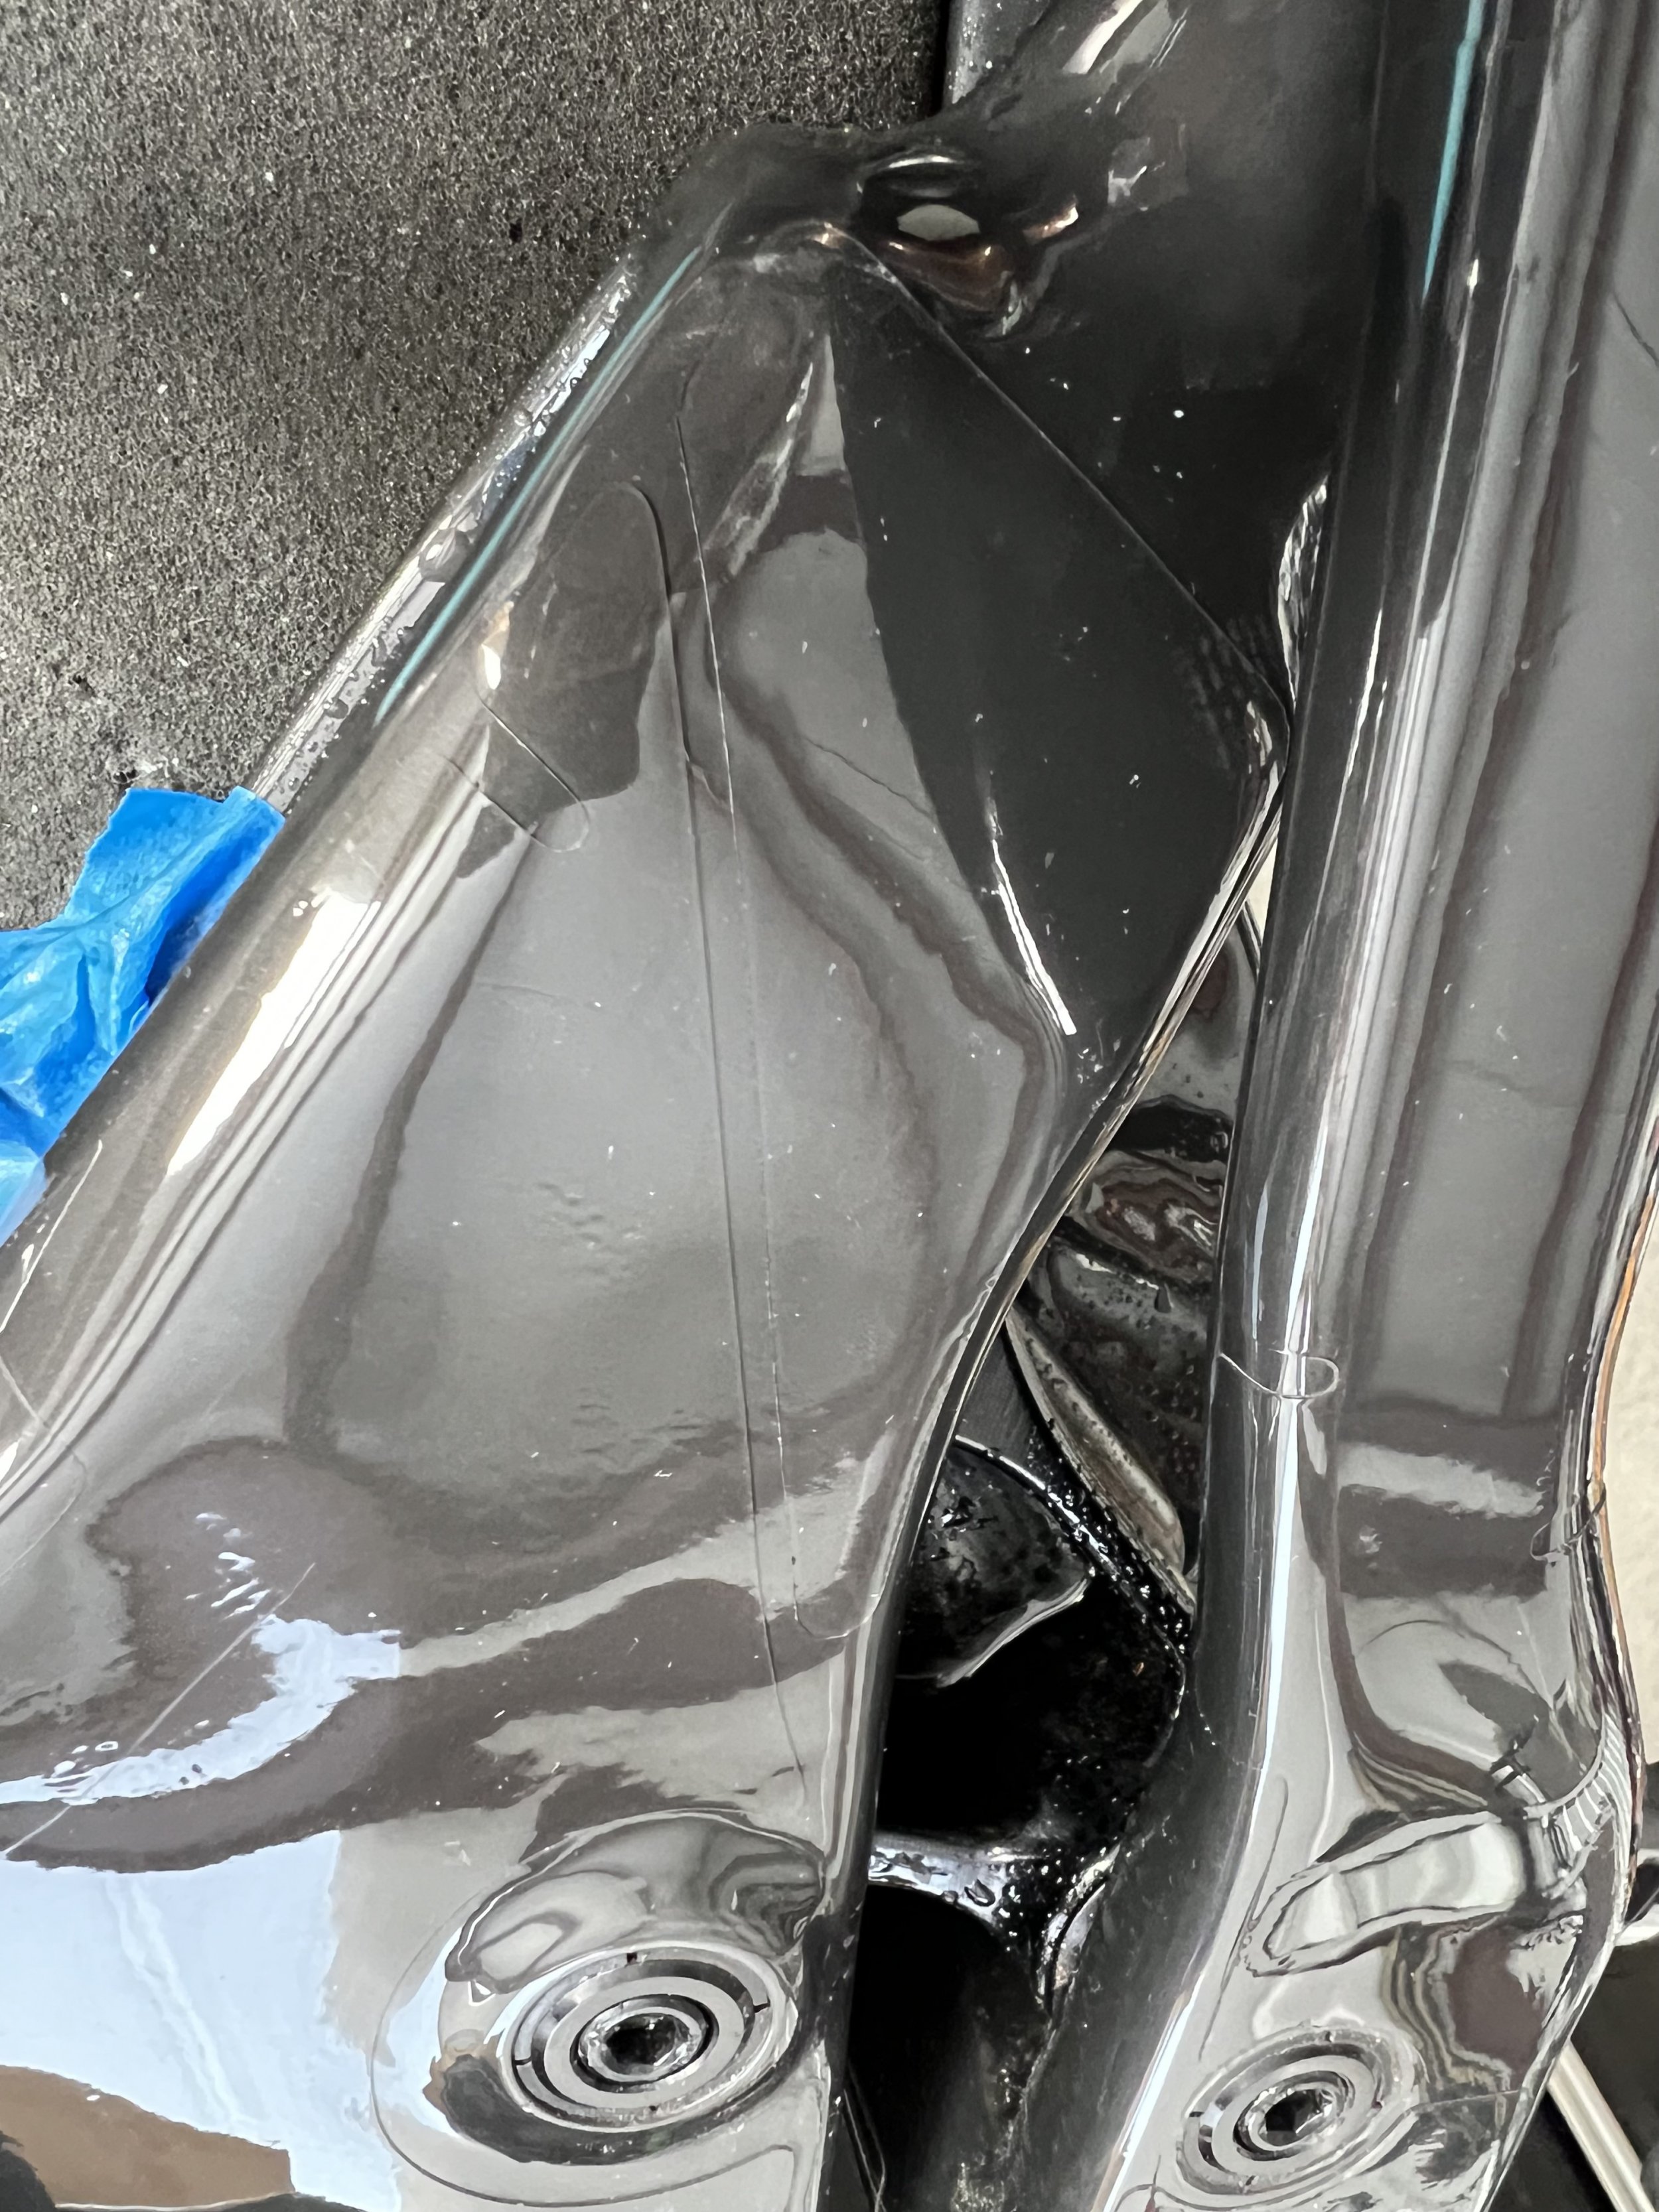
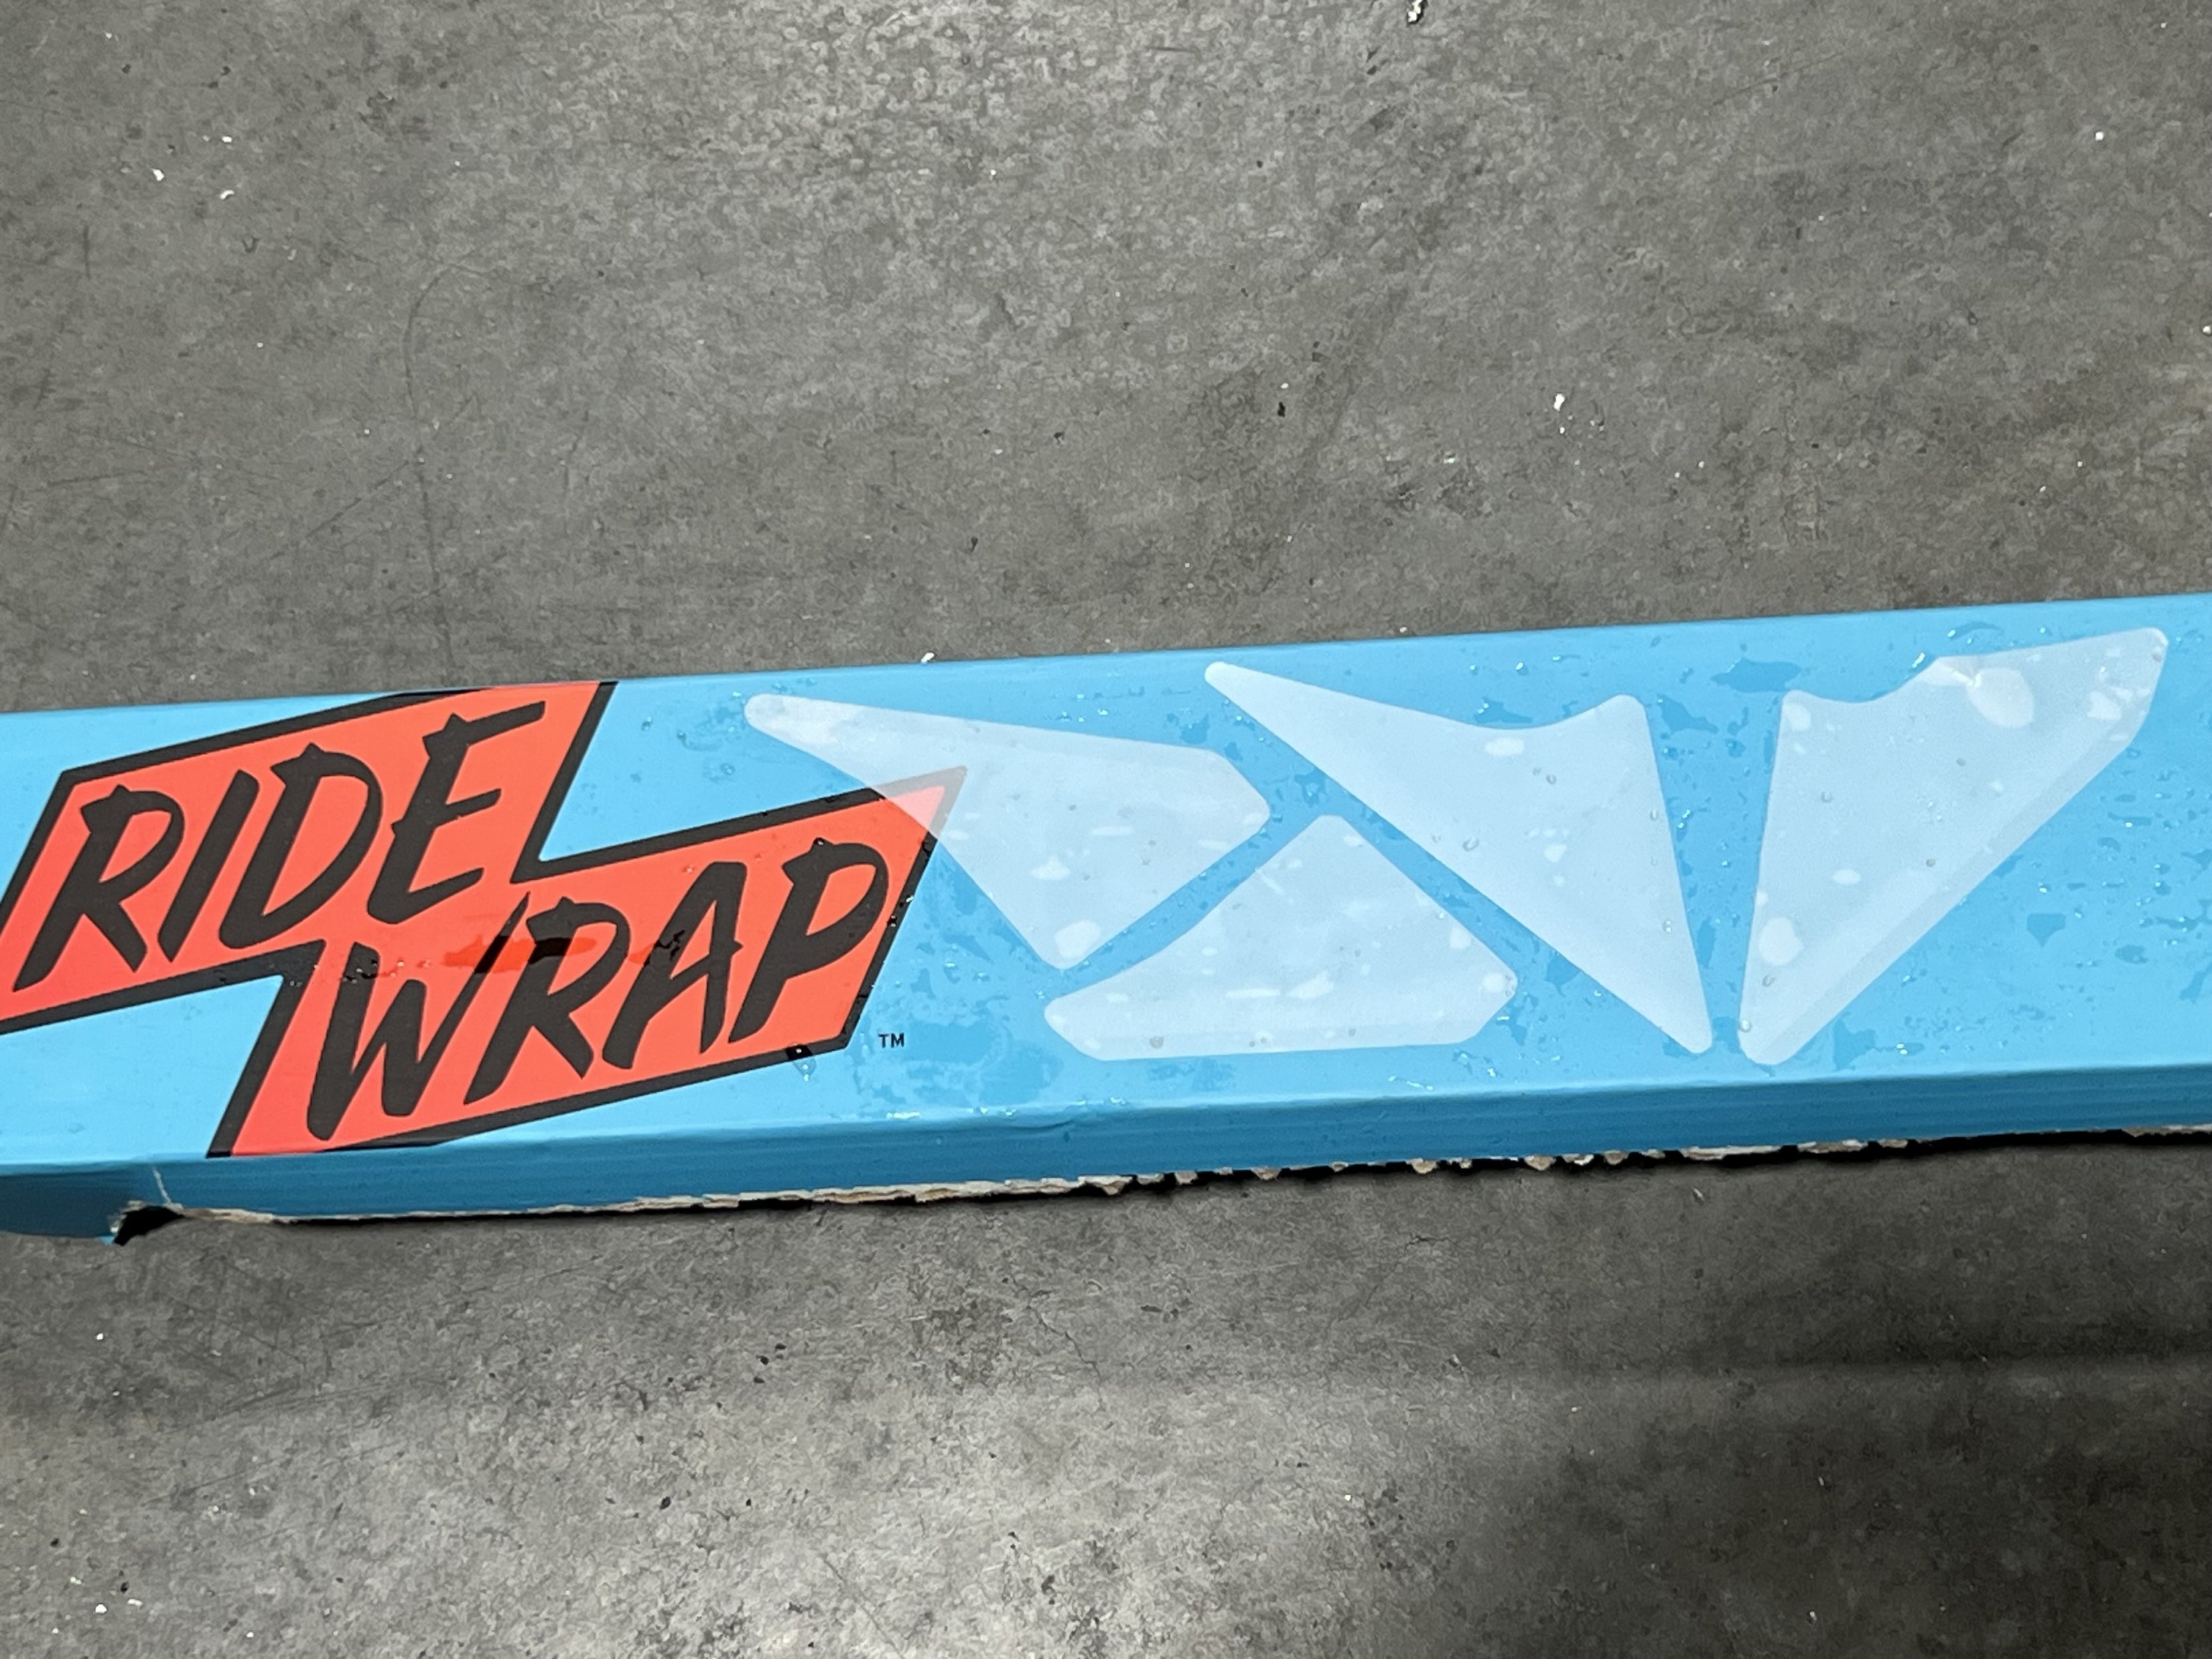
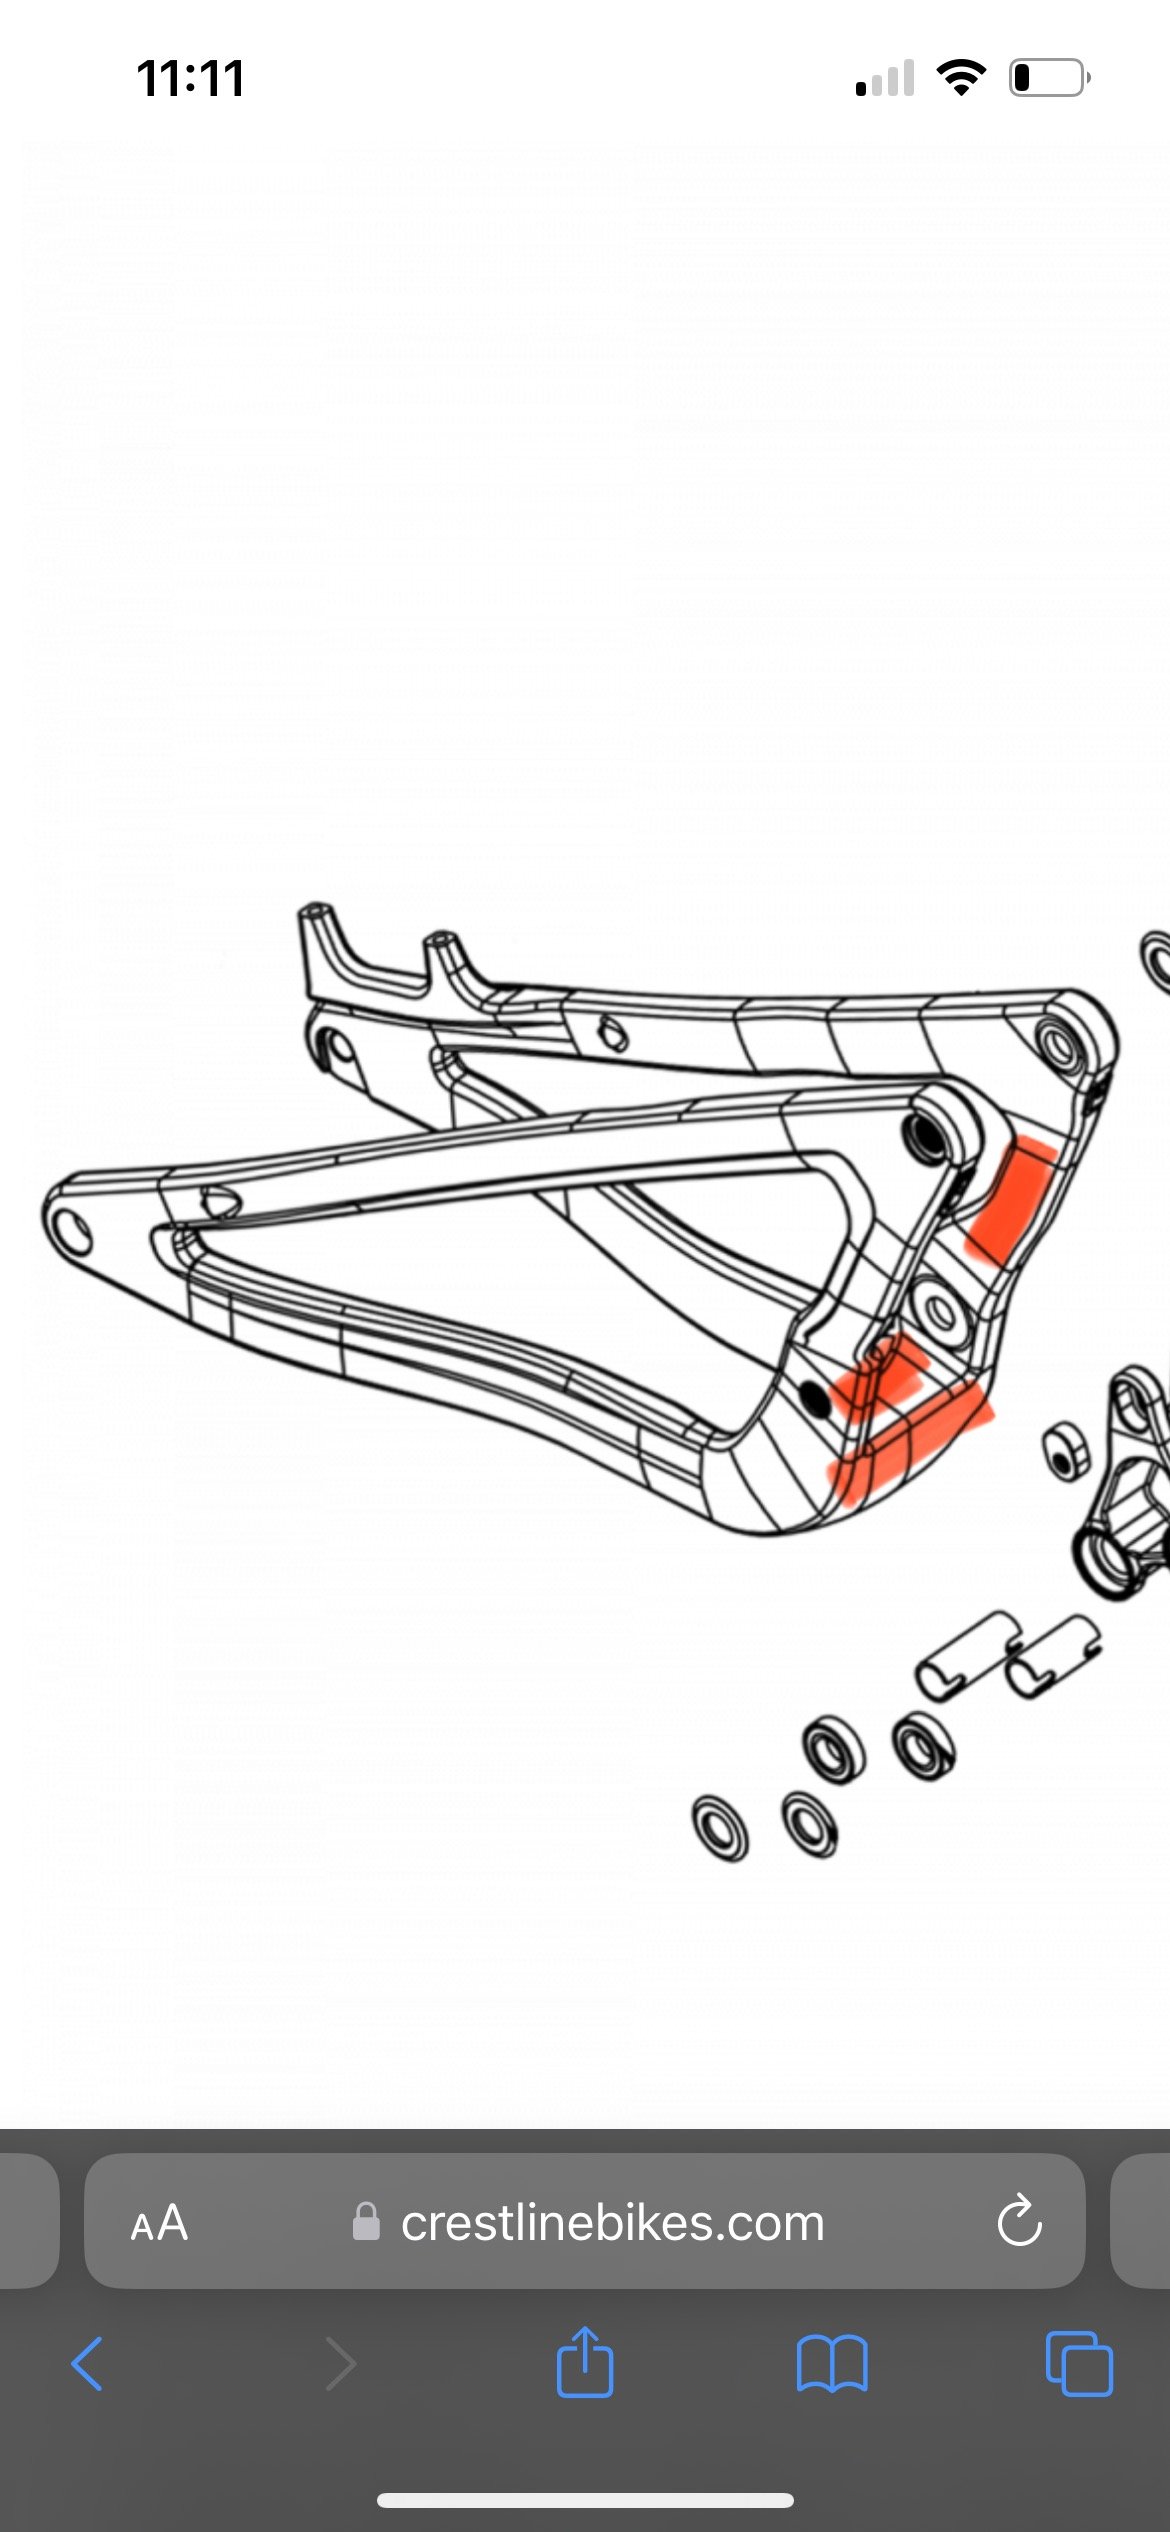
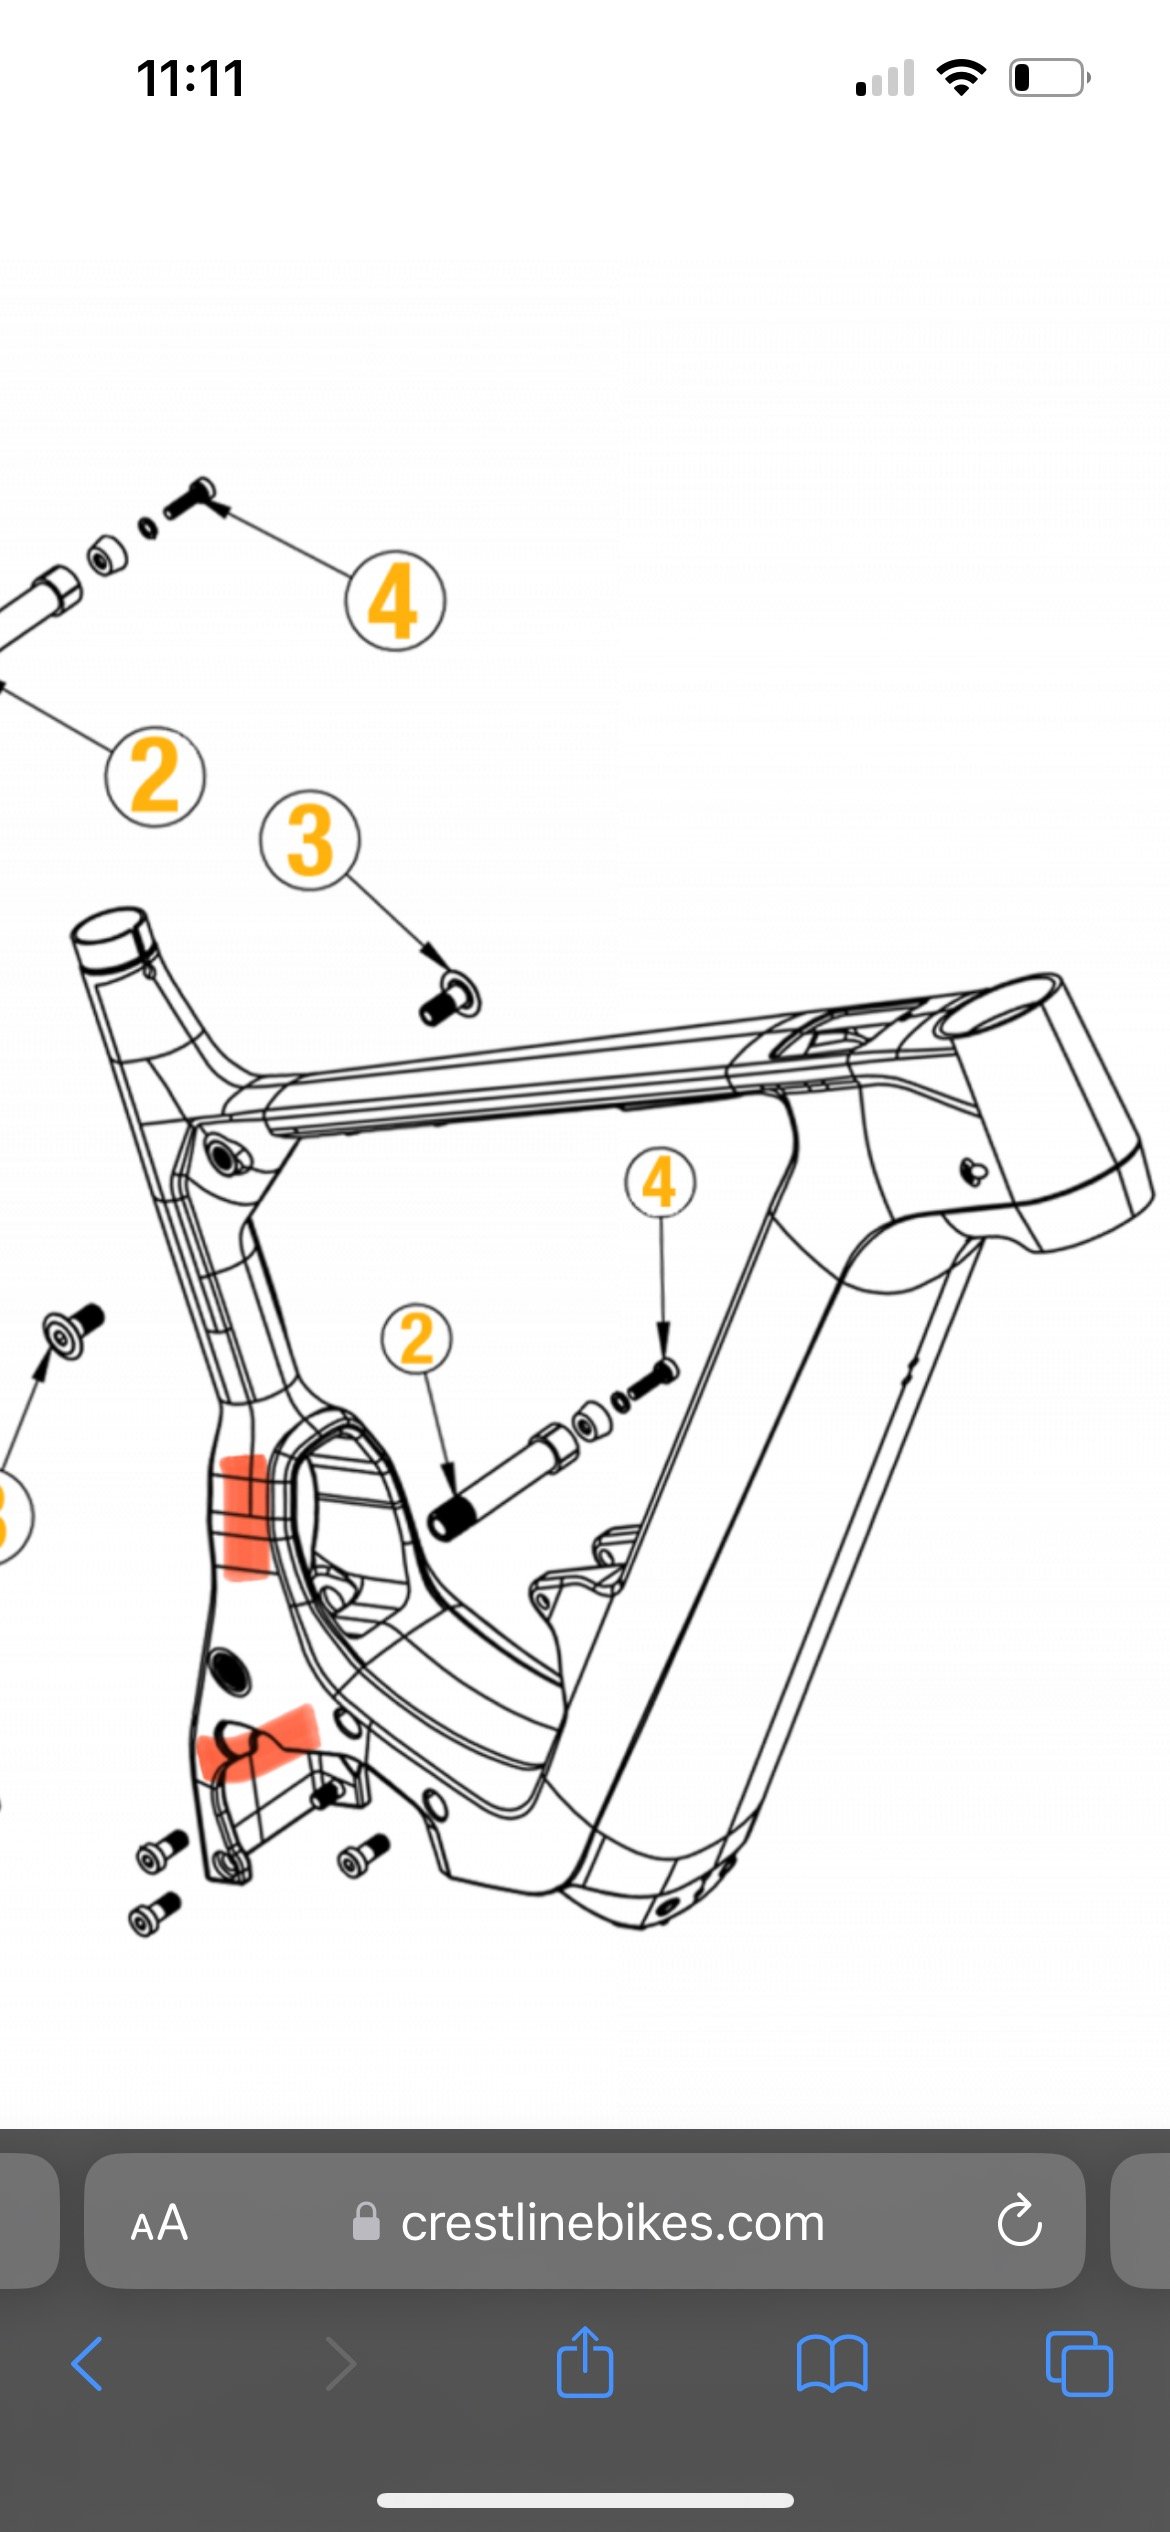
I also applied extra wrap to some other areas shown in red in the last two pics, which get hit with rocks from the rear tire. I did these areas while I was swapping out the 175mm link for the new 180mm link.


Last edited:
Similar threads
EMTB Forums
Since 2018
Join Our Community
The World's largest electric mountain bike community.
- 554K
- Messages
- 28,010
- Members
Latest articles
-
2025 M1 Sporttechnik EN 8.0 review
The M1 EN is one of four M1 models built on the same frame. Well, it’s... -
Bosch-powered Merida is here – the eOne-Sixty SL and eOne-Eighty intro and test
Merida has used Bosch-motors for years, but not on the emtbs. The full...- Knut Nes
- 10 min read
- Views: 5K
- Reaction score: 5
- Comments: 9
