Giant Stance Dropper Cable Routing - Help!

flatspotting

New Member
Feb 20, 2021
7
14
vancouver
Hi everyone - Got a 2021 Giant Stance e and want to get a dropper installed.

I found a few threads here about it - but never any concrete information on routing the cabling.

My main question is, on a 2021 stance is there any way to get the cable past the motor without having to take the motor off.

If you have managed to do this - my questions are, what direction did you route the cable? Any tricks you used to get the the cable past?


So far I have been able to get the cable through the open gromet and down the down tube - into the motor area, and then I lose it. I cant seem to ever find it at the bottom of the seat tube.

If I go in from the seat tube downward I just get stuck.


Advice would be very greatly appreciated
 

04fuxake

Active member
Feb 12, 2018
321
205
Porirua, NZ
On my Fathom I had to route the cable around the back of the motor, underneath and then up the downtube. The cable outer is too stiff to go round the front. I did have to pivot the motor out.

I think the motor on the Stance is rotated forward more so you might be able to get it round the front. But you will likely need to drop the motor either way.
 

flatspotting

New Member
Feb 20, 2021
7
14
vancouver
Really appreciate the reply!

Sounds like tomorrow I will be taking off a motor and finding out the hard way how this is gonna go hah.

Did you use any resources taking the motor off - is there any guides out there or manuals or just go for it? (Which I am fine with, but an order of operations always helps)


Cheers and thanks again
 

04fuxake

Active member
Feb 12, 2018
321
205
Porirua, NZ
It’s super simple. Just remove the front bolts and loosen the rear one. The motor should then swing down out ofthe cavity.

Something like this

there may be other things you have to remove on a Stance. I have a Fathom.
 

flatspotting

New Member
Feb 20, 2021
7
14
vancouver
Thank you very much! I actually just got it done haha - just bolting the engine back up now - I basically had to take the engine cover and 2 front bolts off, pivot off the back bolt - run it down the seat tube, find it in the tiny gap above the motor and used needle nose to guide it into the battery area and up.

phew.
 

Carajean

Member
Aug 15, 2020
23
12
Michigan
Thank you very much! I actually just got it done haha - just bolting the engine back up now - I basically had to take the engine cover and 2 front bolts off, pivot off the back bolt - run it down the seat tube, find it in the tiny gap above the motor and used needle nose to guide it into the battery area and up.

phew.
Do you know what tool you used to get the bolt off. I tried a 4mm Allen and it won't budge. I know an old thread
 

flatspotting

New Member
Feb 20, 2021
7
14
vancouver
They were Torx (I thought allen at first too and partially stripped one trying OOPS!) but once I actually used a light to take a proper look yeah... they are torx just cant remember the exact size
 

flatspotting

New Member
Feb 20, 2021
7
14
vancouver
Here is a terrible image, excuse the red blocks blocking out some more personal info/stuff

But basically, took the plastic cover off, think it was 3 bolts or so... but 1 or 2 were annoying behind the front cassette, I managed to get them out/back in without removing cranks/pedals/casette at all.

Once the cover was off, I took off the 2 front engine mount bolts, then could run it through.


***** I also did my dads 2021 Giant Fathom E, and it was slightly different., there was no room above the motor and we had to route it a bit different, but the same steps apply, its just a bit annoying but with some patience its not especially difficult.


PXL_20210222_052128659.MP.jpg
 

Carajean

Member
Aug 15, 2020
23
12
Michigan
Here is a terrible image, excuse the red blocks blocking out some more personal info/stuff

But basically, took the plastic cover off, think it was 3 bolts or so... but 1 or 2 were annoying behind the front cassette, I managed to get them out/back in without removing cranks/pedals/casette at all.

Once the cover was off, I took off the 2 front engine mount bolts, then could run it through.


***** I also did my dads 2021 Giant Fathom E, and it was slightly different., there was no room above the motor and we had to route it a bit different, but the same steps apply, its just a bit annoying but with some patience its not especially difficult.


View attachment 57153
Thank you so oooohhh much! Off to the store I go.
 

04fuxake

Active member
Feb 12, 2018
321
205
Porirua, NZ
Just watch the cable bend out the bottom of the seat tube. I found once the motor is installed again, it locks the cable in place so I had to get the length of the seatpost right first.
 

KuRi

Active member
May 30, 2019
376
186
Spain
Here is a terrible image, excuse the red blocks blocking out some more personal info/stuff

But basically, took the plastic cover off, think it was 3 bolts or so... but 1 or 2 were annoying behind the front cassette, I managed to get them out/back in without removing cranks/pedals/casette at all.

Once the cover was off, I took off the 2 front engine mount bolts, then could run it through.


***** I also did my dads 2021 Giant Fathom E, and it was slightly different., there was no room above the motor and we had to route it a bit different, but the same steps apply, its just a bit annoying but with some patience its not especially difficult.


View attachment 57153
Thanks for this picture! I have just ordered a dropper seatpost for my fathom e+2 pro 2019... Can you please tell me more about the routing needed for the fathom? Did you need to pass the cable under the motor? Same screws removal? Thanks!!!!
 

04fuxake

Active member
Feb 12, 2018
321
205
Porirua, NZ
My gut feel, based on pics from the Giant website, is you will be going around the back and under the motor. To be sure, you will have to probably remove the covers and the motor to see what options you have for that frame.
 

AoeAoe

New Member
Mar 17, 2022
1
0
France
I have dropped the cable down the seatpost tube with endpoint connector first , fished it from battery/engine side using smaller L shaped hex wrench. Afterwars I simply used the cable to "ride" the bowden I pushed down the tube. Once the bowden is trough, I pulled the cable from bottom and pushed it in correct way from top of the seatpost.

I tried removing the engine out of the way but I has proven to be absolute pain in the <...>.
 

ro1ex

New Member
Apr 3, 2022
26
20
Australia
Hi all,
Recently installed a dropper on my Stance e+2 and wish I had found this forum before doing so.

My learnings include buying a dropper that has the cable terminating at the lever, rather than at the bottom of the dropper. This I think would be much easier.

Removed the battery, and then loosened off the metal battery connector plate at the bottom so as to give some room into the wires above the motor.

Routing the cables was a pain, but did so without removing or dropping the motor. Dropped a nut tied to a bit of pink string down the seat tube and then put the bike up on its front wheel to let gravity assist in dropping the nut down past the top of the motor.

Fished the string out with a bit of wire with a hook on the end and then fed the cable housing down from the bars and tied it to the string and gently pulled it back up the seat tube...

Happy dayz...

Hope this helps someone else.
 

Vanner

New Member
Feb 26, 2023
1
1
Ottawa, Ontario
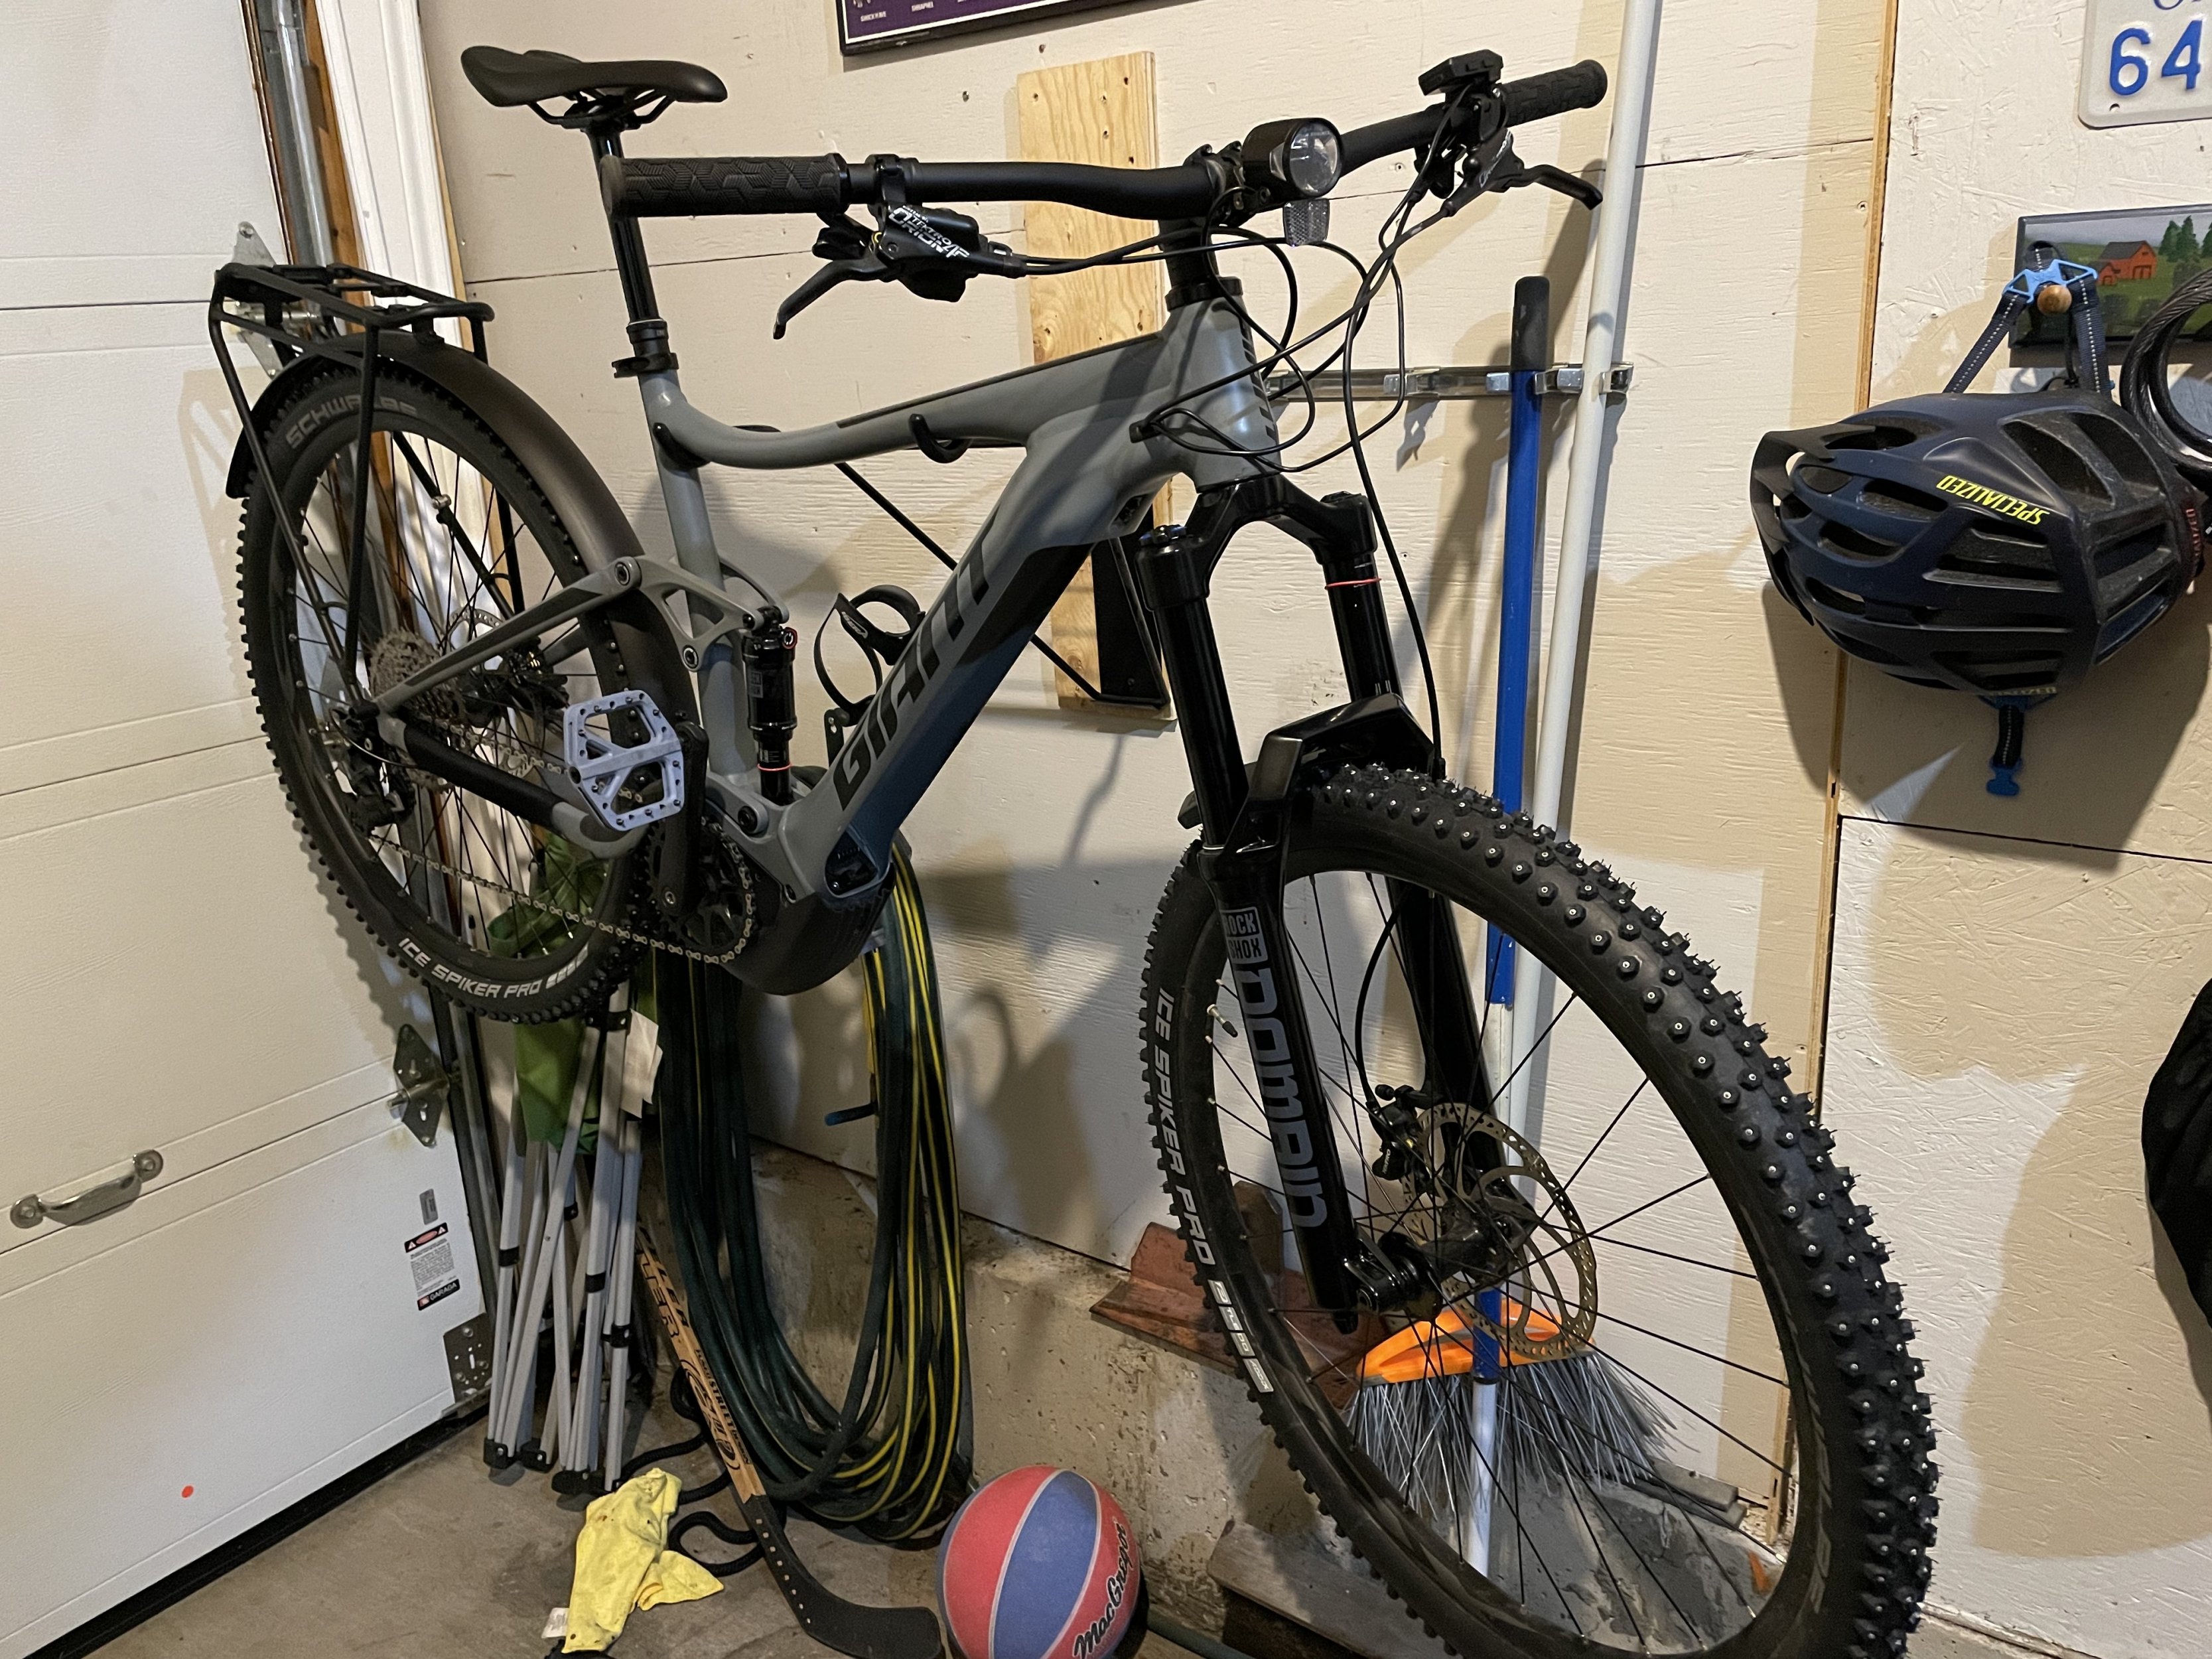
Chiming in here In case someone comes across this forum - I just installed a 150mm one up V2 dropper in my 2022 Giant Stance E+ (large)

The one up v2 is great due to its shorter body length - I was able to fit a 150mm instead of 125mm dropper even with that hinge point for the rear shock that goes right through the seat tube.

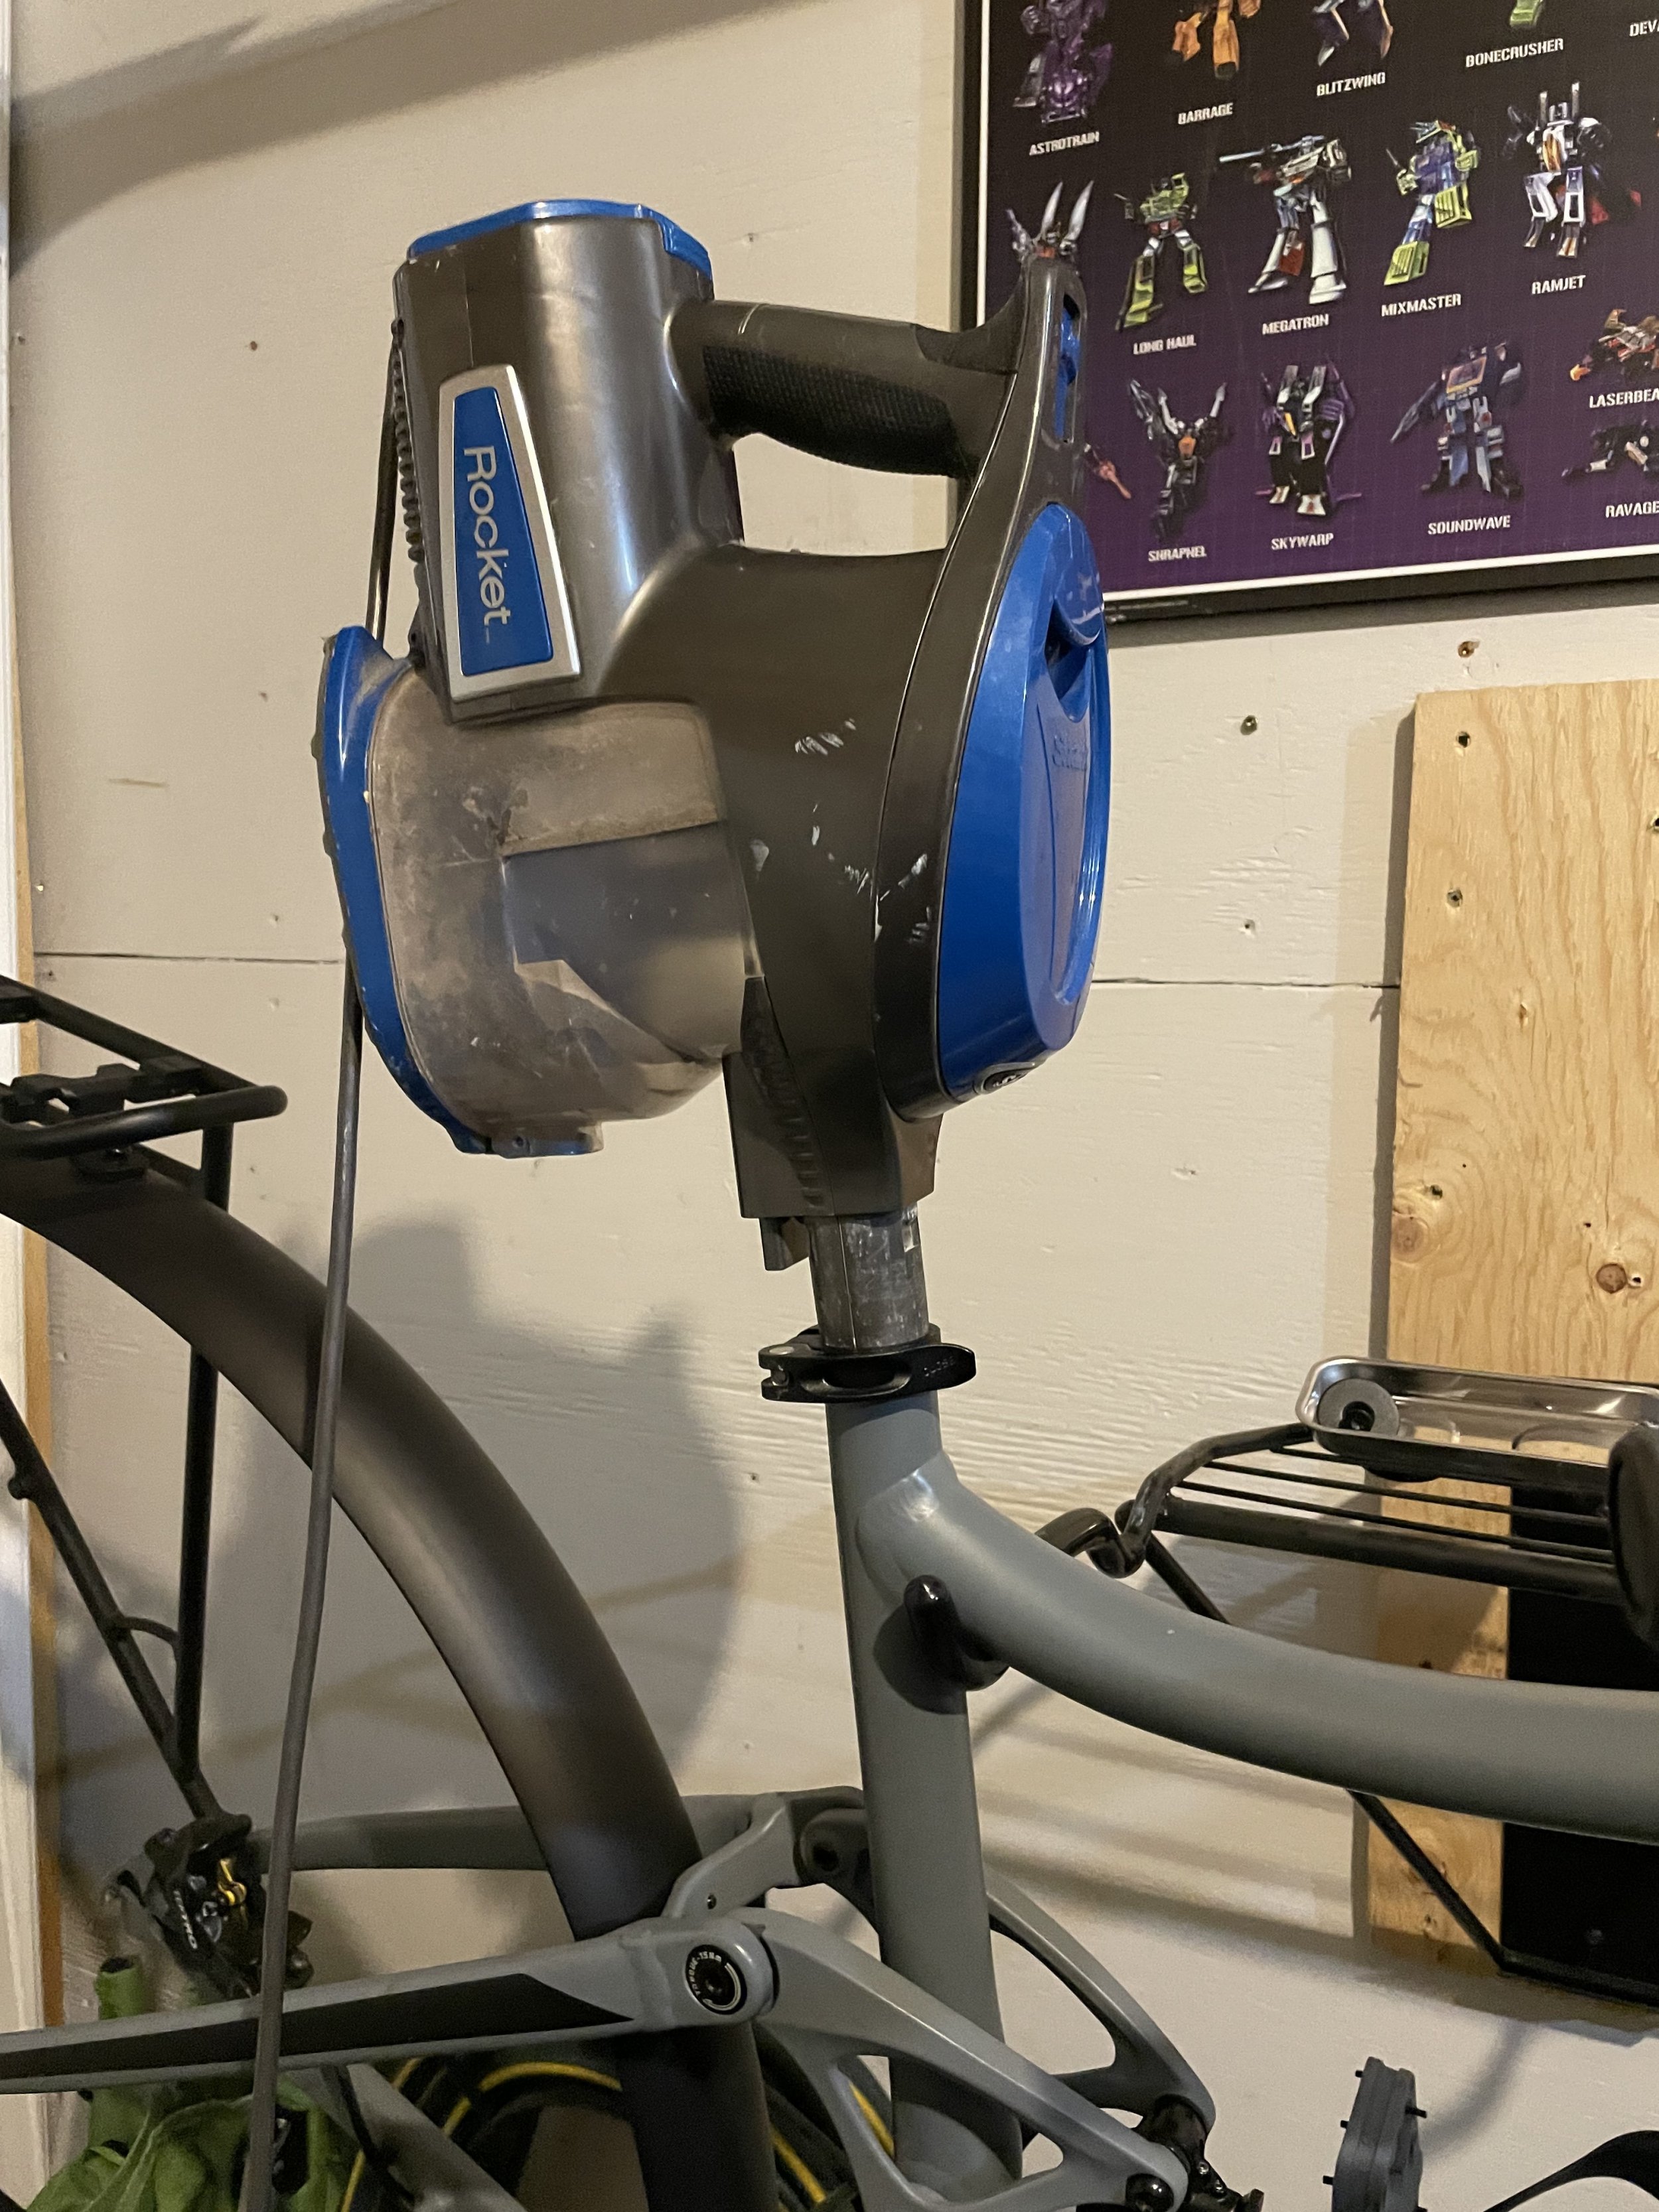
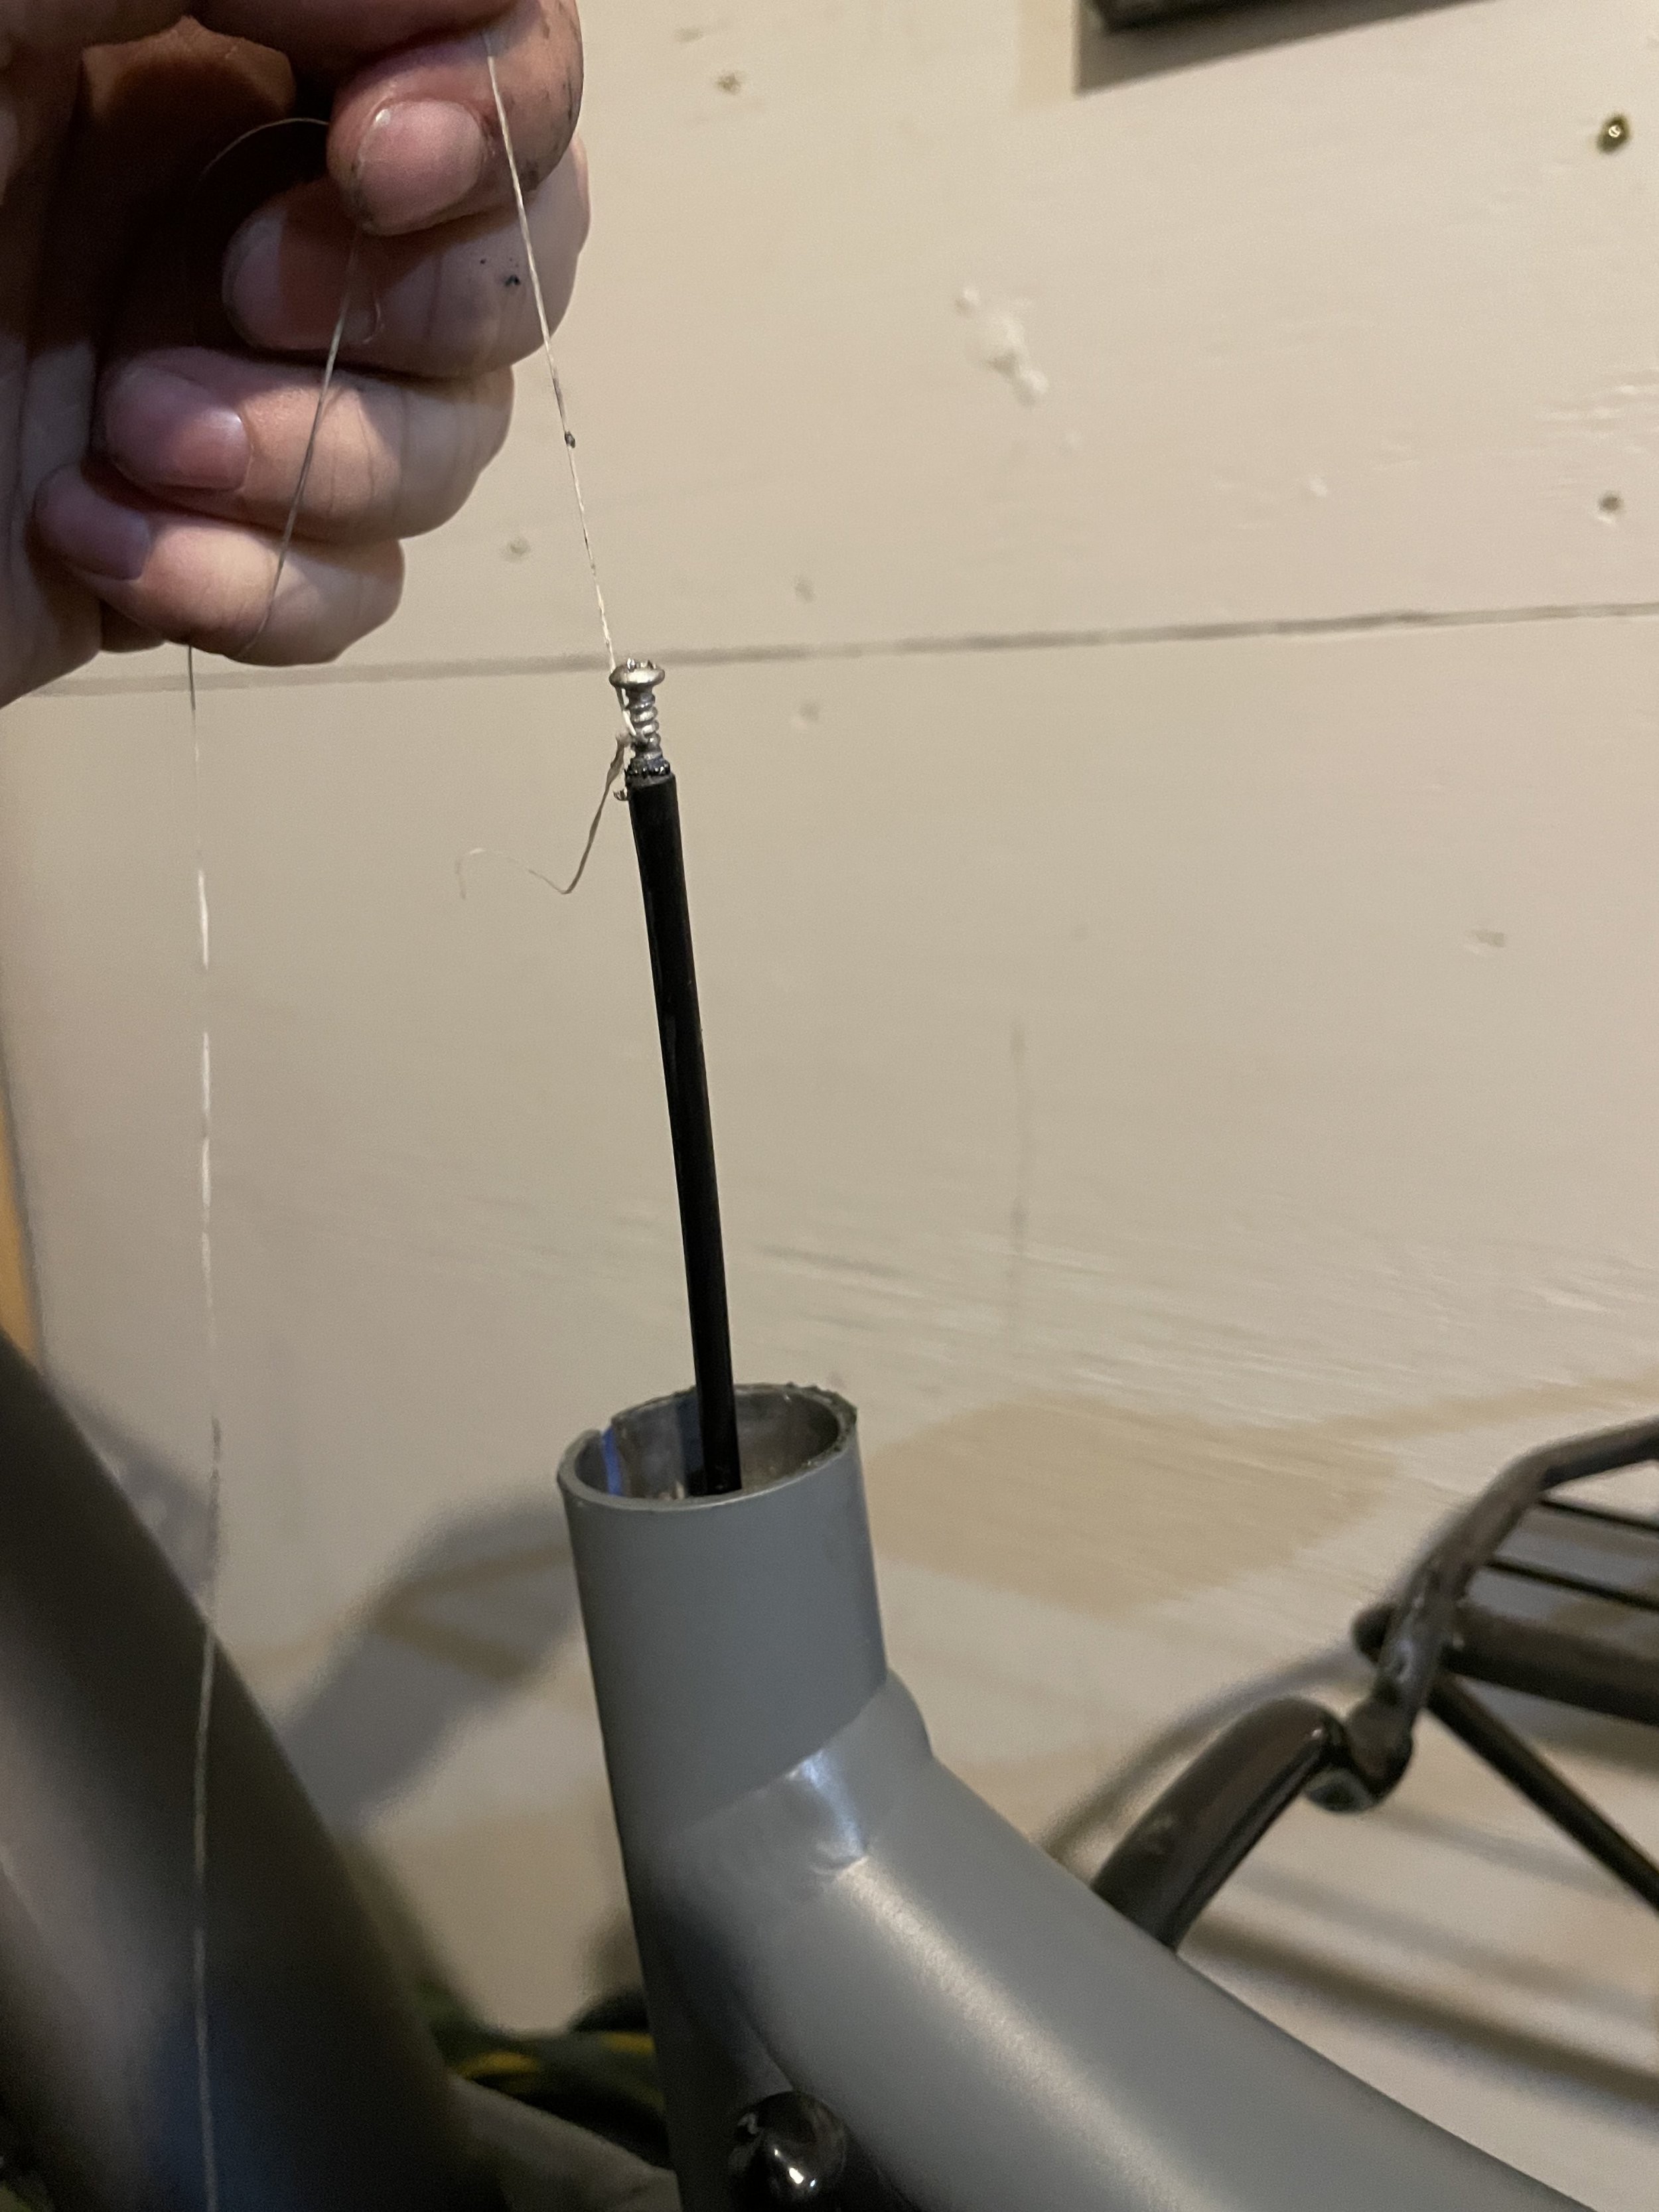
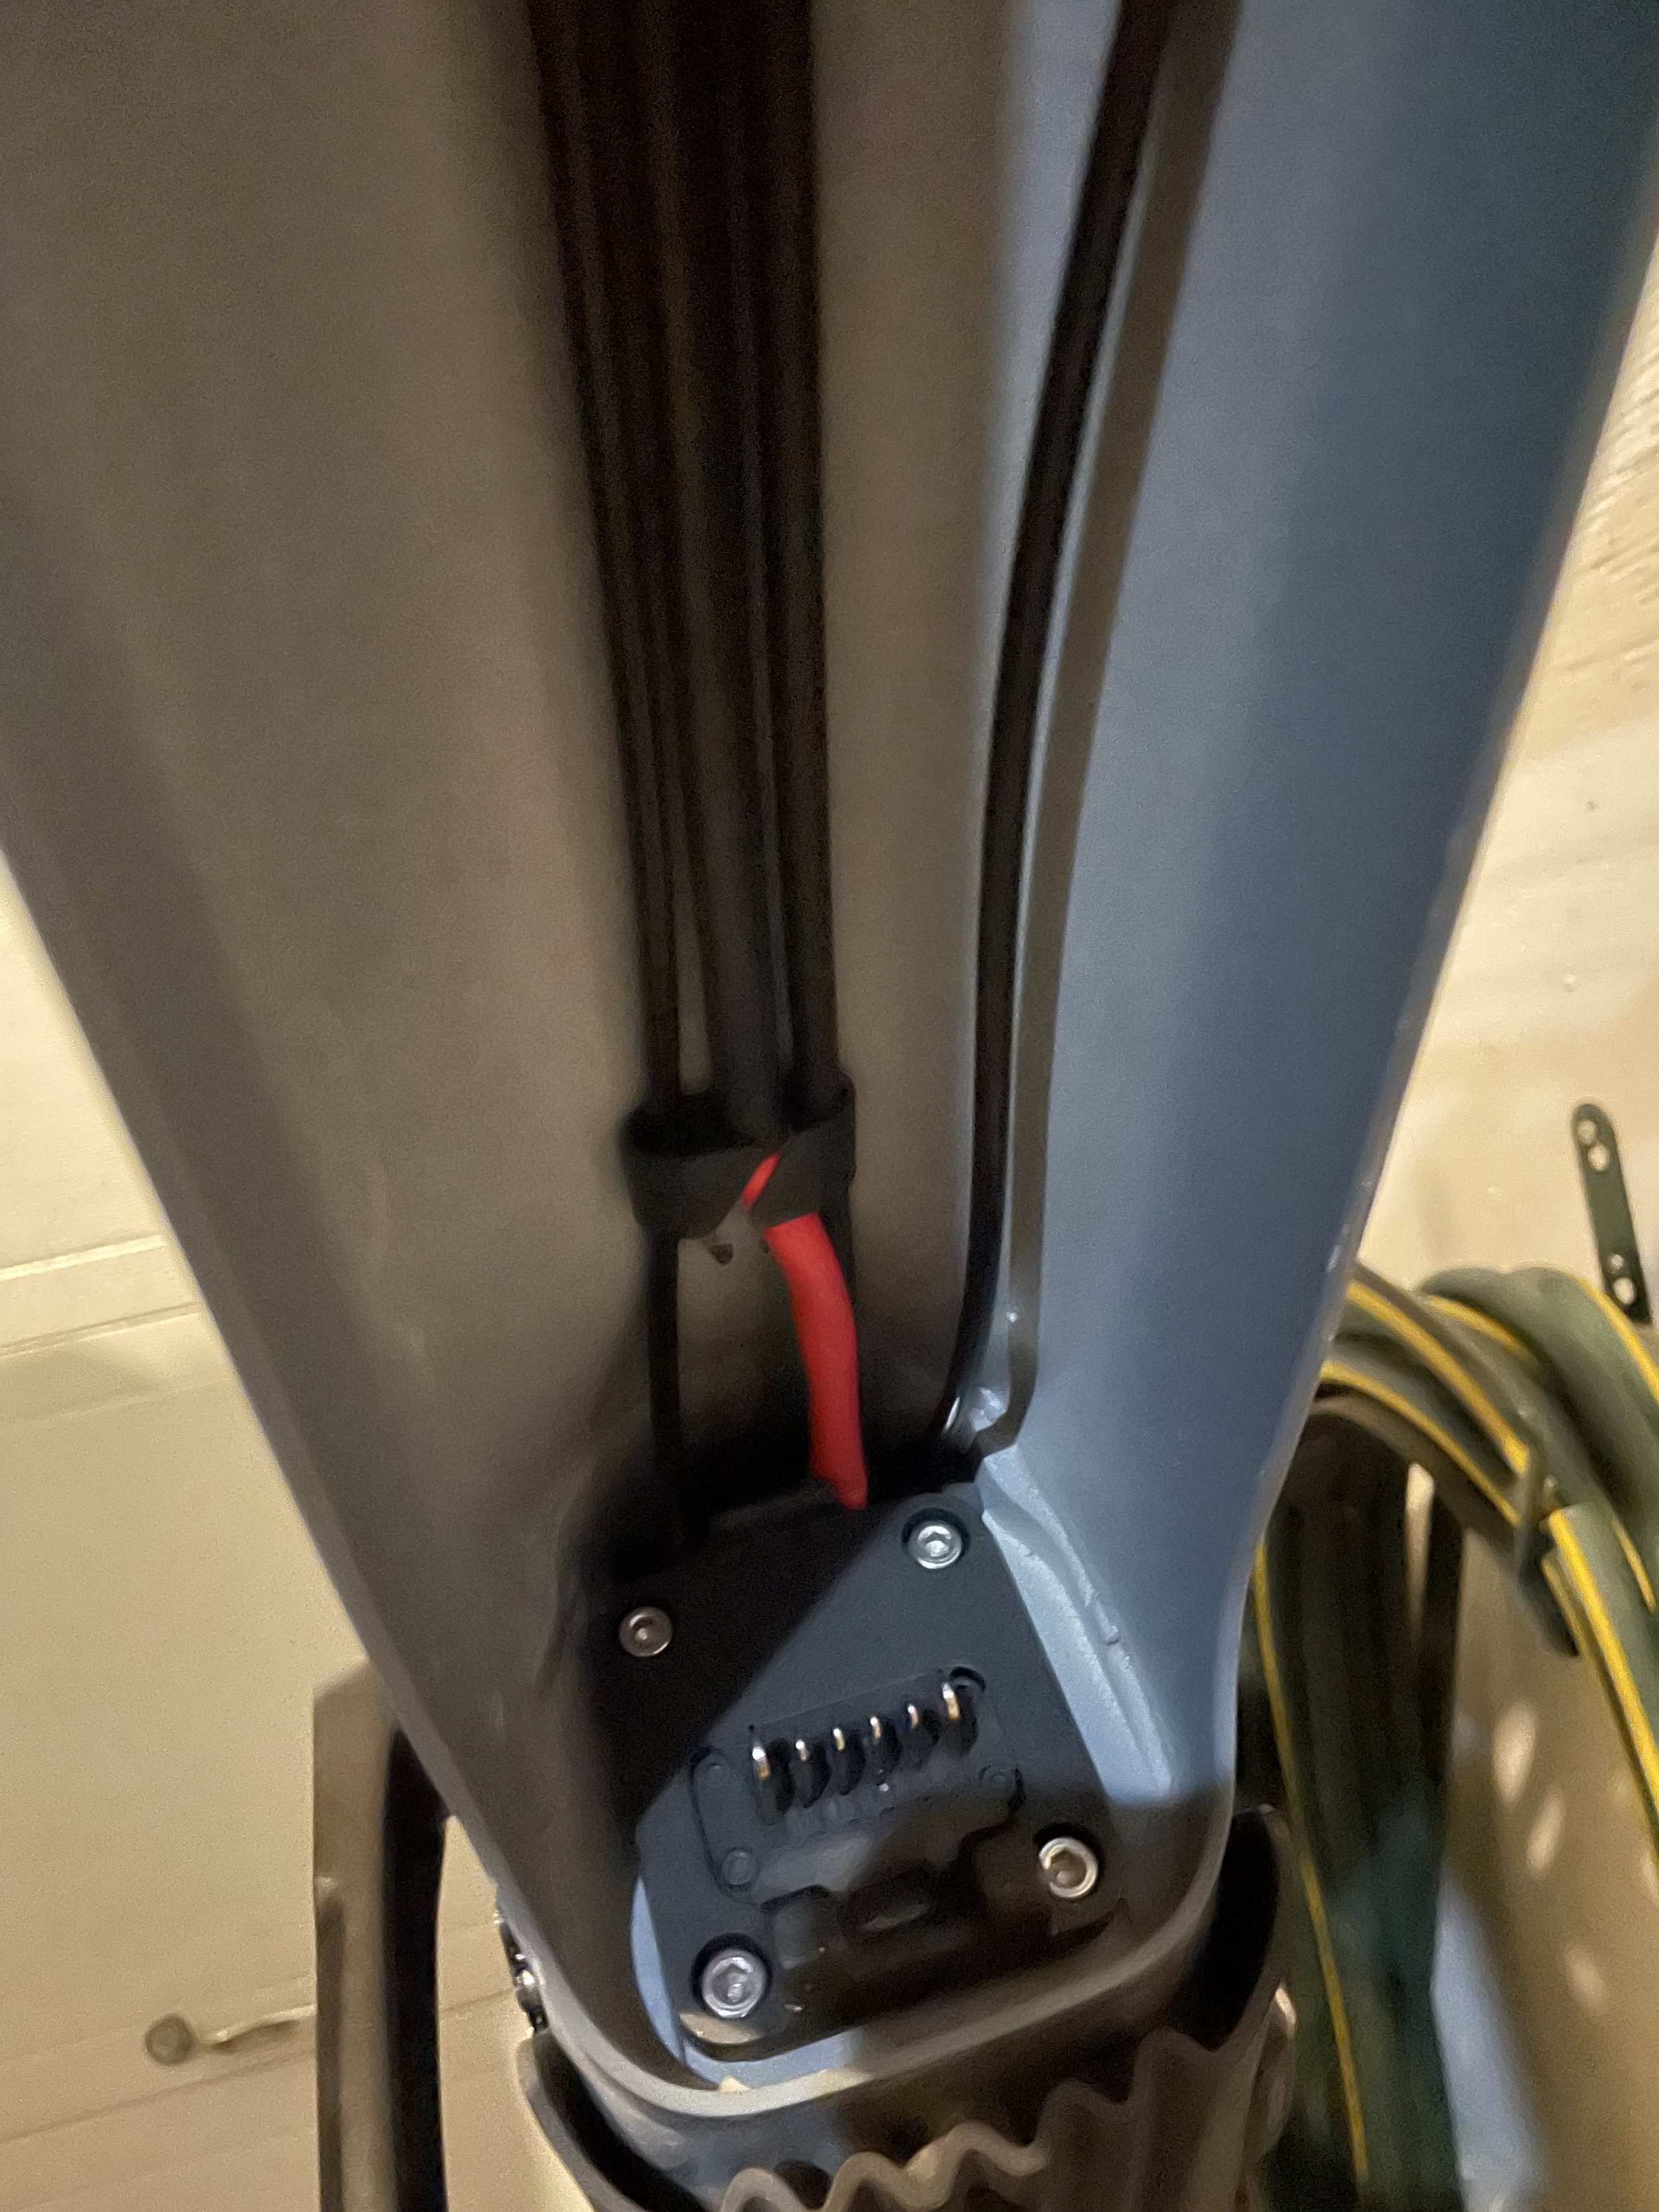
Was very easy - after reading around a few people mention dropping the motor this is not needed - we used a vacume in the seat post with some dental floss and it sucked right past the battery connector and around the bottom shock and up the seat tube - we were able to fish the cable housing with the dental floss within 2 minutes.

84753ED8-9D17-4172-81E5-66F53DF3C5AA.jpeg 5E582999-E470-4901-BFF1-0EE1194F9C87.jpeg 6C89566A-3BDE-421F-B7FB-EDE13B559633.jpeg 2B221195-0F90-4AEB-8F7B-14A9B1D4CD44.jpeg
 

Kiwi Giant

Active member
Feb 11, 2020
119
134
New Zealand
I installed a Rainier Gen 3 Dropper Post & Loam Lever from PNW Components based in Seattle WA in March 2002, it's operated faultlessly for over a year and I'm very impressed with the quality. Their service was great and it came with a lifetime warranty, they shipped internationally and the kit came with the dropper post & lever of my choice and all associated parts and a spare cable. It arrived down here in New Zealand very quickly. It is a quality product, well manufactured and they were very helpful answering the questions I had.

The Rainier is also equipped with a tool-less travel adjust system that enables the rider to reduce their dropper’s travel in increments of 5mm thru a range of 30mm adjustment. Great if you're in-between sizes and struggling to find the perfect seat height.

My Stance is a large frame and after doing the measurements I initially ordered their 150mm travel length dropper post using advise from the PNW Components online calculator, fortunately I double checked my frame measurements against their stated measurements for the Rainier Gen 3 Dropper Post. I realised that the maximum insertion length I can have from the top of the seat collar to the suspension pivot is 240mm. The 150mm dropper post would just fit, but there could be interference with the lower actuating mechanism and the suspension pivot. I changed my order to the 125mm travel length model and this has worked well. The Stance's seat tube diameter is 30.9mm

Installation was not overly difficult. I removed the lower bash guard and side covers, then the two rear motor mount bolts and ran the cable across the top of the motor, up the battery tube and out the RHS and across to the handlebar. You were lucky being able to fish the pilot through the maze of wires and connectors above the motor. Giant's wiring stowage is a nightmare and I don't think that you could guarantee being able to do this on every bike.
 

EMTB Forums

Since 2018

The World's largest electric mountain bike community.

556K
Messages
28,081
Members
Join Our Community

Latest articles


Top