You are using an out of date browser. It may not display this or other websites correctly.
You should upgrade or use an alternative browser.
You should upgrade or use an alternative browser.
Broken bolts on Bosch CX motor
- Thread starter Jona
- Start date
- Thread starter
- #2
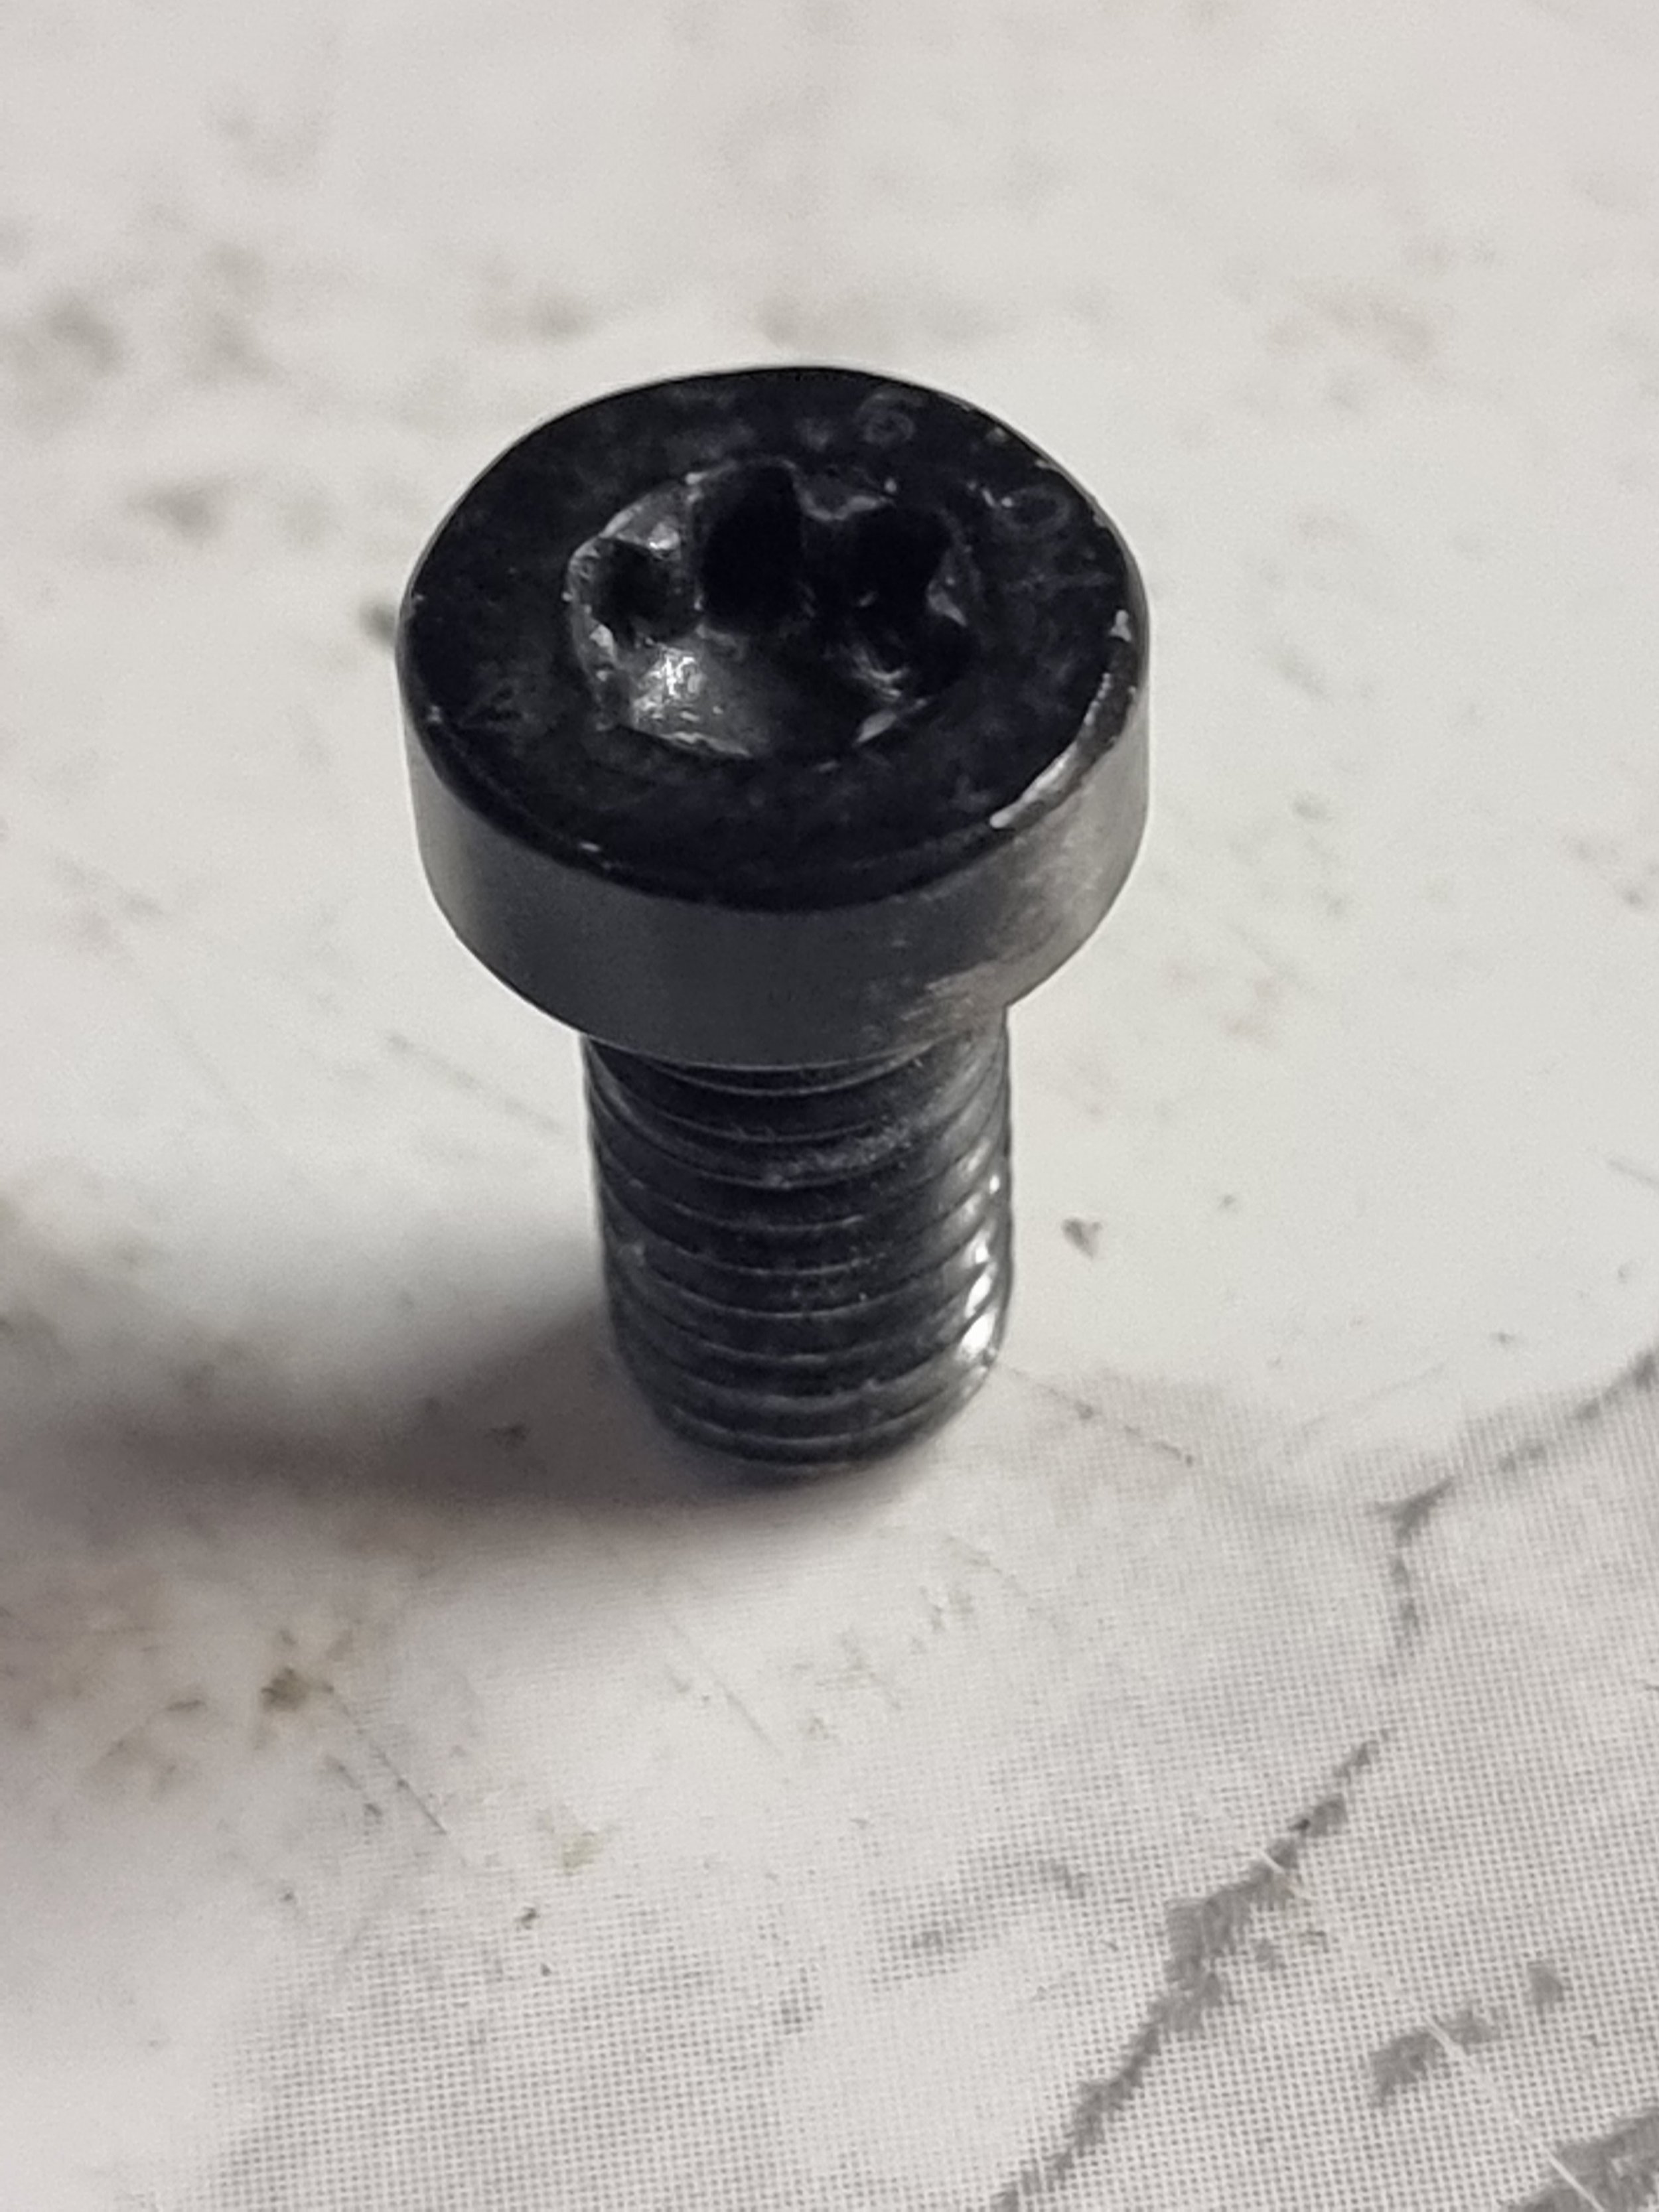
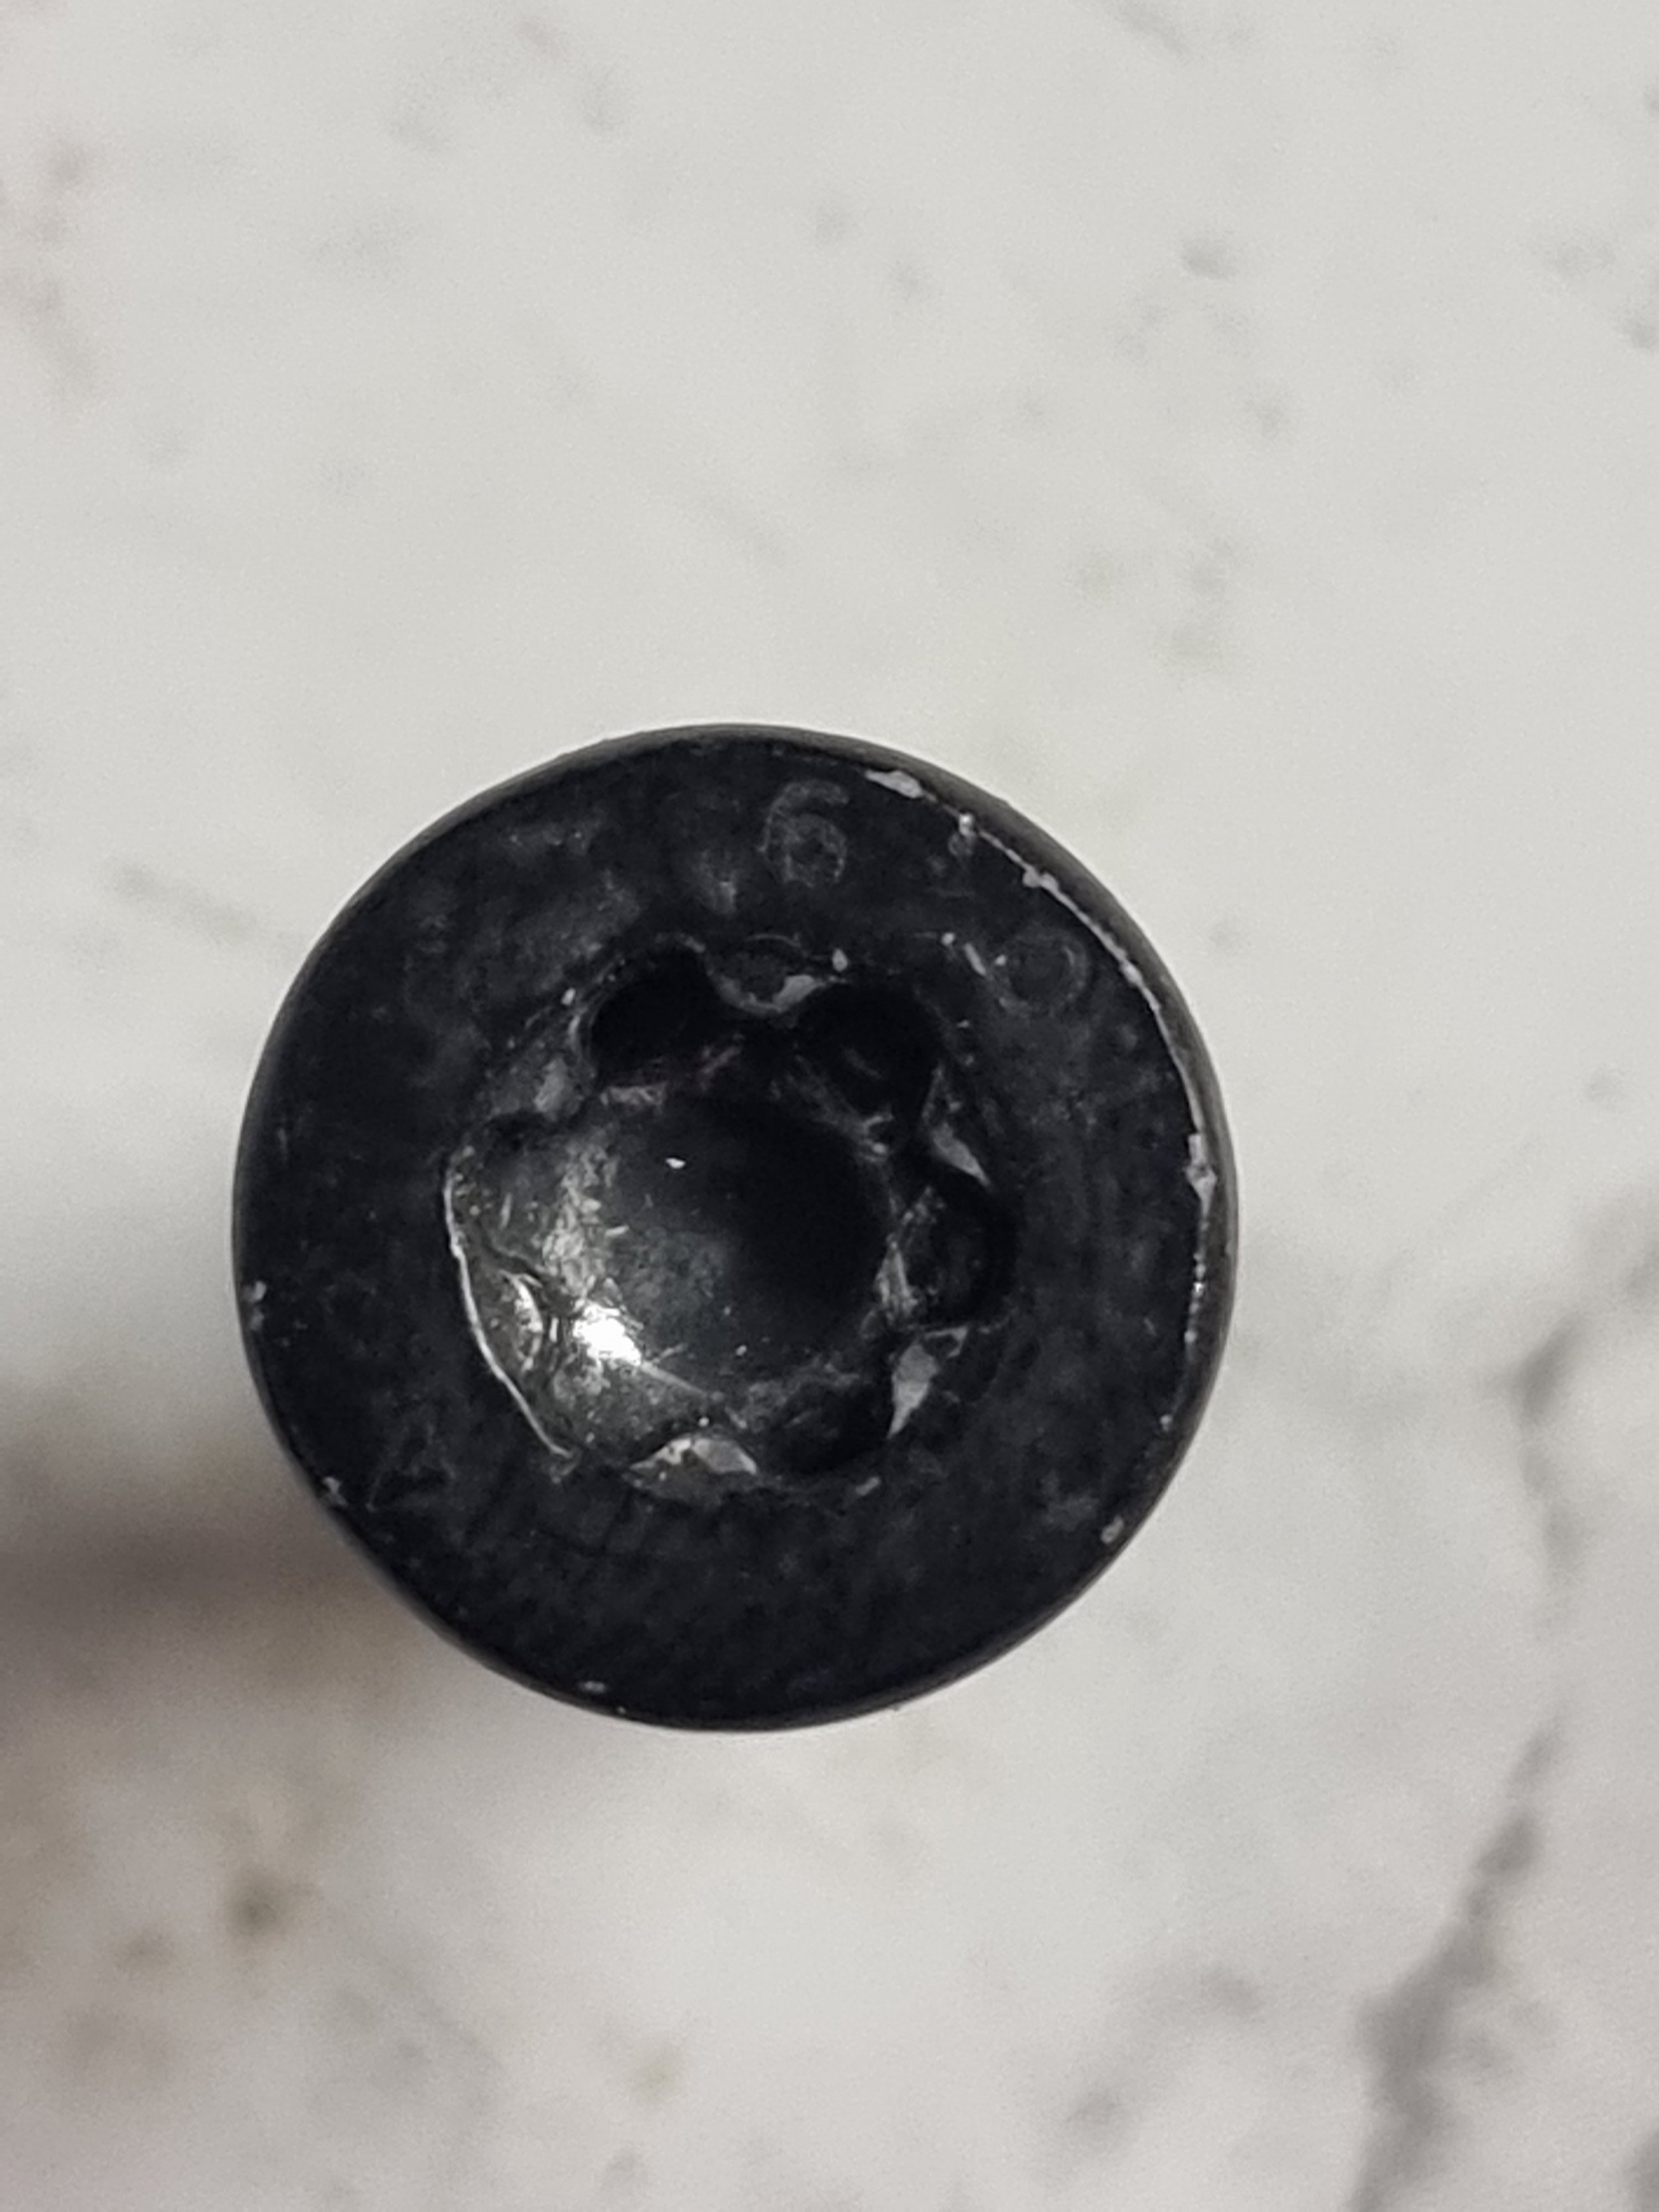
I have found this Broken Bosch motor mount bolts!
- Thread starter
- #3
If anyone would ever have this problem. This is how I solved it.
I bought left taps (ez out) to remove the broken bolt.


I replaced with stronger screws. Tensile strength of 10.9. zinc plated. Because stainless could cause contact corrosion with magnesium case. The screw bits are 5 point torx (ts) with hole.
I bought left taps (ez out) to remove the broken bolt.
I replaced with stronger screws. Tensile strength of 10.9. zinc plated. Because stainless could cause contact corrosion with magnesium case. The screw bits are 5 point torx (ts) with hole.
If anyone would ever have this problem. This is how I solved it.
I bought left taps (ez out) to remove the broken bolt.
View attachment 50725
View attachment 50726
View attachment 50724
I replaced with stronger screws. Tensile strength of 10.9. zinc plated. Because stainless could cause contact corrosion with magnesium case. The screw bits are 5 point torx (ts) with hole.
I have the same issue Jona. How have you found the fix? Have you have any more Broken Bolts?

M5 x 10mm Socket Button Flange Screw BZP Grade 10.9
Bright Zinc Plated Socket Button Flange Screw M5 x 10mmHigh-tensile bright zinc plated steel screws with a flanged button head. The flanged button head design spreads tension over a wider surface area and acts like a washer by reducing the impact on the surface below. The bright zinc passivation...
Wilbur
Member
Which fasteners are you referring to? The motor bracket screws are not torx plus; they are 5pt pentalobe security bit size 25.Just offering a tip for anyone to prevent rounding the bolts off as I've done this myself. The bolts use a torx plus bit to remove not a standard torx bit. They are very similar but the fit of a torx plus is much better.
Wilbur
Member
Which are not being discussed in this thread...
Wilbur
Member
And now everyone is confusedI replaced mine with stainless Allen bolts. Only because I had them handy and I used a standard torx to remove the original bolts.
Sorry I been on the beerAnd now everyone is confused
What size drill bit did you use for the pilot hole? Did you use the smallest EzE-out? I believe I have the same size eze-out kit. Did you use a drill press and centre the drill bit or a hand drill?If anyone would ever have this problem. This is how I solved it.
I bought left taps (ez out) to remove the broken bolt.
View attachment 50725
View attachment 50726
View attachment 50724
I replaced with stronger screws. Tensile strength of 10.9. zinc plated. Because stainless could cause contact corrosion with magnesium case. The screw bits are 5 point torx (ts) with hole.
This seems like a delicate process, but I really have nothing to loose.
Wilbur
Member
Two broken screws Stihldog? I'd start with the smallest EZE-Out; can always go bigger. What screws are you going to replace them with?
I’m not sure yet. Hopefully I don’t do anymore damage when I remove the broken bolts. The holes in the bracket may be out-of-round also (Two broken screws Stihldog? I'd start with the smallest EZE-Out; can always go bigger. What screws are you going to replace them with?
IMO the bracket may not have been torqued correctly which caused a slight movement until the bolts sheared off. This is my neighbours motor so I can’t attest to the movement before the bolts failed. Regardless, this motor is in perfect condition …other than the broken bolts. I’ll try to remove the broken bolts before I decide on replacement bolts.
Any ideas?
BIG-DUKE-6
Active member
I would go with grade 8 bolts if you can find them. Stainless is too soft .
Wilbur
Member
You can get grade 12.9 alloy steel flanged cap screws, optionally with serrated flanges for extra grip.
 www.emtbforums.com
Rail (625Wh) - you may want to watch this #TREKRAIL
So I've done a little research on replacement M5 screws for Gen 1-3 Bosch motors. The originals are black M5 x 16mm flanged security head (T25 5-pt pentalobe). The 11mm flange is not serrated. The head is ~3mm tall. They don't appear to be thread-forming as the tip isn't blunt-tapered, (even so...
Update; As mentioned my neighbor had sheared two of the bracket screws and likely ovaled the screw holes in the bracket. I didn’t have any luck removing the broken screws (2) from the magnesium casing.
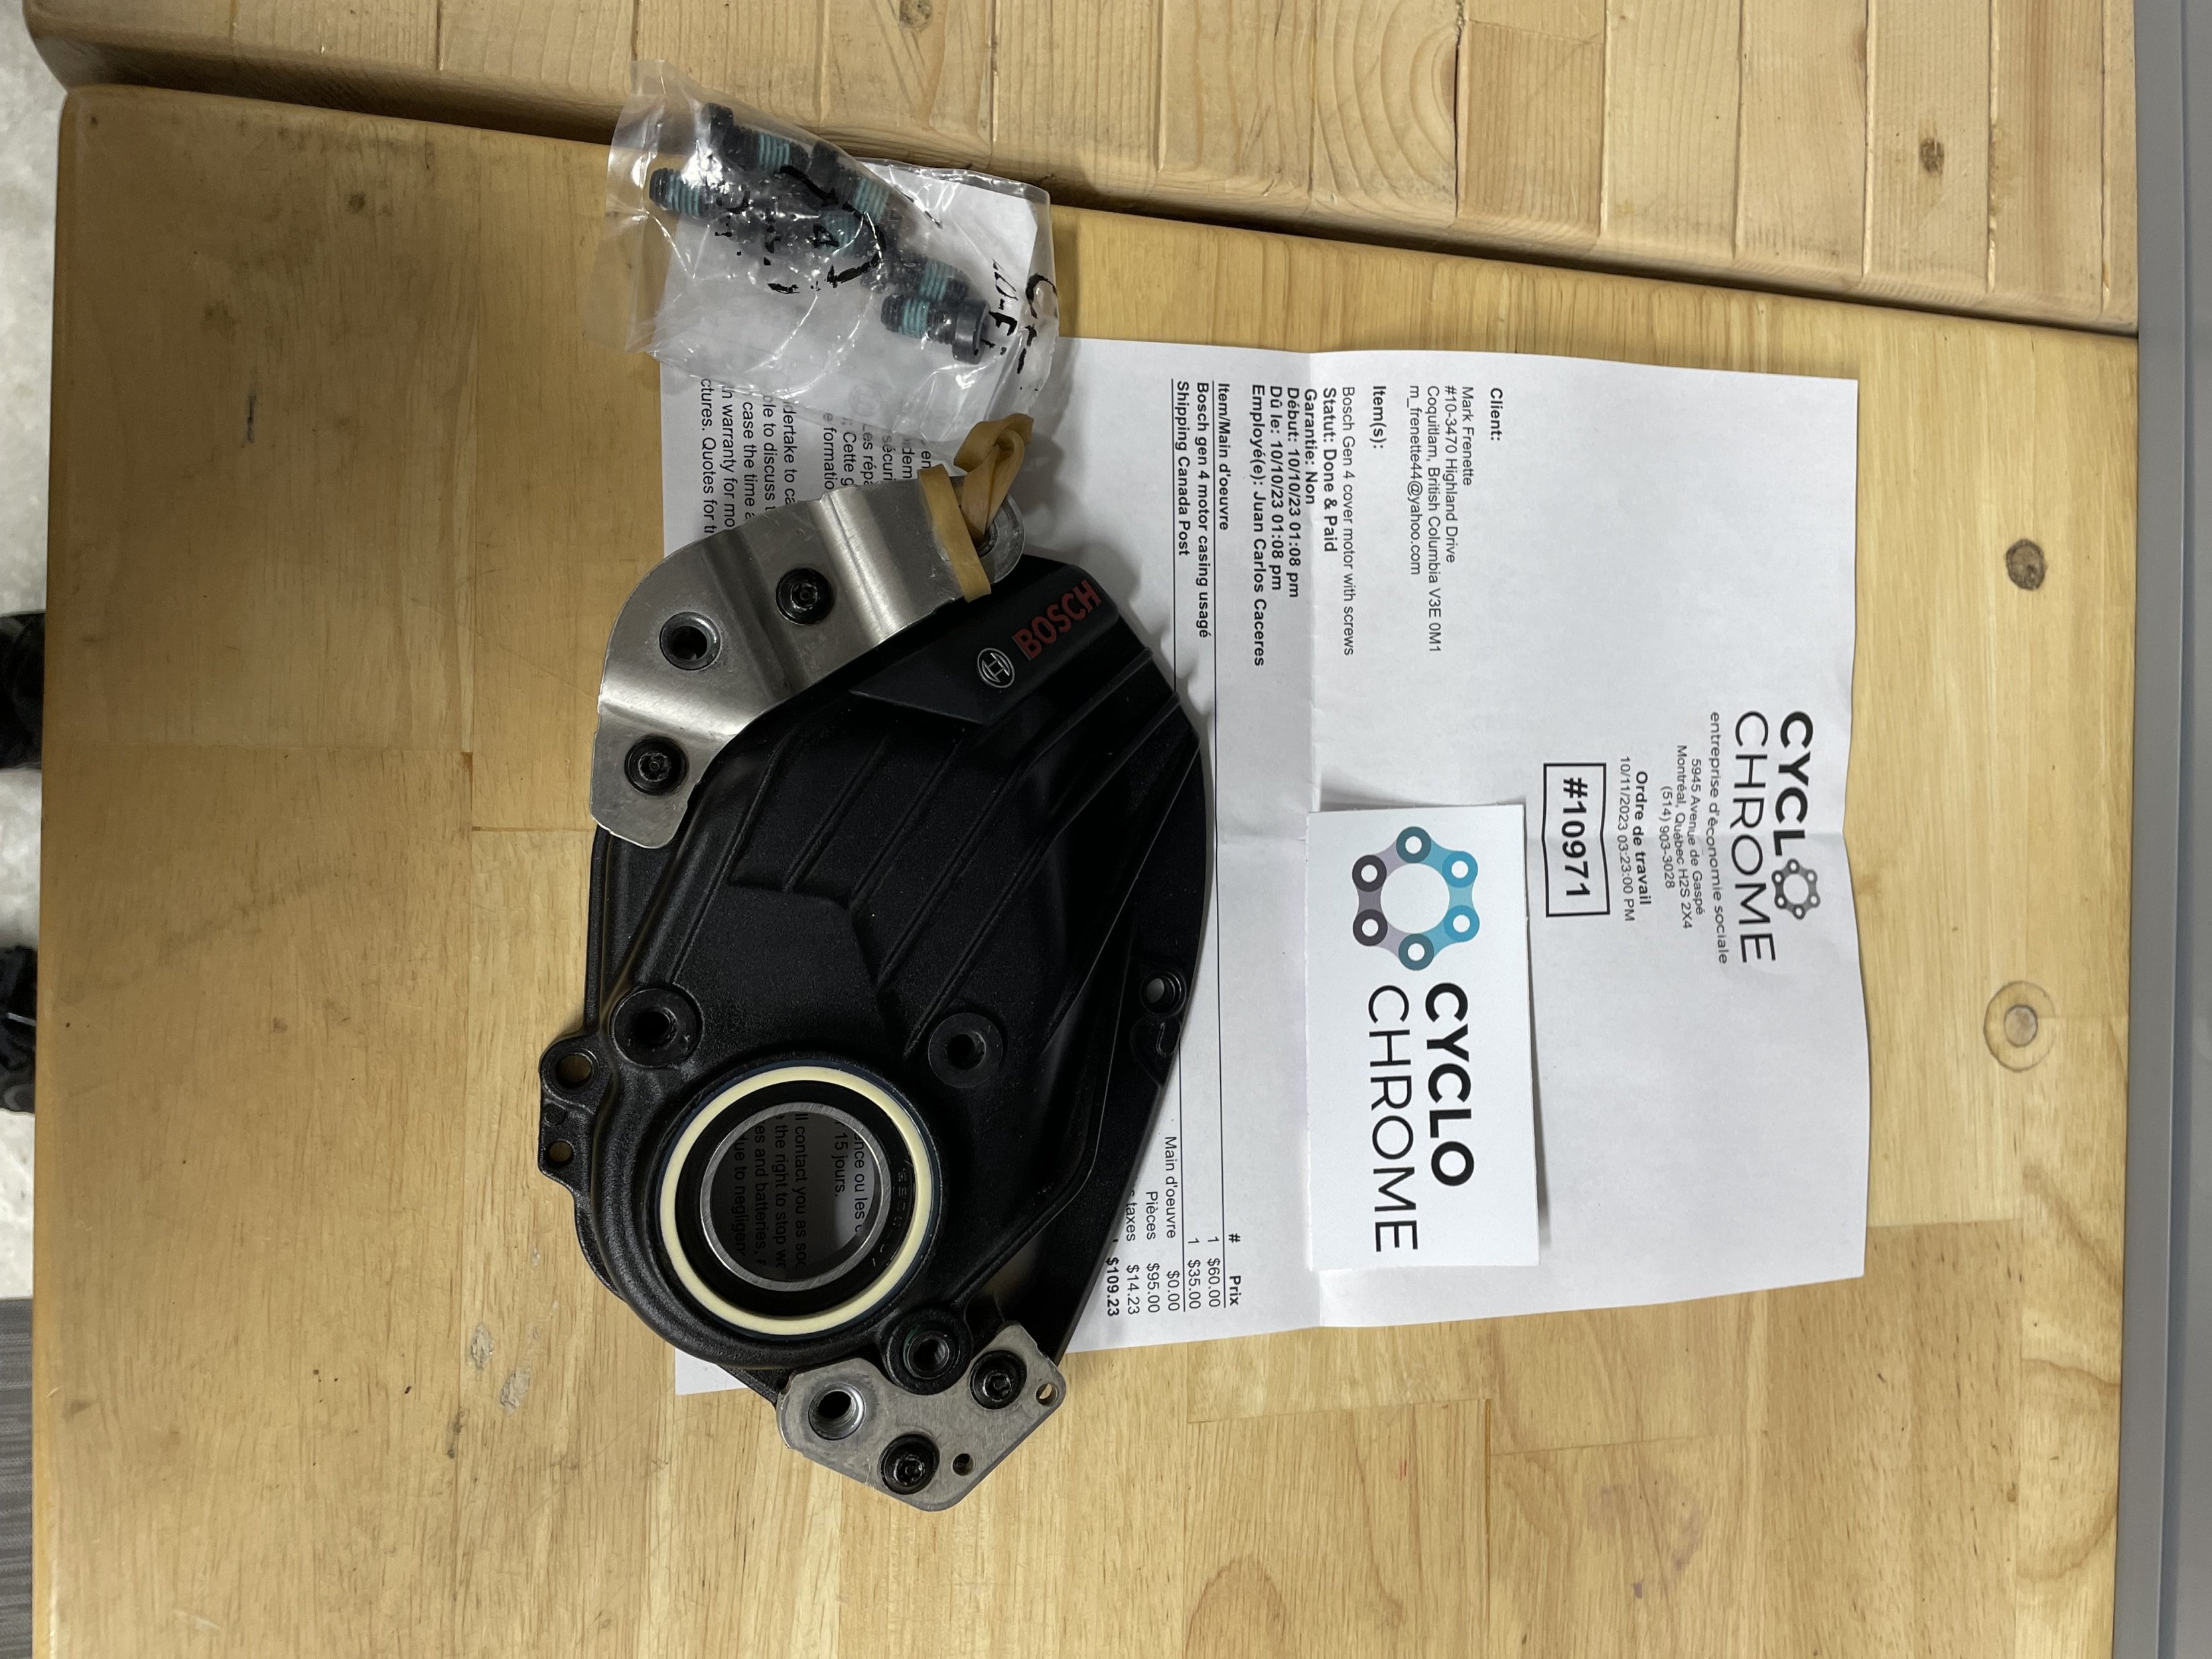
The @Bearing Man (I think??) suggested a casing replacement on the drive side. This included the casing and two bearings. They shipped the casing, two brackets and new mounting screws and bolts to a repair location in Hull/Gaspe Quebec (Canada). These guys were very helpful and quickly shipped the parts to me.
Juan at Cyclo Chrome INC. in Gaspe, Montreal, QC. was very helpful and shipped the parts to me. I was pleasantly surprised at the final price ($100 CDN).
I assembled the new parts to the motor ,which has now become a spare, and sits on my shelf.
Two things though;
- I would suggest installing a bearing seal kit at this time, which includes the Bosch grease.
-Check the torques of all motor and bracket screws. I could not find any specs for these torques so I reversed torqued these screws and found that they are between 6-7 nm. I may be wrong.
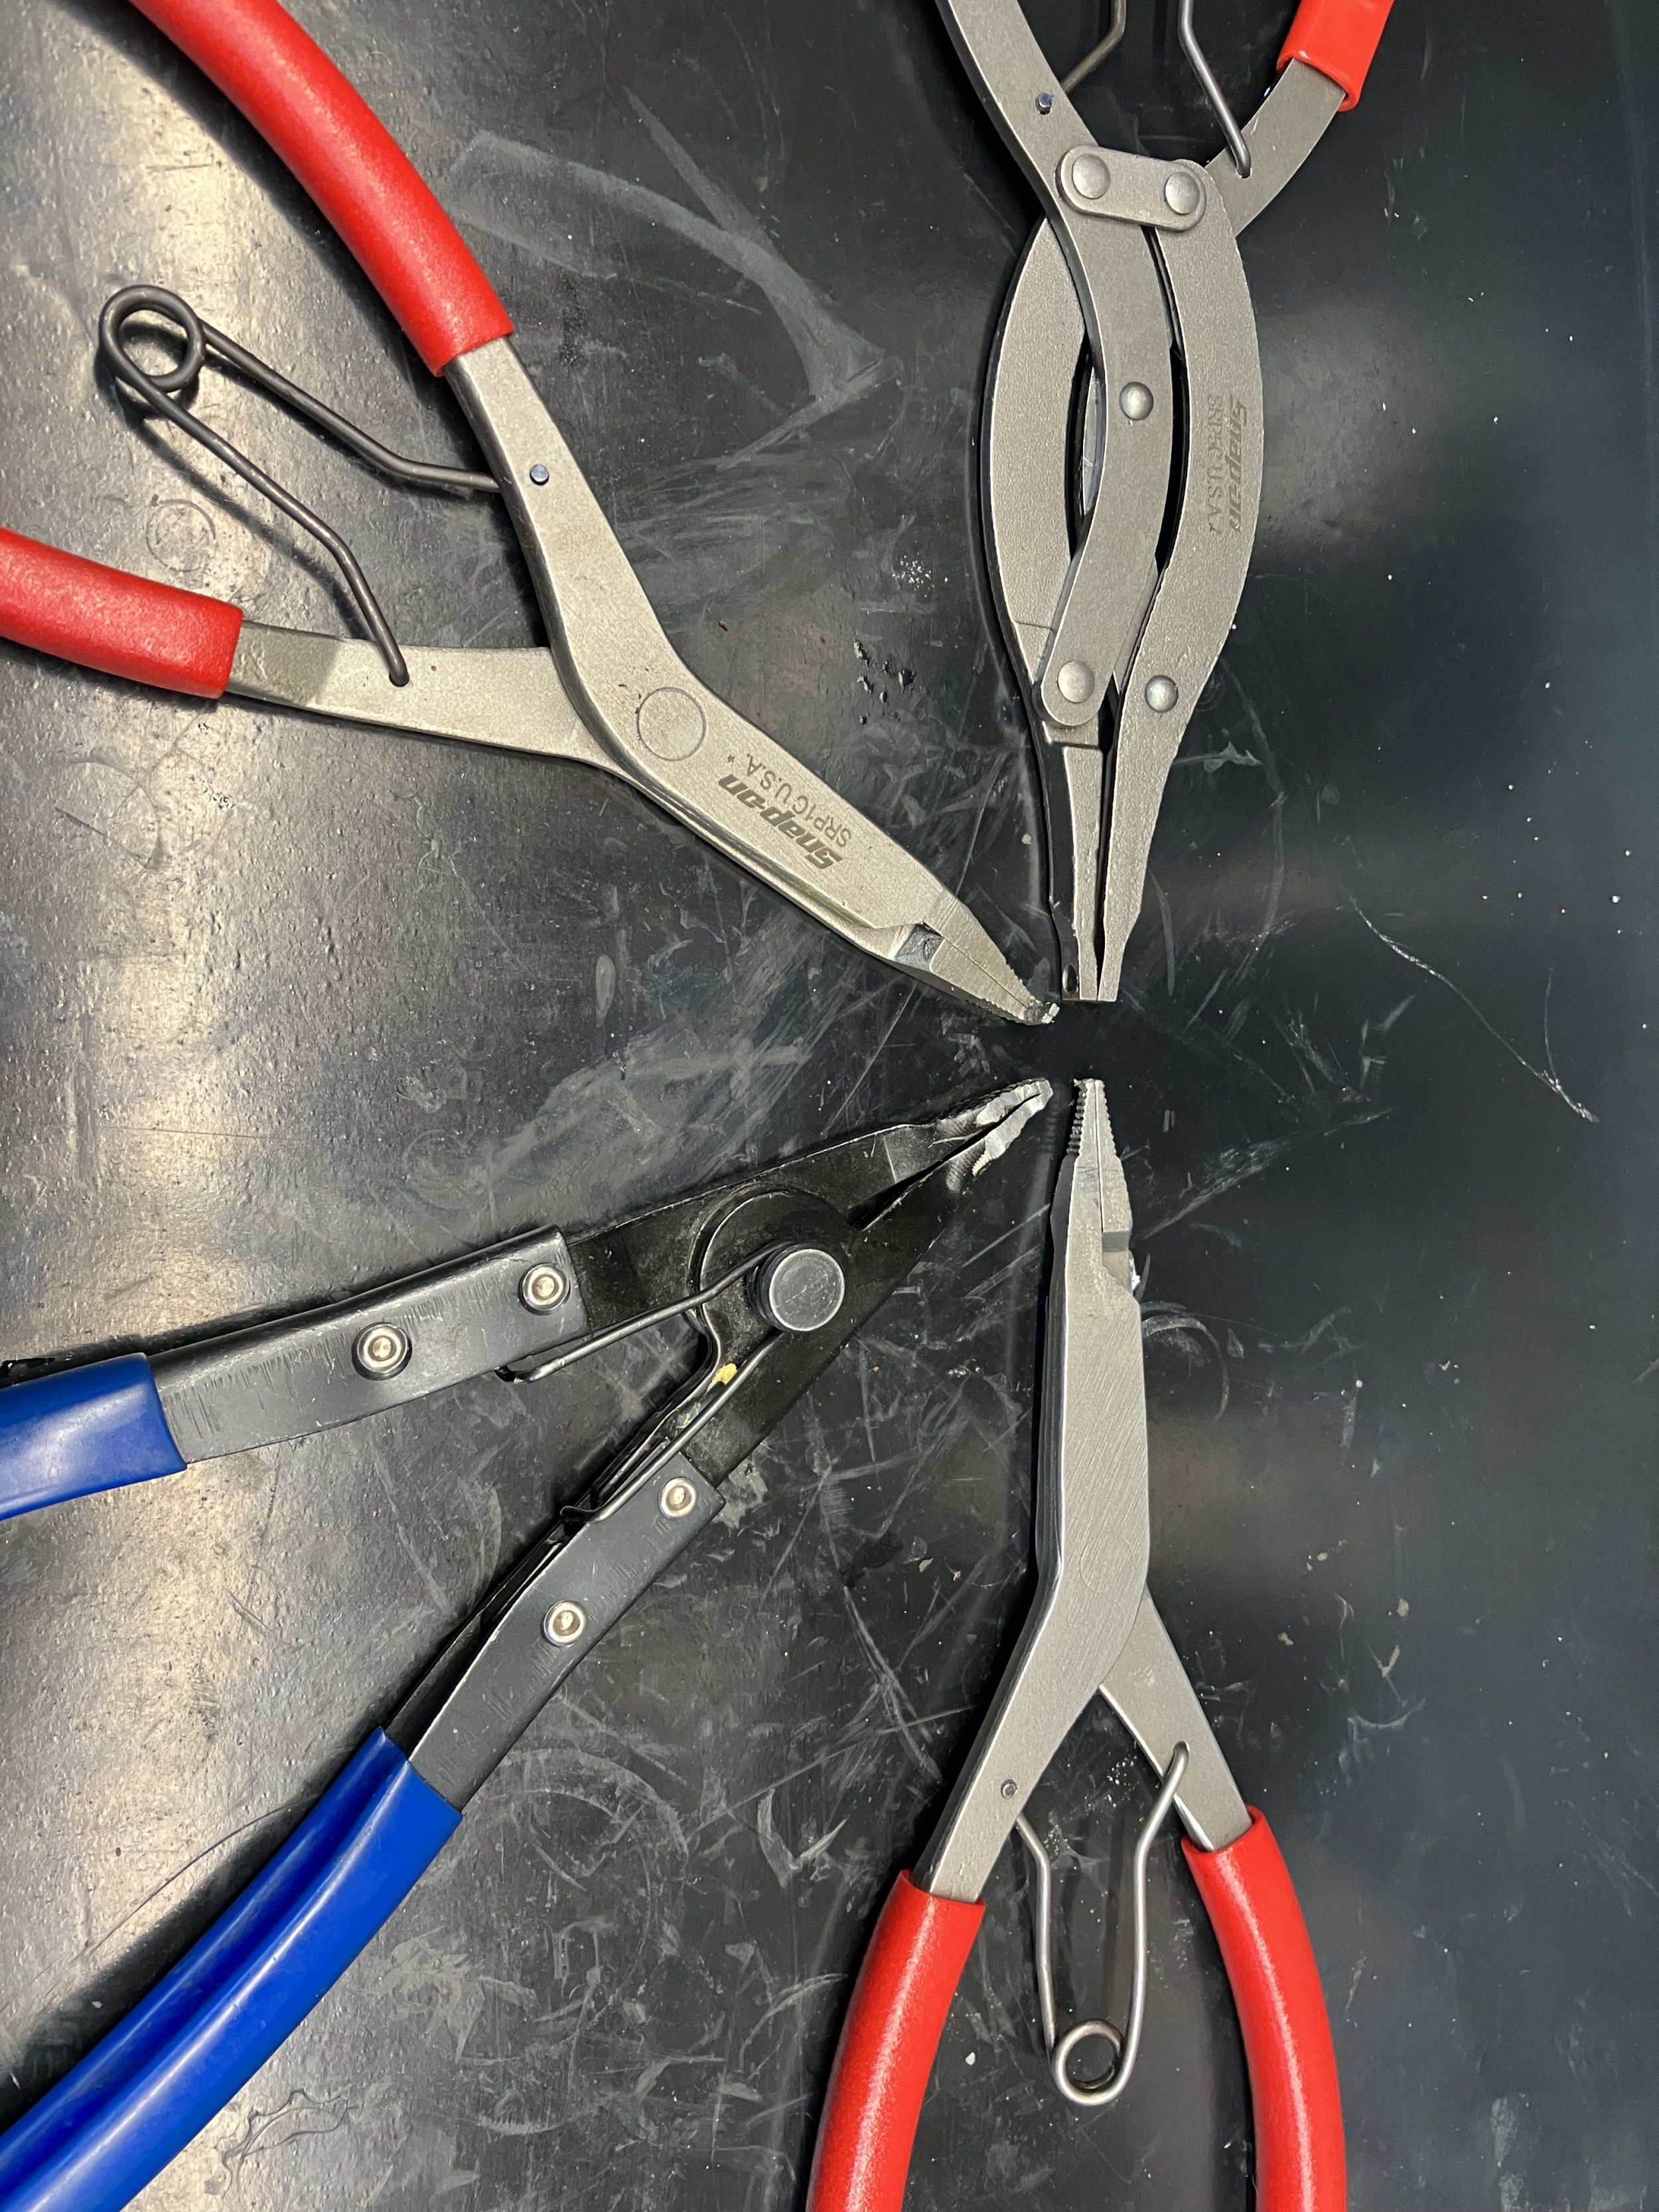
-A special tool or technique to remove the retaining cir-clip which holds the bearing seal in place. I may have to make one that fits properly rather then using my traditional cir-clip tool. I must say that removing this particular cir-clip was the most difficult task.
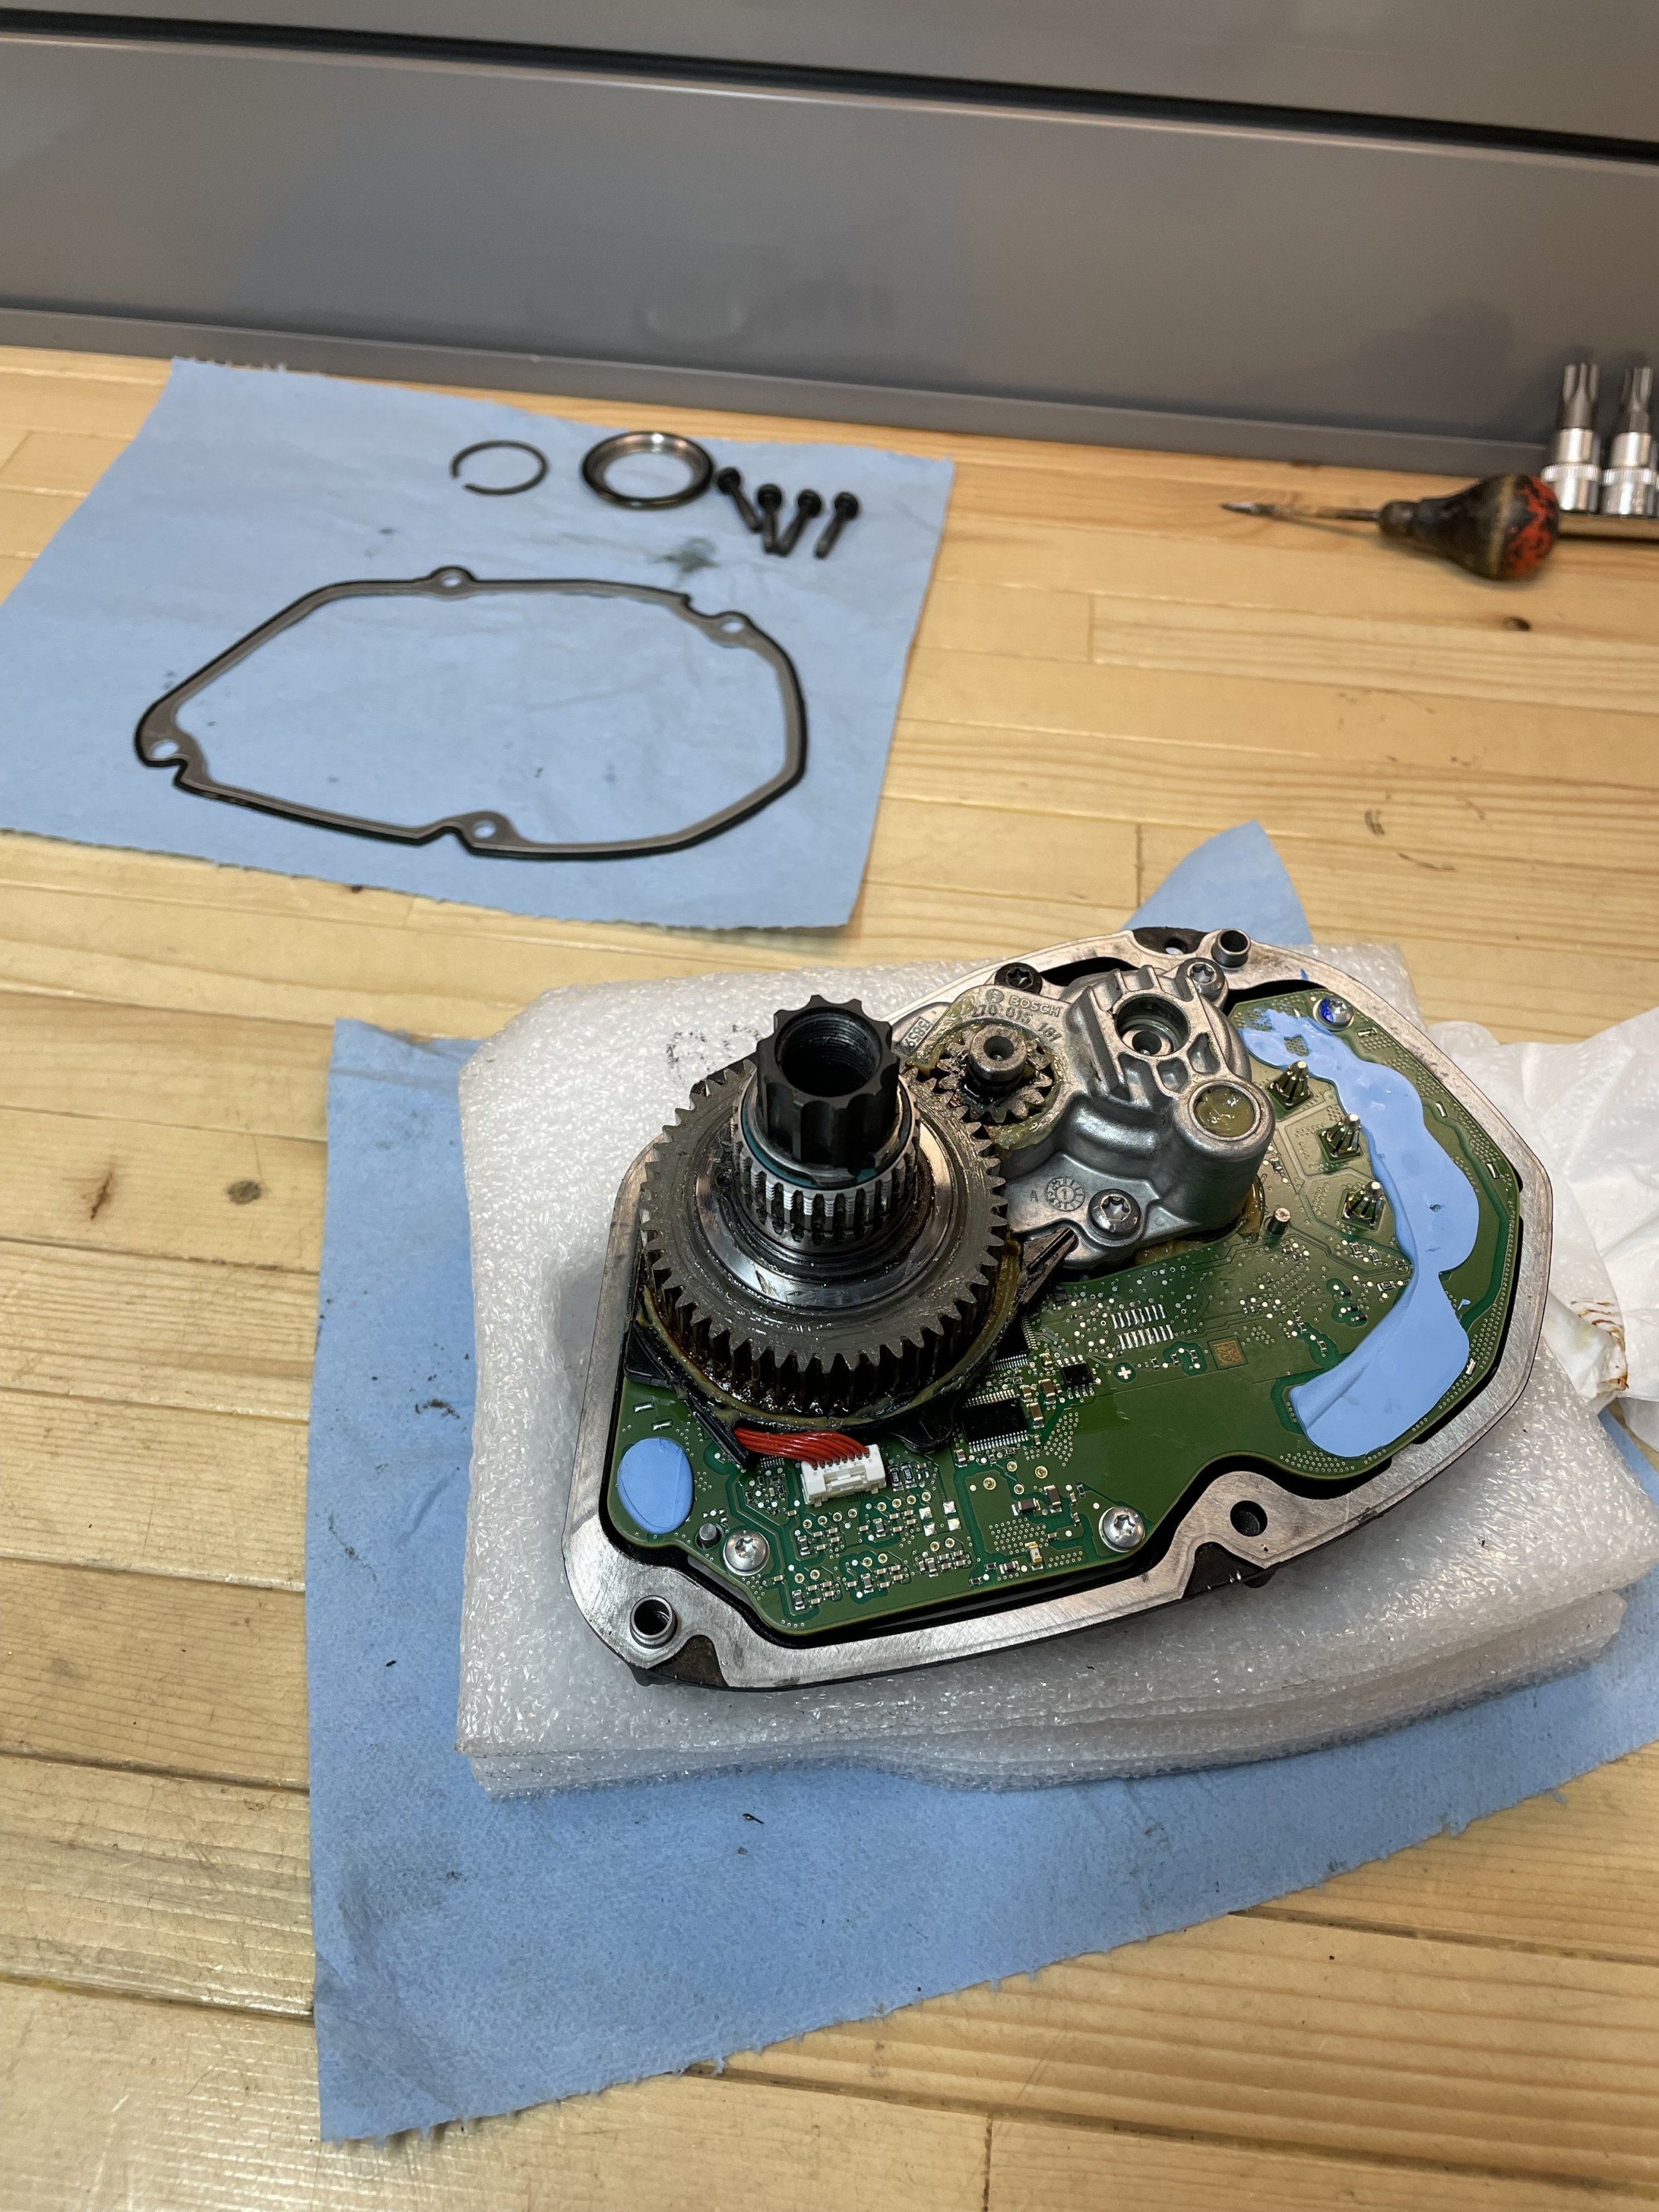
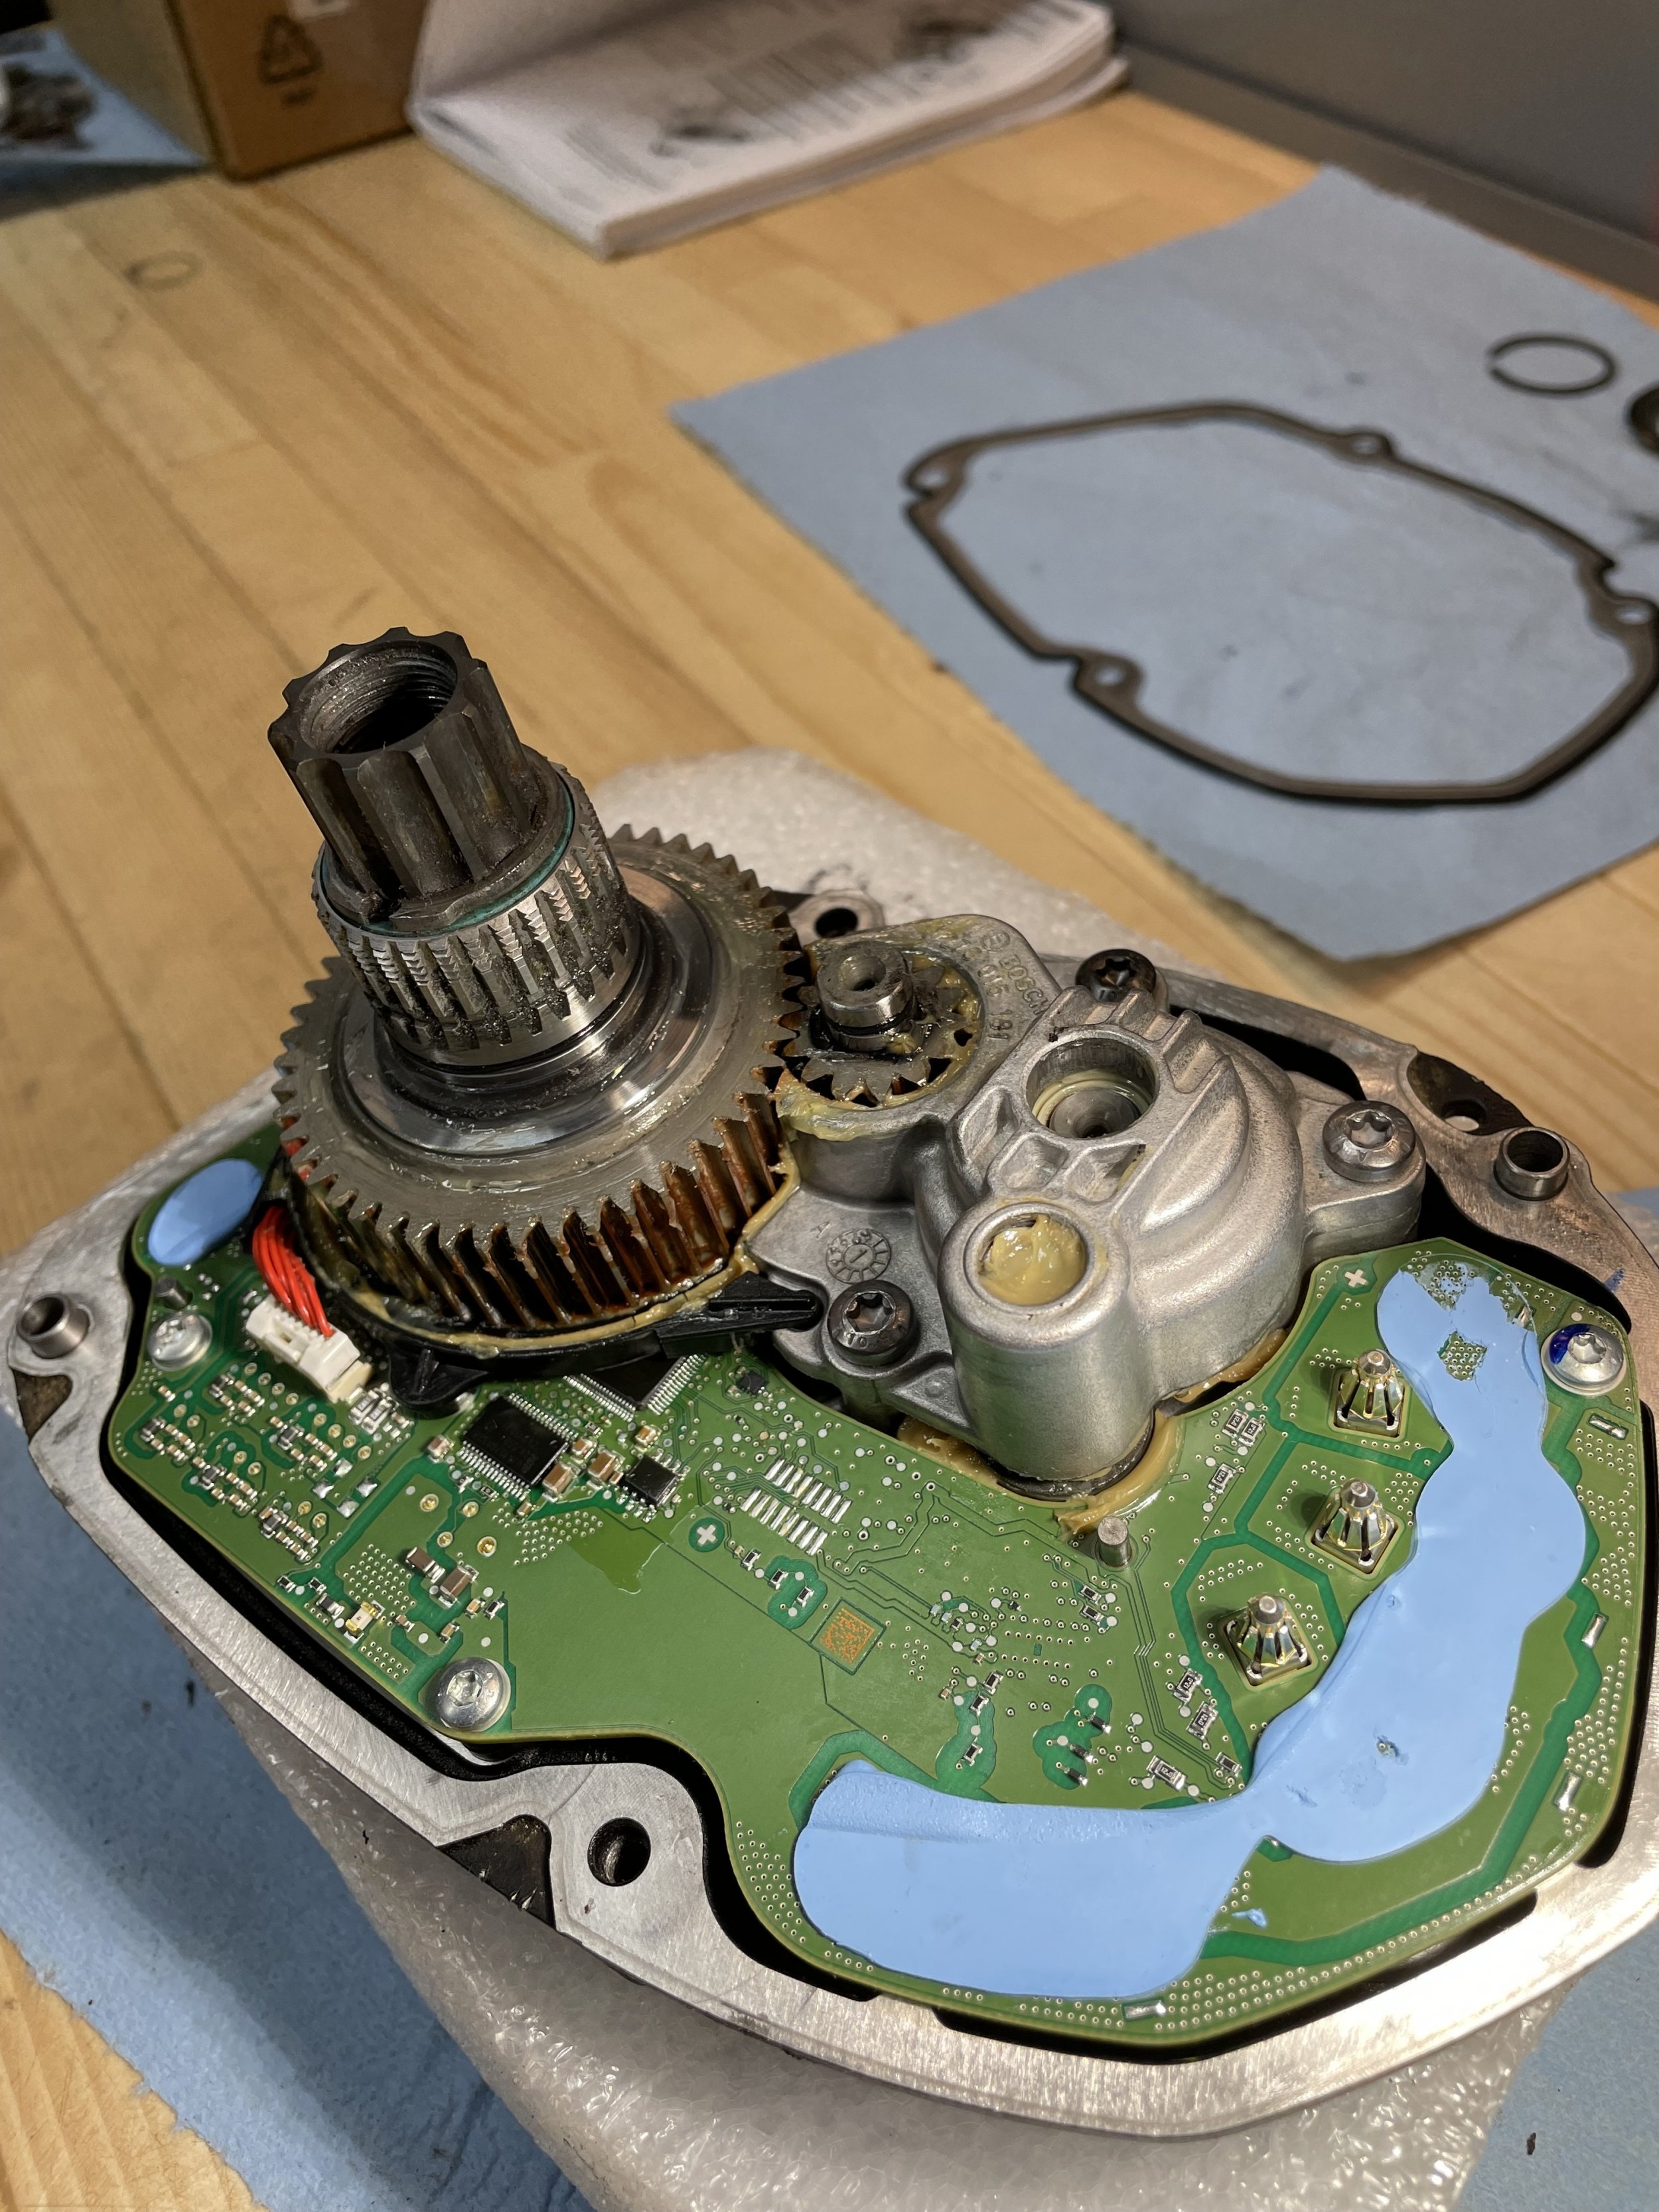
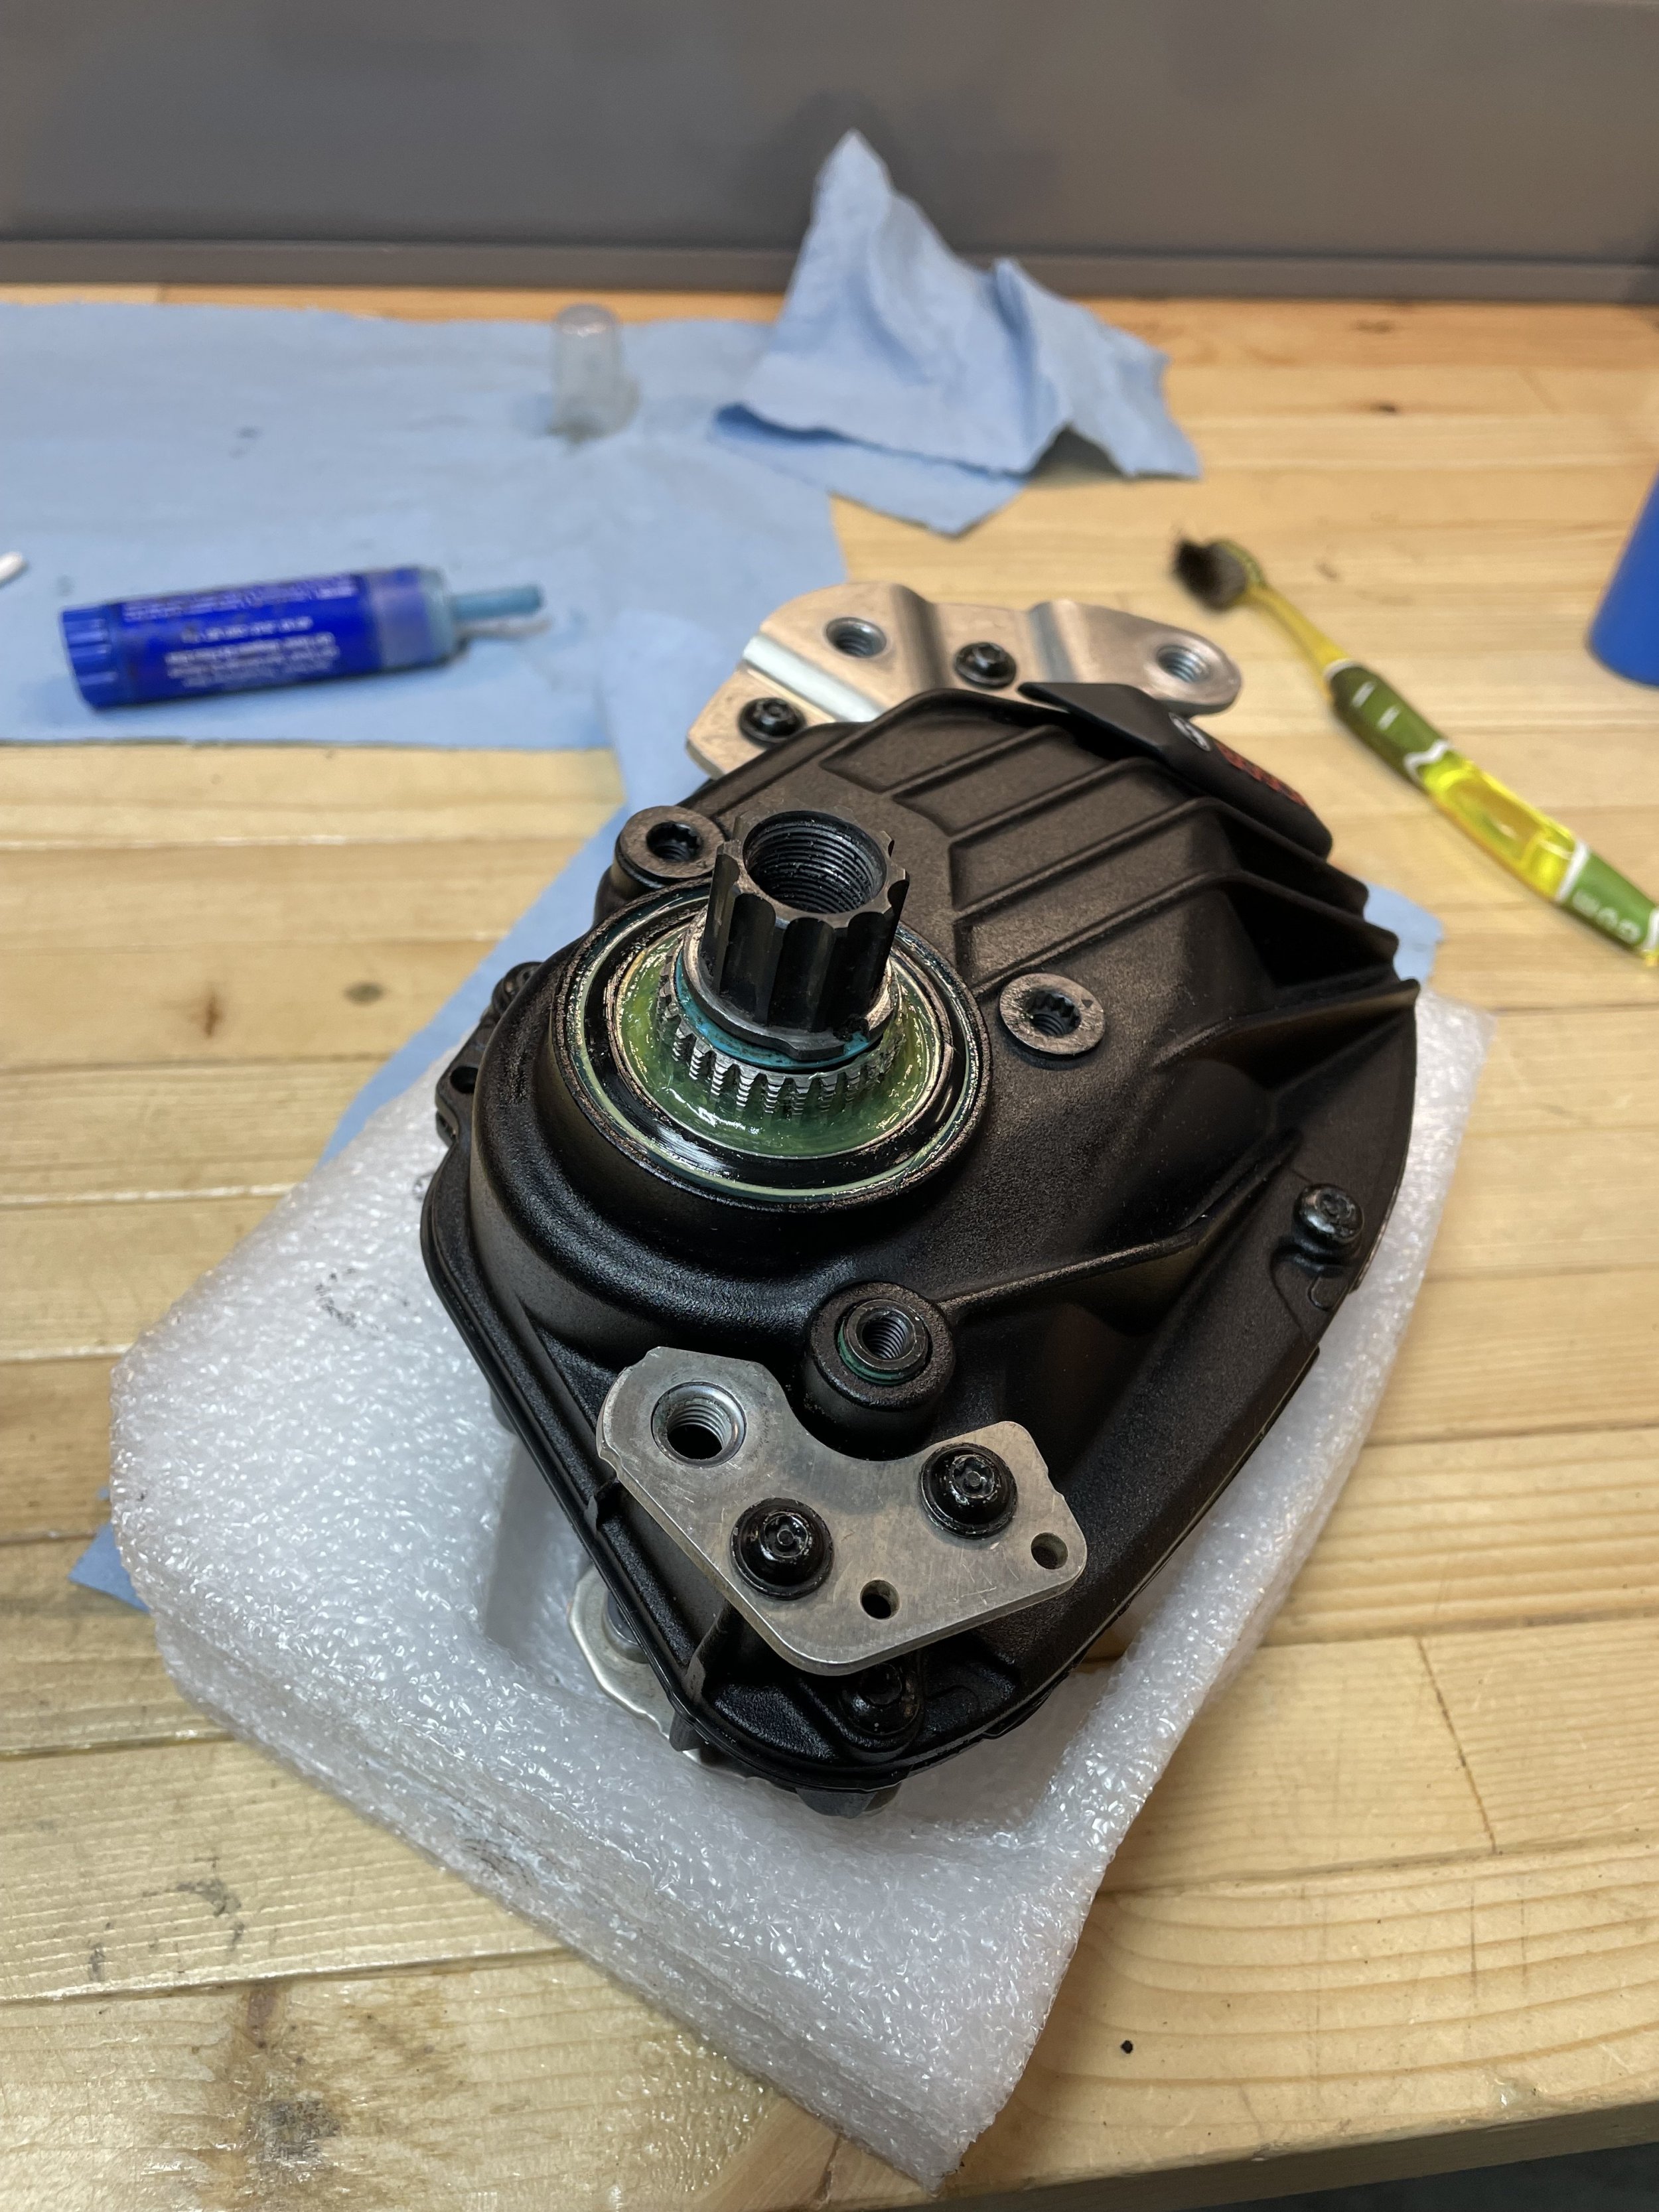
I will open this up again because a small rubber cover may have slightly moved and caused reassembly somewhat difficult. I just want to make sure.
The @Bearing Man (I think??) suggested a casing replacement on the drive side. This included the casing and two bearings. They shipped the casing, two brackets and new mounting screws and bolts to a repair location in Hull/Gaspe Quebec (Canada). These guys were very helpful and quickly shipped the parts to me.
Juan at Cyclo Chrome INC. in Gaspe, Montreal, QC. was very helpful and shipped the parts to me. I was pleasantly surprised at the final price ($100 CDN).

I assembled the new parts to the motor ,which has now become a spare, and sits on my shelf.
Two things though;
- I would suggest installing a bearing seal kit at this time, which includes the Bosch grease.
-Check the torques of all motor and bracket screws. I could not find any specs for these torques so I reversed torqued these screws and found that they are between 6-7 nm. I may be wrong.
-A special tool or technique to remove the retaining cir-clip which holds the bearing seal in place. I may have to make one that fits properly rather then using my traditional cir-clip tool. I must say that removing this particular cir-clip was the most difficult task.


I will open this up again because a small rubber cover may have slightly moved and caused reassembly somewhat difficult. I just want to make sure.
fasterjason
Member
I have had issues with the pentalobe bolts that fix the mounting plates to the case loosening after 1500 miles on my older Rail 7 motors. I applied thread locker upon reassembly. I have noticed that the Bosch smart system motors have replaced the pentalobe bolts with torx-plus for the mounting plates. The case halves are still held together with the pentalobe security #25 fasteners.
Just got back from the Trek/Bosch dealer. In a secret location, in one of their Bosch service books, was the torque setting for the bracket screws (8nm). I originally thought they were 6-7nm. I assume that the motor casing screws (4) are the same. So 8nm torque.
The motor mount brackets are also installed at the factory using a jig. There is a slight movement to the bracket but this must be removed to access the casing screws (drive side only).
The motor mount brackets are also installed at the factory using a jig. There is a slight movement to the bracket but this must be removed to access the casing screws (drive side only).
Wilbur
Member
My Trek guy who does all of their warranty repair work here suggests drilling and tapping the bracket mounts out to M6. Trek made a running change to M6 in 2022/23, which is an acknowledgement that the original M5 screws were under-spec'd.
I agree that the M5 screws are weak. An aggressive rider can easily shear the motor bracket screws. The dealer then can claim that the damage was a result of “operator abuse”. 
I understand that the motor casing is only magnesium which helps keep the weight down. I’m not sure if tapping out a larger hole (M6) would be possible?? Beyond my skill anyway.
But now I’m armed with the knowledge that the M5 screw is too small for an eMTB application. Checking torque on each screw becomes very important when the motor is exposed or removed.
Wilbur
Member
What's up with the rusty coloured grease on the big gear? Does that indicate water ingress? Seems like quite a long way into the shaft to reach that gear...
Yes, the grease does look rusty coloured. There was some water ingress along the casing seal so I carefully checked the gears and cpu board. There was no rust pitting on the gears but the very small amount of water has me worried. Basically enough water to get one end of a Q-tip damp. I believe the water may be entering through the casing seal in spots.What's up with the rusty coloured grease on the big gear? Does that indicate water ingress? Seems like quite a long way into the shaft to reach that gear...
The inside was dry and clean, other than a very small amount of water.
Thanks for the shout out for Cycle Chrome, those guys have put a lot of effort into learning about eBike motors, including flying over to the UK to spend a few days training with us. As for your water ingress, I think what you perceive to be water is oil. This is a very light clear oil that looks just like water and sits on the circuit board and around the gasket seal. The oil leaches out from the grease and is doing its job. You can normally tell this because water entering the motor is seldom clean.Yes, the grease does look rusty coloured. There was some water ingress along the casing seal so I carefully checked the gears and cpu board. There was no rust pitting on the gears but the very small amount of water has me worried. Basically enough water to get one end of a Q-tip damp. I believe the water may be entering through the casing seal in spots.
The inside was dry and clean, other than a very small amount of water.
You can see that water has entered into your motor through the right hand crankshaft bearing and emulsified the grease, turning it grey.
You were correct with the torque settings for your particular motor, but if you have the later Gen 4 "Smart" system motor, these have a 6mm machine screw with a standard T30 Torx head. The torque for the "Smart" motor is 10Nm +- 0.5Nm for first assembly (new motor) after that the torque should be set at 9.5Nm +- 0.5Nm.
Cyclo Chrome nailed it for me. Well done! Juan answered my “silly” email questions within minutes or during work hours. My parts were received amazingly fast and shipped across Canada in days (2). They probably used our Olympic Polar Bear (aka, Canada Post Express) or the only Star Trek Transporter in the world. (William Shatner’s house).Thanks for the shout out for Cycle Chrome, those guys have put a lot of effort into learning about eBike motors, including flying over to the UK to spend a few days training with us. As for your water ingress, I think what you perceive to be water is oil. This is a very light clear oil that looks just like water and sits on the circuit board and around the gasket seal. The oil leaches out from the grease and is doing its job. You can normally tell this because water entering the motor is seldom clean.
You can see that water has entered into your motor through the right hand crankshaft bearing and emulsified the grease, turning it grey.
You were correct with the torque settings for your particular motor, but if you have the later Gen 4 "Smart" system motor, these have a 6mm machine screw with a standard T30 Torx head. The torque for the "Smart" motor is 10Nm +- 0.5Nm for first assembly (new motor) after that the torque should be set at 9.5Nm +- 0.5Nm.
What you said about the moisture makes sense. It was a very clear liquid that looked like water. I wasn’t too concerned about it because it was only found around the casing perimeter.
The grease around the cog(s) had two different colours though. I carefully inspected the rust-coloured grease but found no indication of rust developing. I applied a small amount of grease in areas that may have needed it before I closed up the casing. Removing the crank or cpu or some bearings is above my skill level. I think I will keep my motor servicing to a bearing seal kit (which I will install) and keep another kit as a spare. The Bosch grease included in the kit (greenish) is almost empty since I’ve used it several times.
Installing the bearing seal kit is relatively easy if you have the right tools. The cir-clip can be a little tricky though (any tips or secrets for easier removal?). I may modify one of my cir-clip tool for this particular cir-clip. (Grinder, file, etc). What ever it takes. Using two common screwdrivers is possible …but it’s tricky.
Thanks again for the help and a big shoutout to Cyclo Crome for servicing our eMTB motors in Canada.
Cyclo Chrome nailed it for me. Well done! Juan answered my “silly” email questions within minutes or during work hours. My parts were received amazingly fast and shipped across Canada in days (2). They probably used our Olympic Polar Bear (aka, Canada Post Express) or the only Star Trek Transporter in the world. (William Shatner’s house).
What you said about the moisture makes sense. It was a very clear liquid that looked like water. I wasn’t too concerned about it because it was only found around the casing perimeter.
The grease around the cog(s) had two different colours though. I carefully inspected the rust-coloured grease but found no indication of rust developing. I applied a small amount of grease in areas that may have needed it before I closed up the casing. Removing the crank or cpu or some bearings is above my skill level. I think I will keep my motor servicing to a bearing seal kit (which I will install) and keep another kit as a spare. The Bosch grease included in the kit (greenish) is almost empty since I’ve used it several times.
Installing the bearing seal kit is relatively easy if you have the right tools. The cir-clip can be a little tricky though (any tips or secrets for easier removal?). I may modify one of my cir-clip tool for this particular cir-clip. (Grinder, file, etc). What ever it takes. Using two common screwdrivers is possible …but it’s tricky.
Thanks again for the help and a big shoutout to Cyclo Crome for servicing our eMTB motors in Canada.
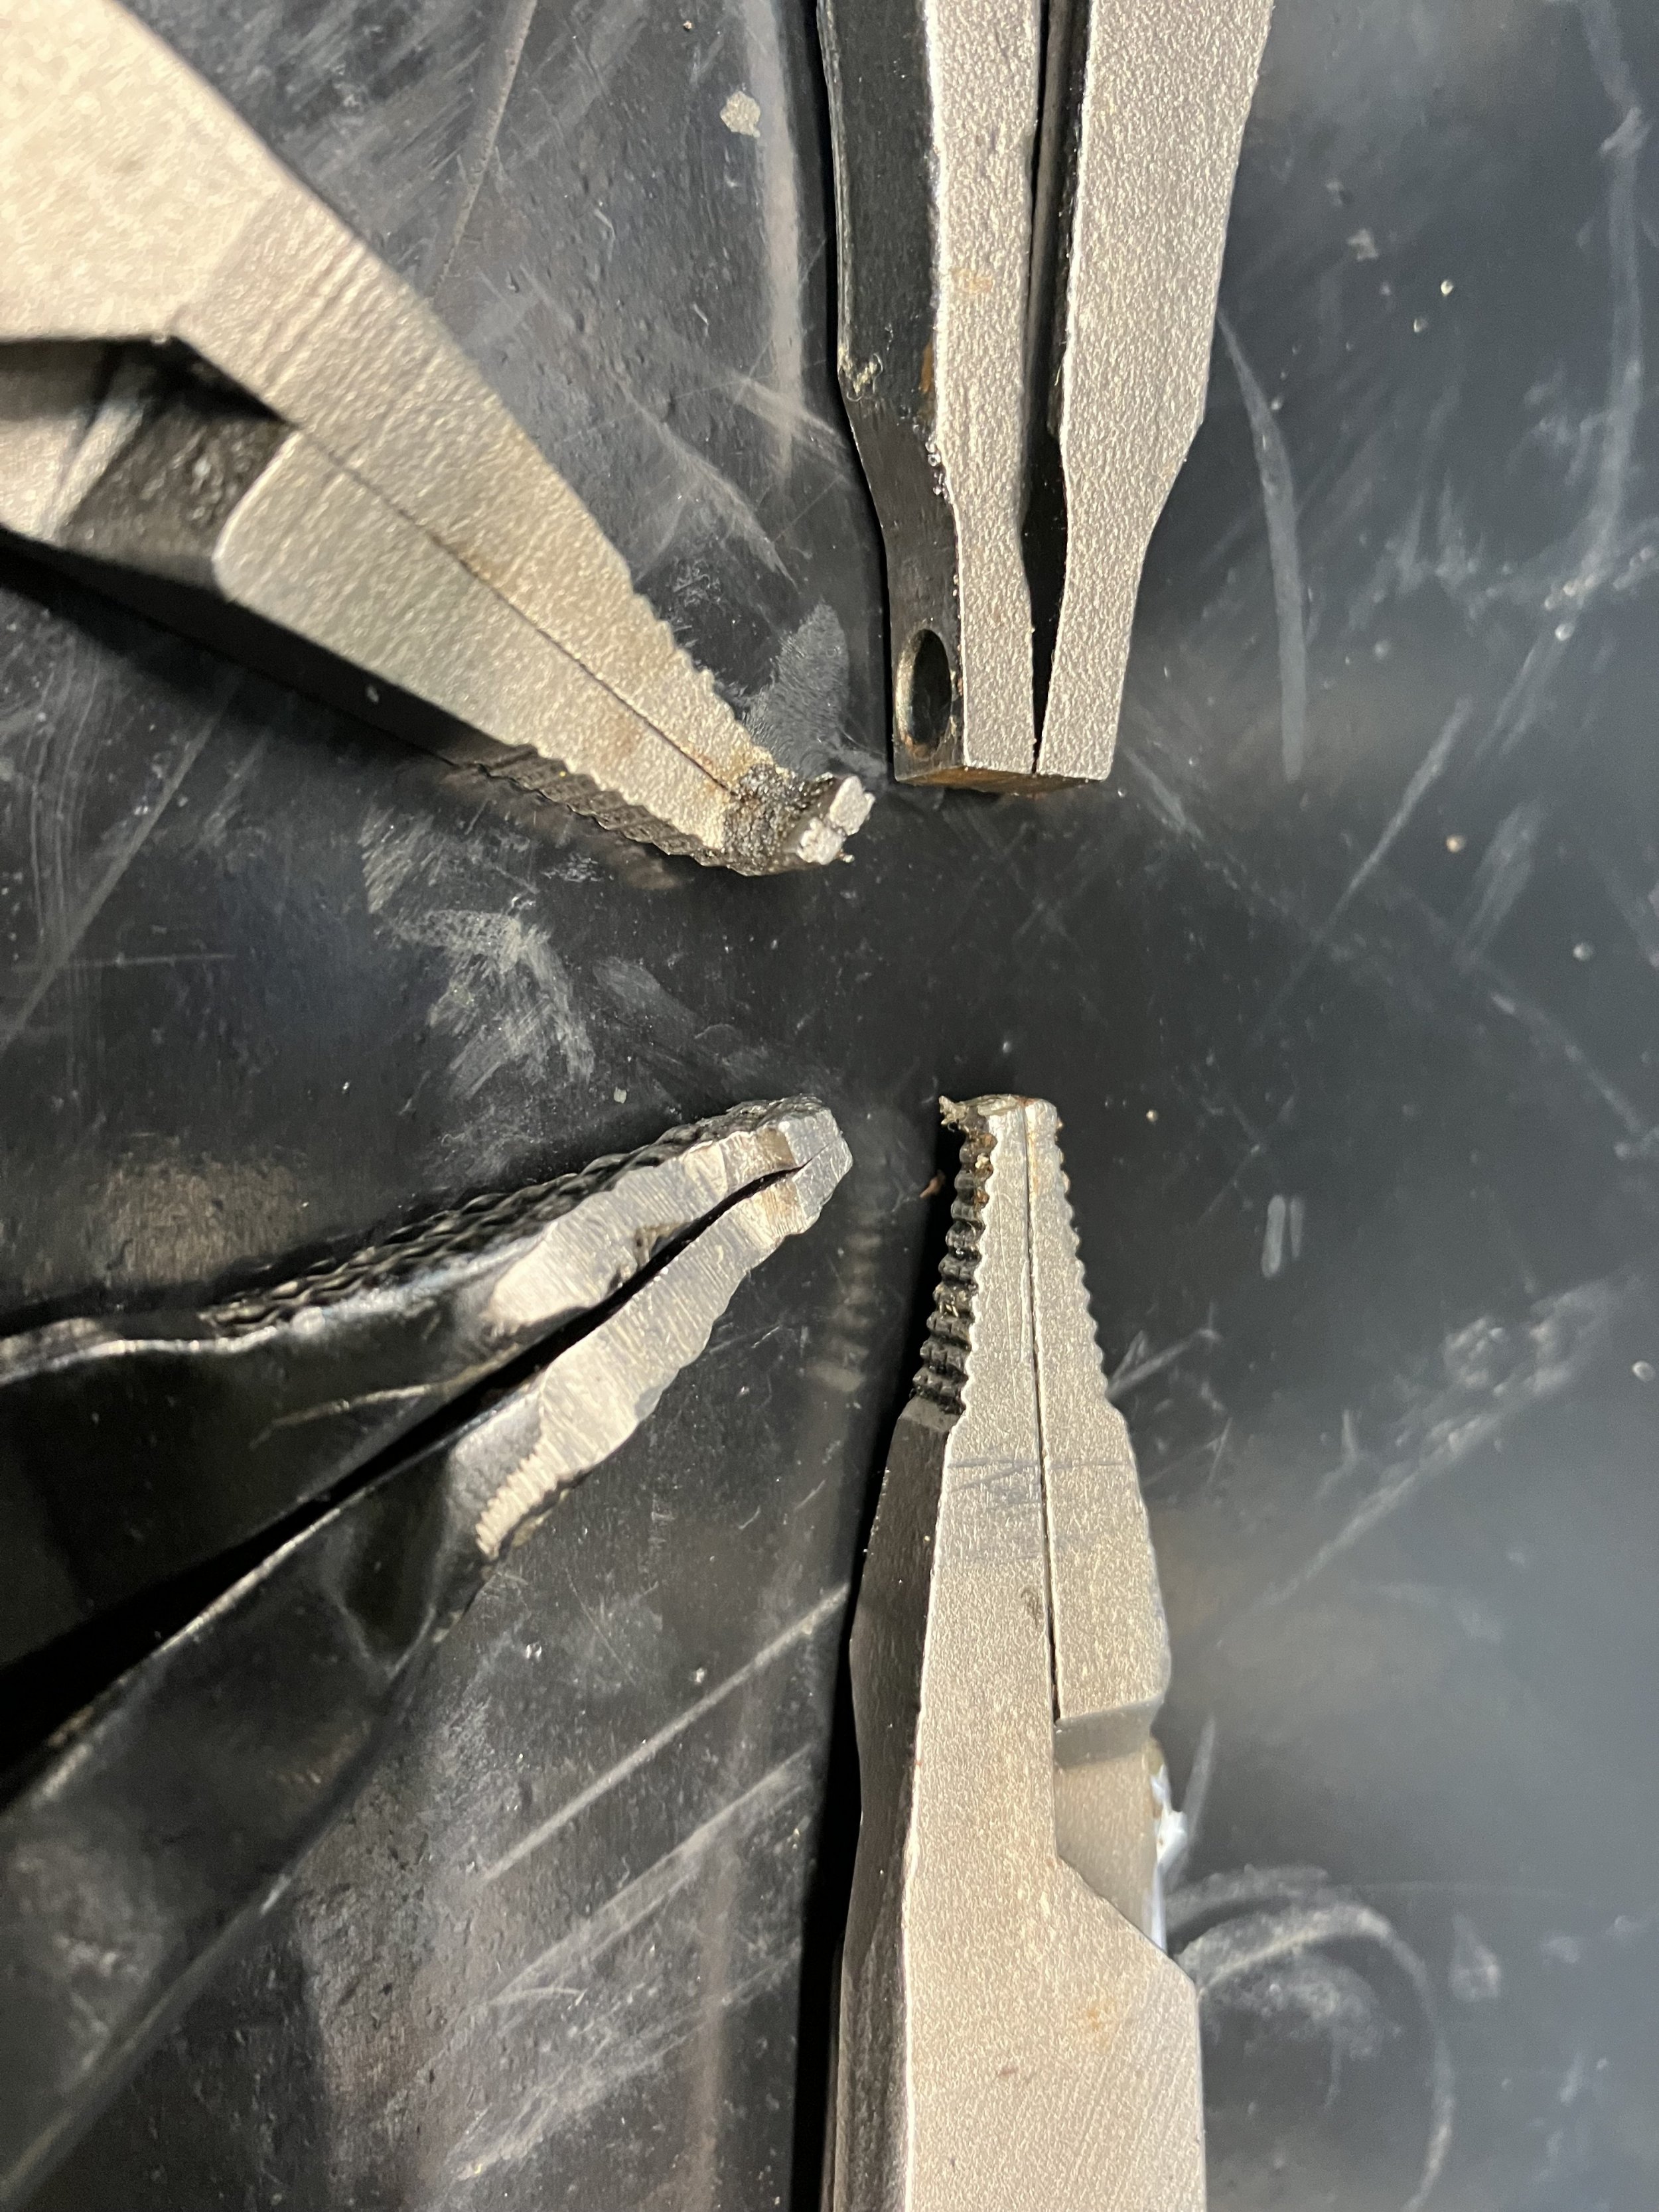
We use an array of different 'C' Clip pliers. Some have to be modified to suit but most do the job as they are.
Similar threads
EMTB Forums
Since 2018
Join Our Community
The World's largest electric mountain bike community.
- 559K
- Messages
- 28,290
- Members
Latest articles
-
The most reliable motor brand (in Norway)
A poll was posted on a big Norwegian emtb facebook group. There are...- Knut Nes
- 3 min read
- Views: 869
- Reaction score: 4
- Comments: 5
-
2025 Canyon Spectral:ONfly CF Ltd review
We were quite surprised to read about the new lightweight Canyon...- Knut Nes
- 7 min read
- Views: 916
- Comments: 1
