You are using an out of date browser. It may not display this or other websites correctly.
You should upgrade or use an alternative browser.
You should upgrade or use an alternative browser.
Broken bolts on Bosch CX motor
- Thread starter Jona
- Start date
fasterjason
Member
I have three seal kits coming in from QBP tomorrow, and I plan to install on two motors from 2020, and one from 2021.
I also need to order one for the Gen 3 motor for a friend. Anyone changed the seals on that motor?
I also need to order one for the Gen 3 motor for a friend. Anyone changed the seals on that motor?
No, only on both sides of a Gen4 Bosch CX. It does seem like it could be a yearly or 2-year service, depending on the type of riding.
…Gen 3 motor for a friend. Anyone changed the seals on that motor?
I have three seal kits coming in from QBP tomorrow, and I plan to install on two motors from 2020, and one from 2021.
I also need to order one for the Gen 3 motor for a friend. Anyone changed the seals on that motor?
Bosch Gen 3 does not have seals, only a plastic cover on the drive side was fitted to the later ones. Pic below
No, only on both sides of a Gen4 Bosch CX. It does seem like it could be a yearly or 2-year service, depending on the type of riding.
If you are riding off road in wet or muddy conditions, I would strongly recommend removing the "seals" cleaning and re-greasing every 2 to 3 months. Remember, these are not seals they are just shields and they rely on the grease to do most of the sealing, which is why it's worth looking after.
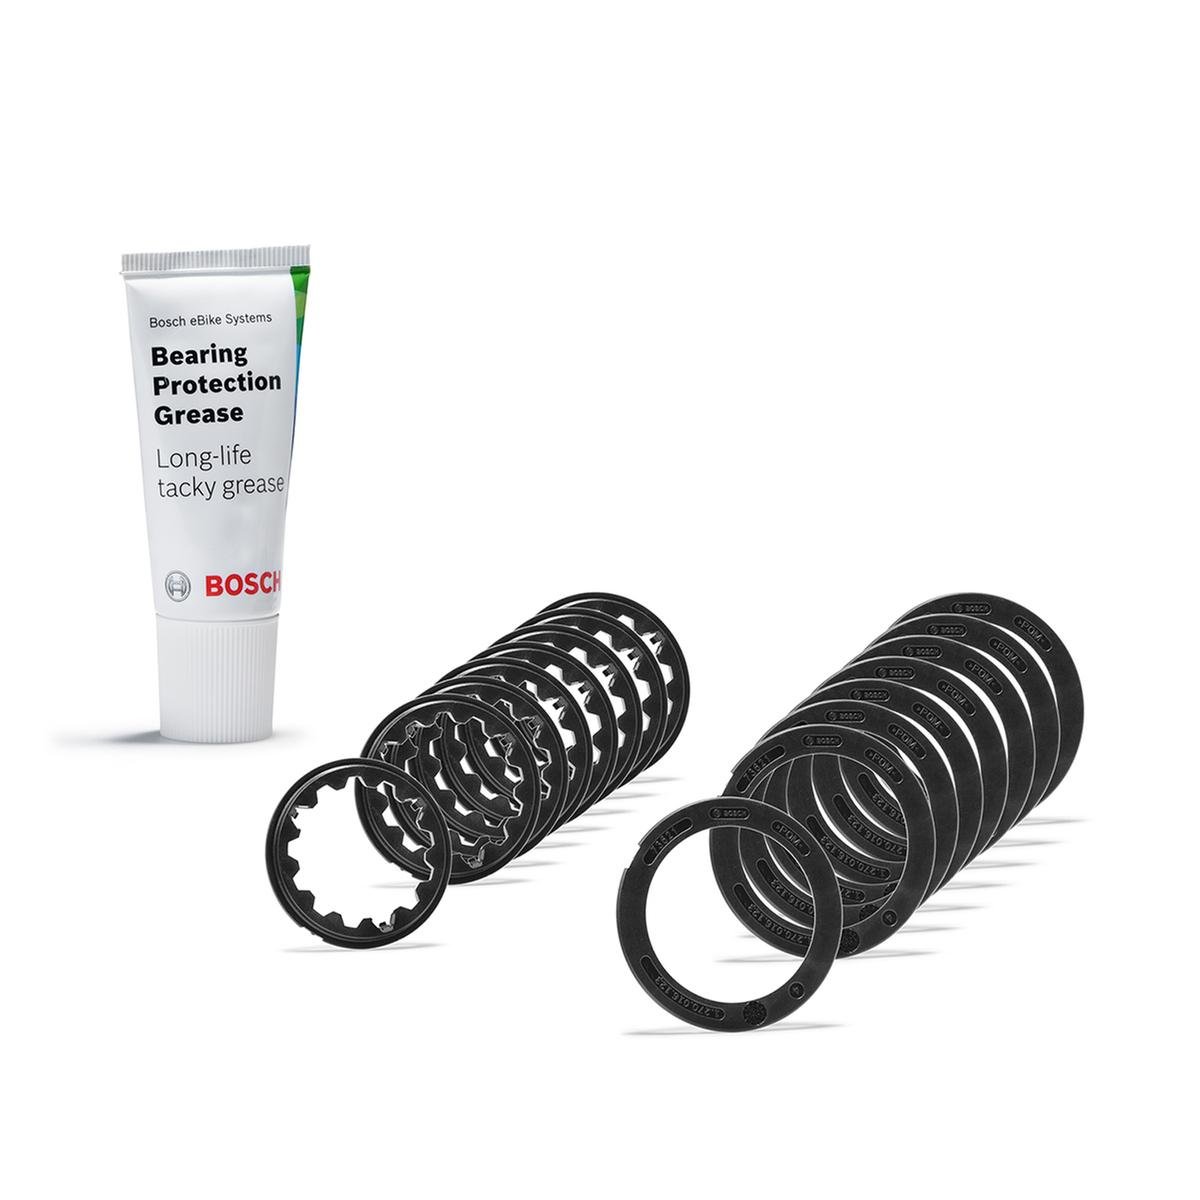
Well, I’m probably guilty of extending this service for too long. With the right tools and parts/grease this is a fairly easy task for the average garage mechanic like myself. I can certainly understand the need for the Bosch tacky grease at regular service intervals, but the Bosch seal ring (metal/rubber) may not wear out as fast as the grease disperse’s (IMO). There’s enough additional grease in each kit for 3-4 servicing’s.Bosch Gen 3 does not have seals, only a plastic cover on the drive side was fitted to the later ones. Pic below
If you are riding off road in wet or muddy conditions, I would strongly recommend removing the "seals" cleaning and re-greasing every 2 to 3 months. Remember, these are not seals they are just shields and they rely on the grease to do most of the sealing, which is why it's worth looking after.
View attachment 127147
I’m surrounded by Bosch gen4 motors (10-12) that likely need this service. I personally ride in all weather conditions, submerged several times, and rinse off the dirt when needed.
The cir-clip on the drive side gives me some problems though. I don’t want to deform or scratch the crankshaft threads each time I remove this cir-clip. I hope to modify my old cir-clip pliers to easily fit this particular drive side clip.
The pictures and suggestions that you and others have provided will also be helpful. I’ve ordered two more kits and in the meantime, since it’s raining cats and dogs, I will try to modify a new tool so I can easily add this service.
Side note; I visited the LBS (Trek) again yesterday
Well…that was easy.
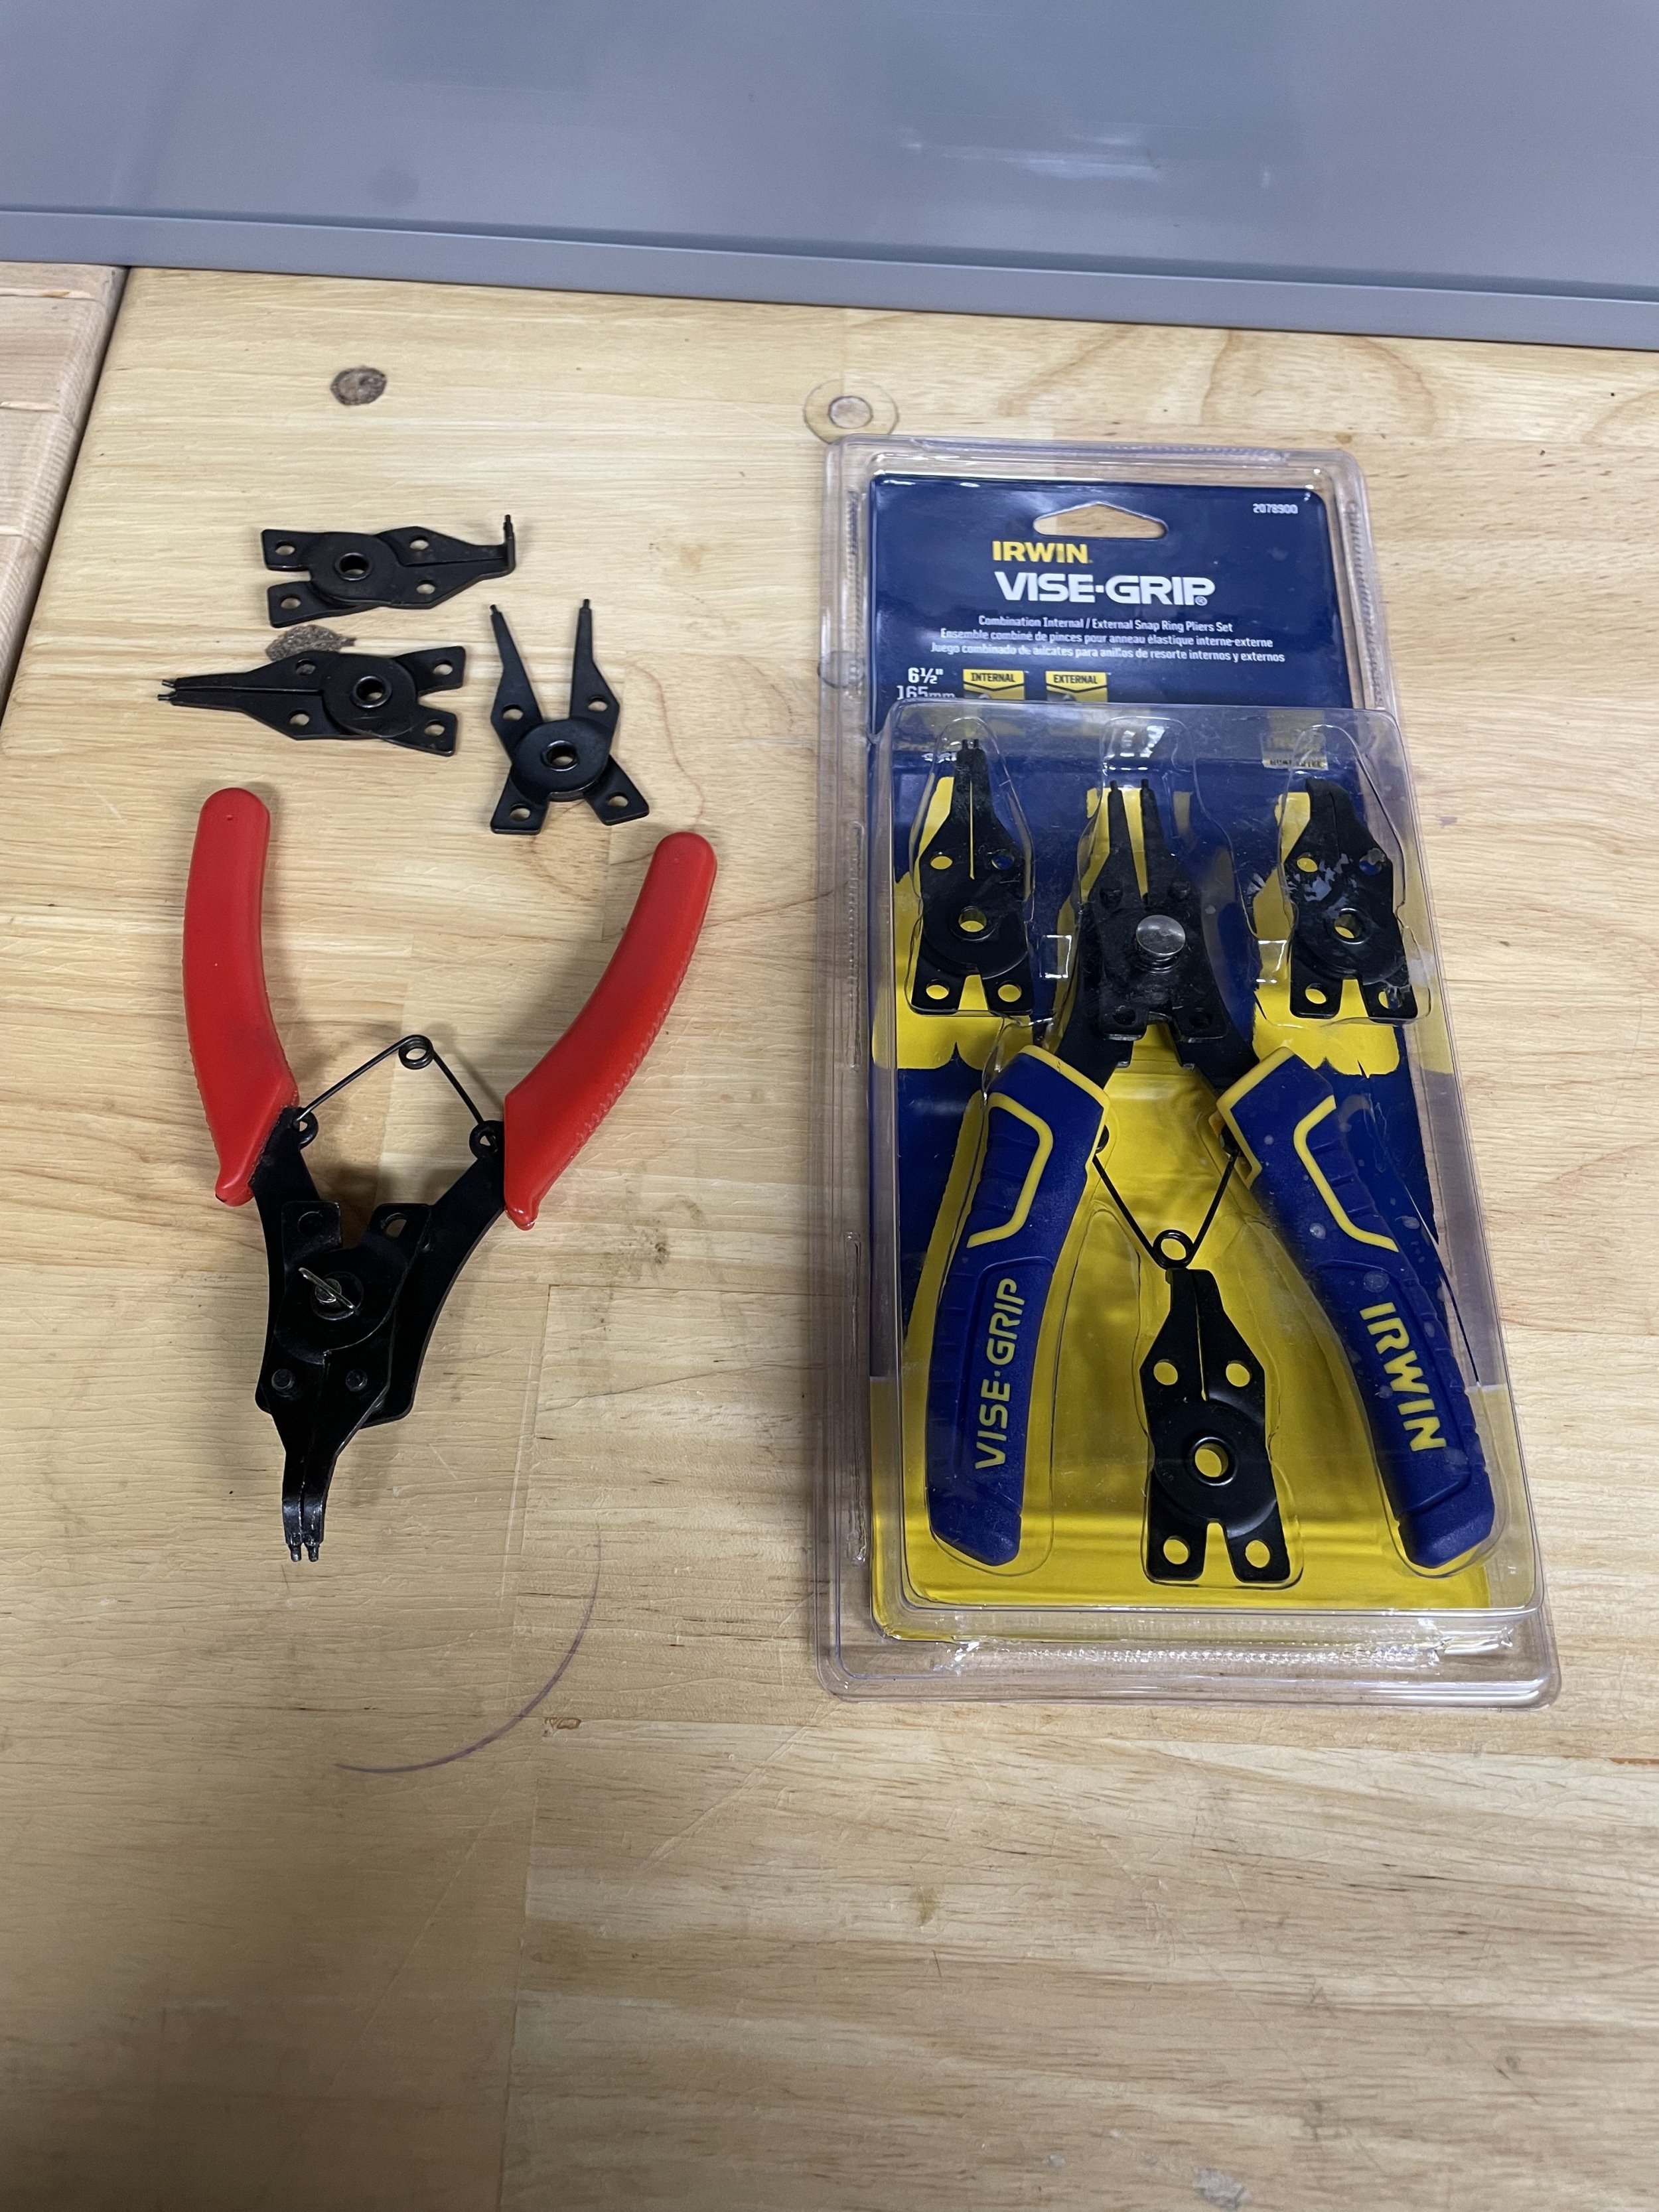
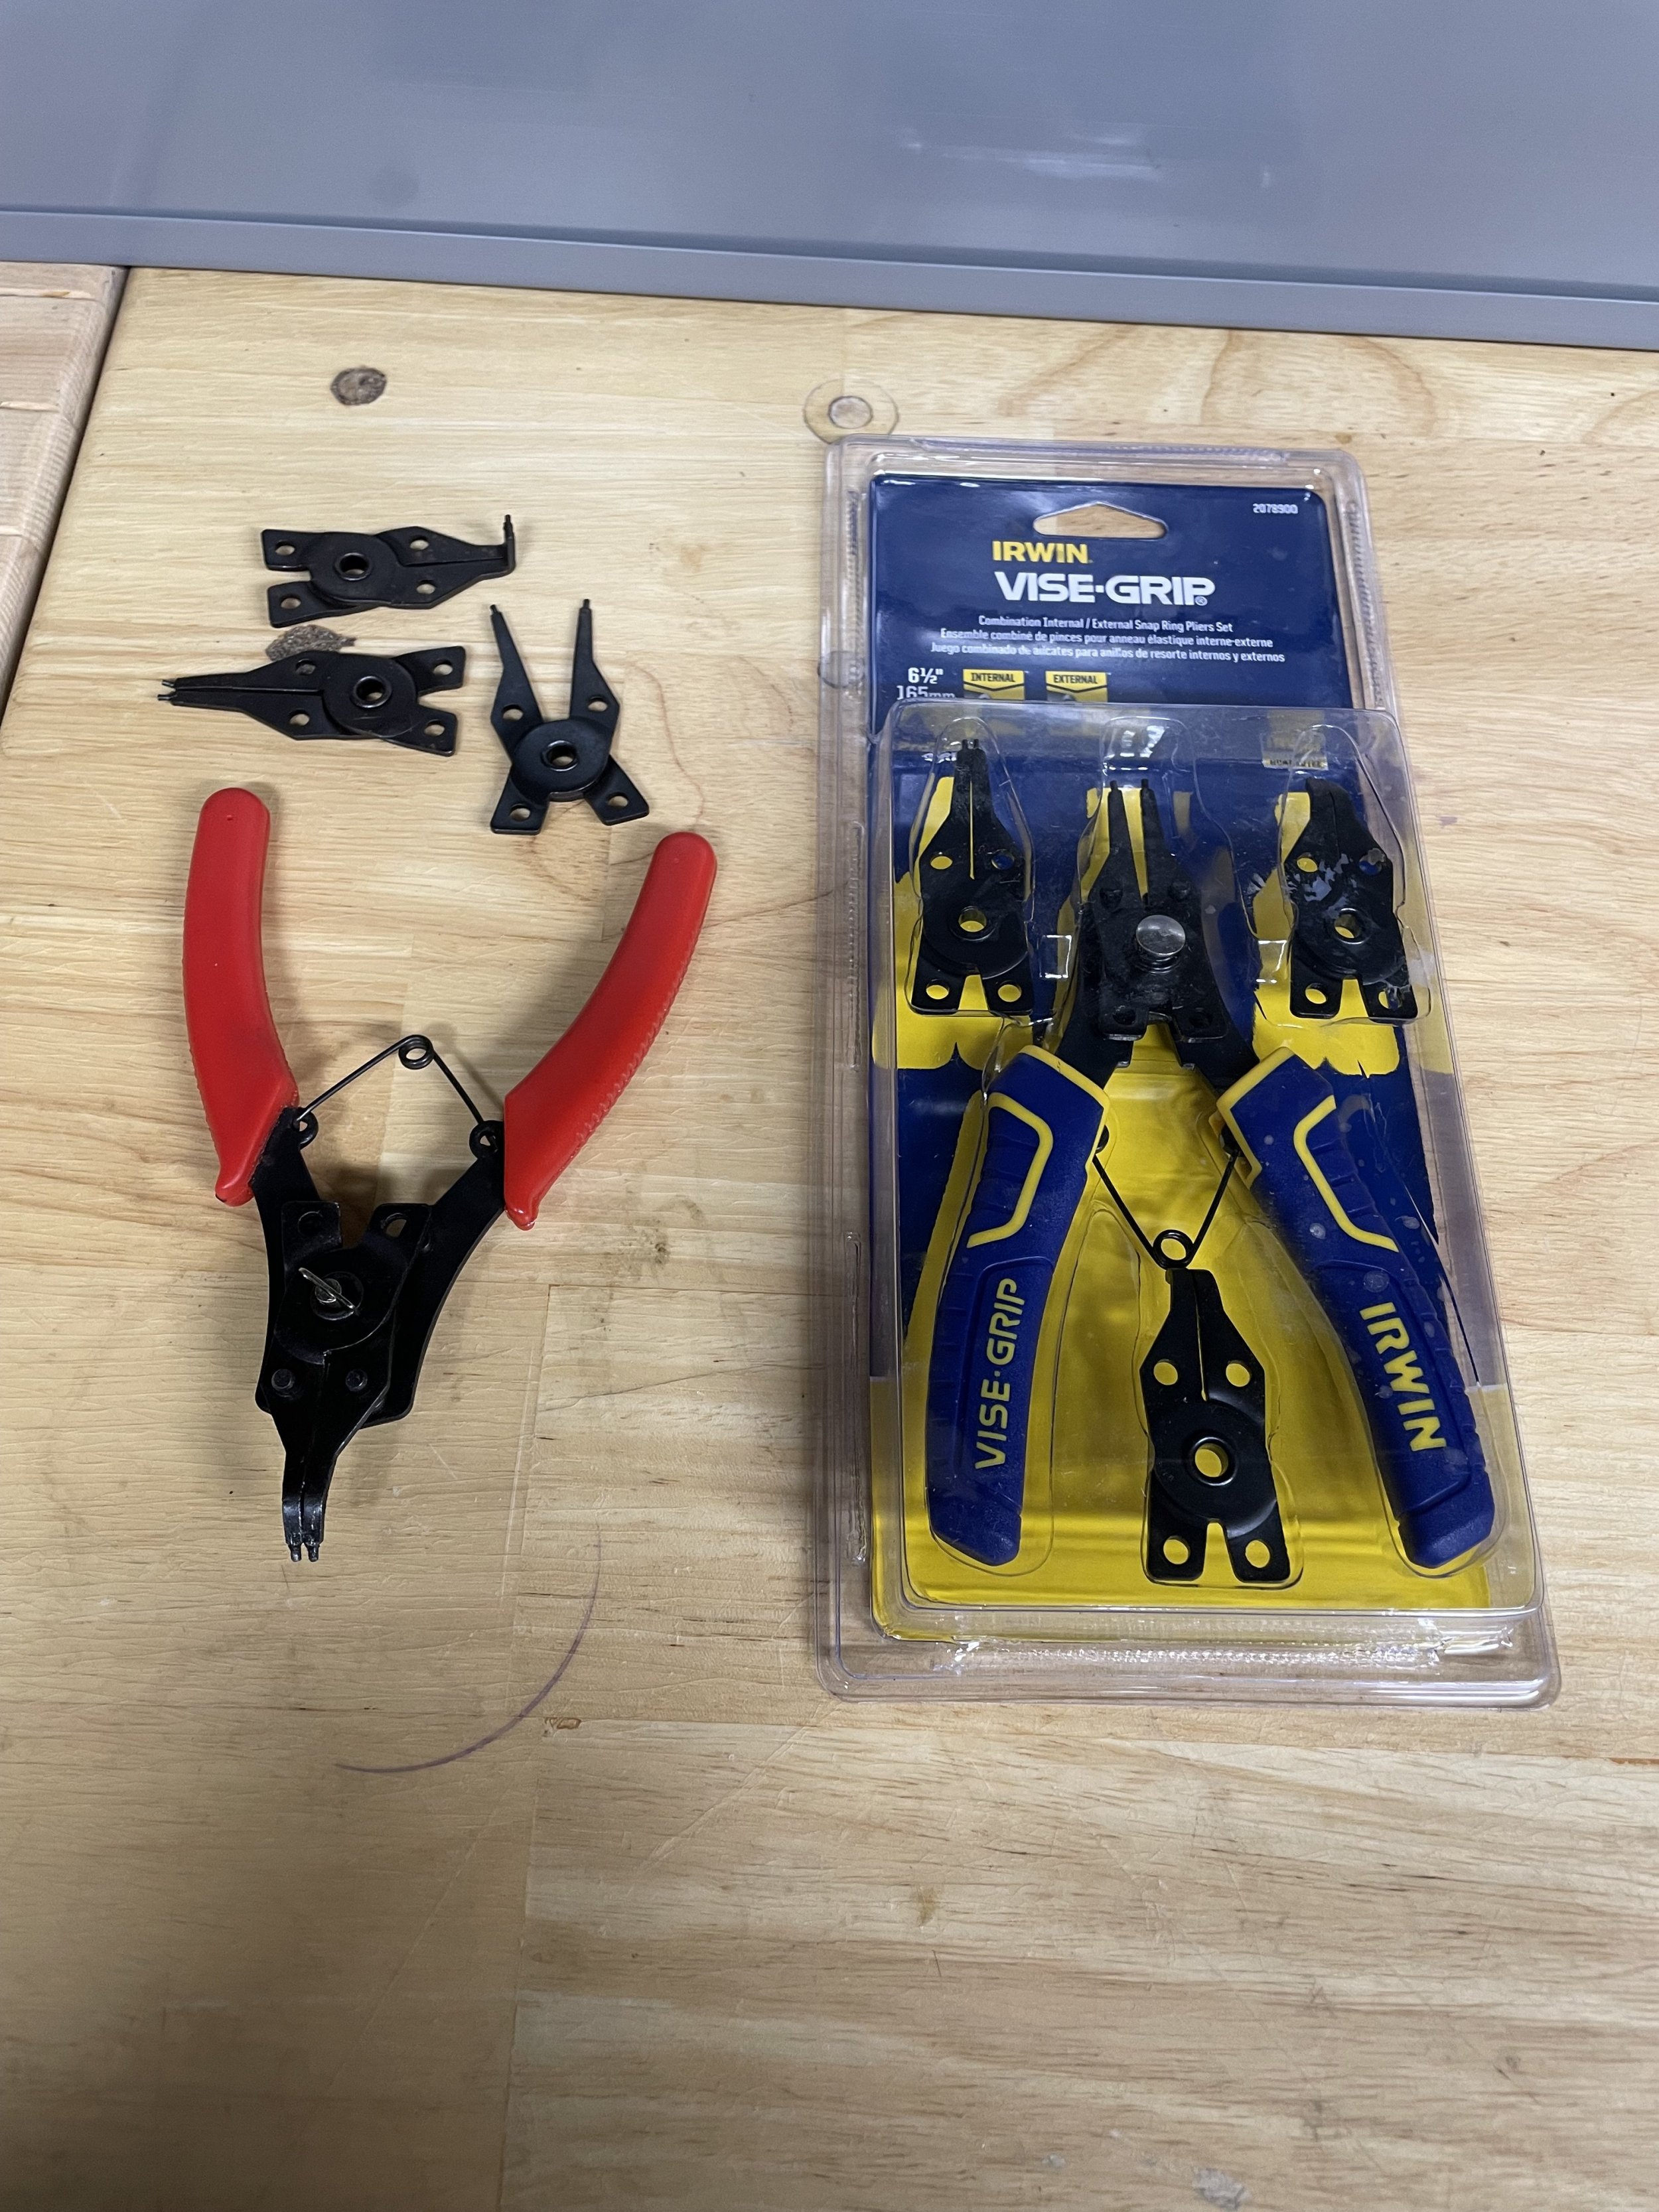
I modified my old cir-clip pliers that are typically used for most cir-clips. I simply grounded down the rounded tips to create square tips. No further modification was required.
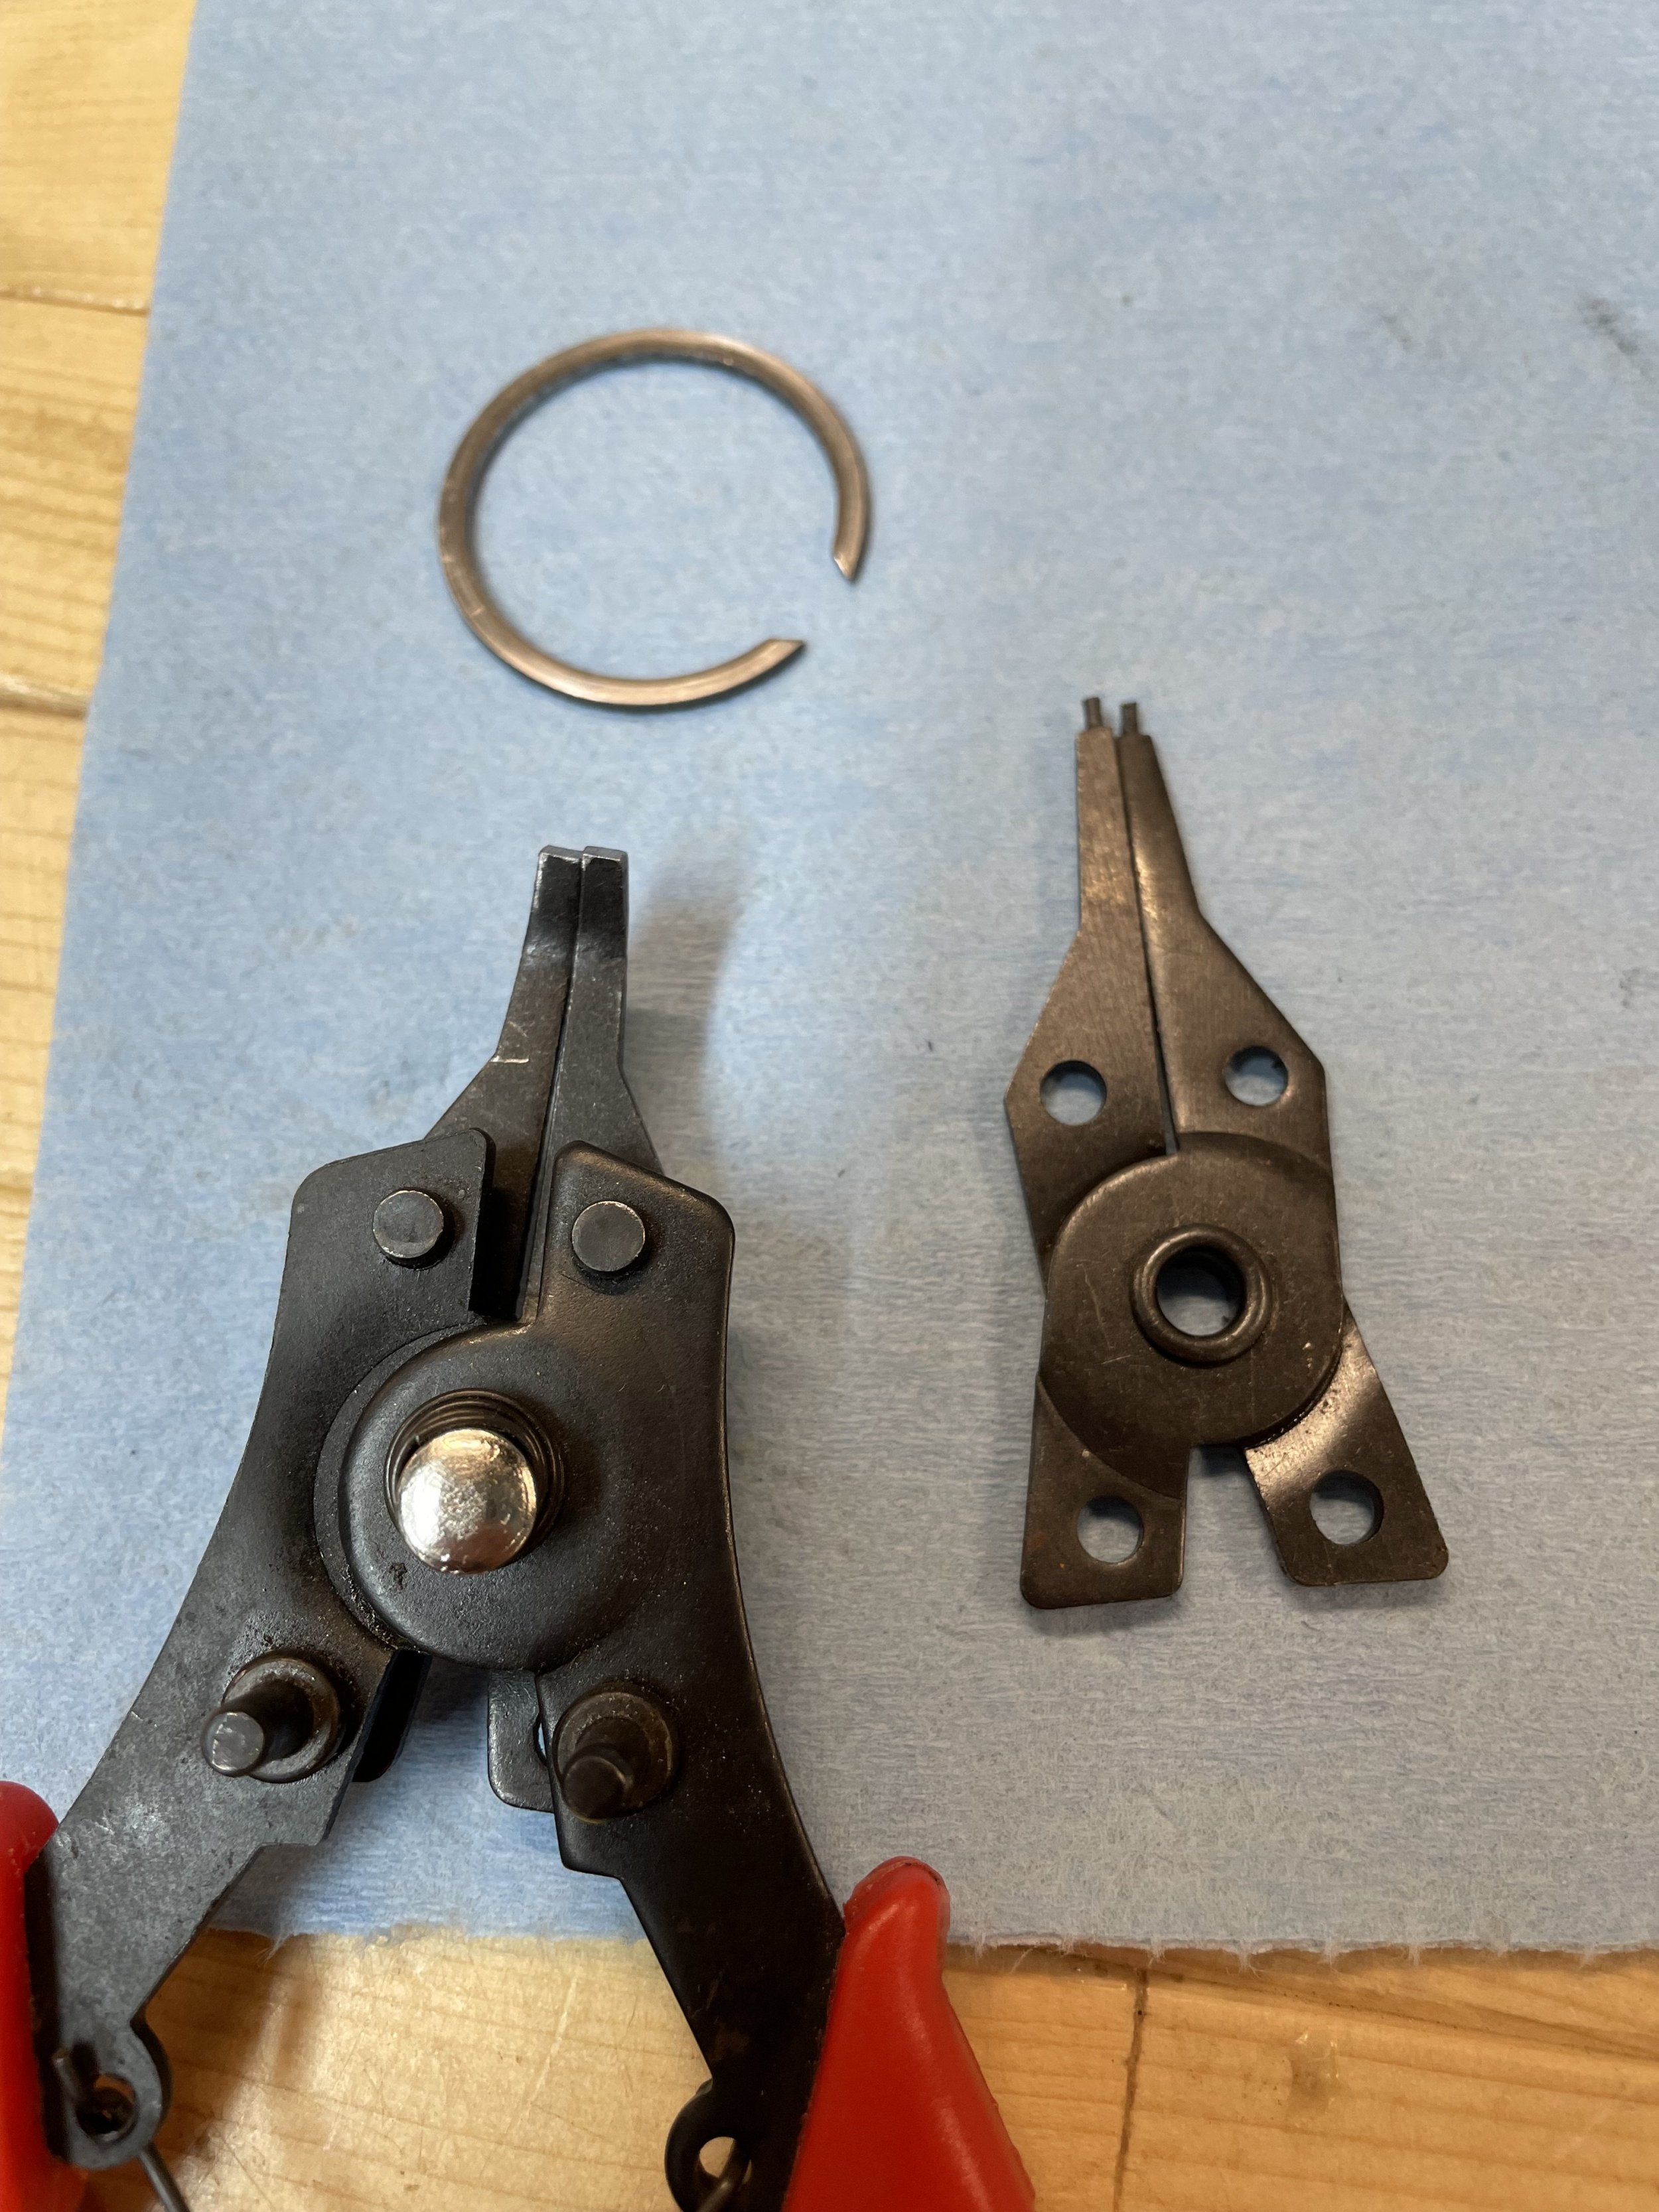
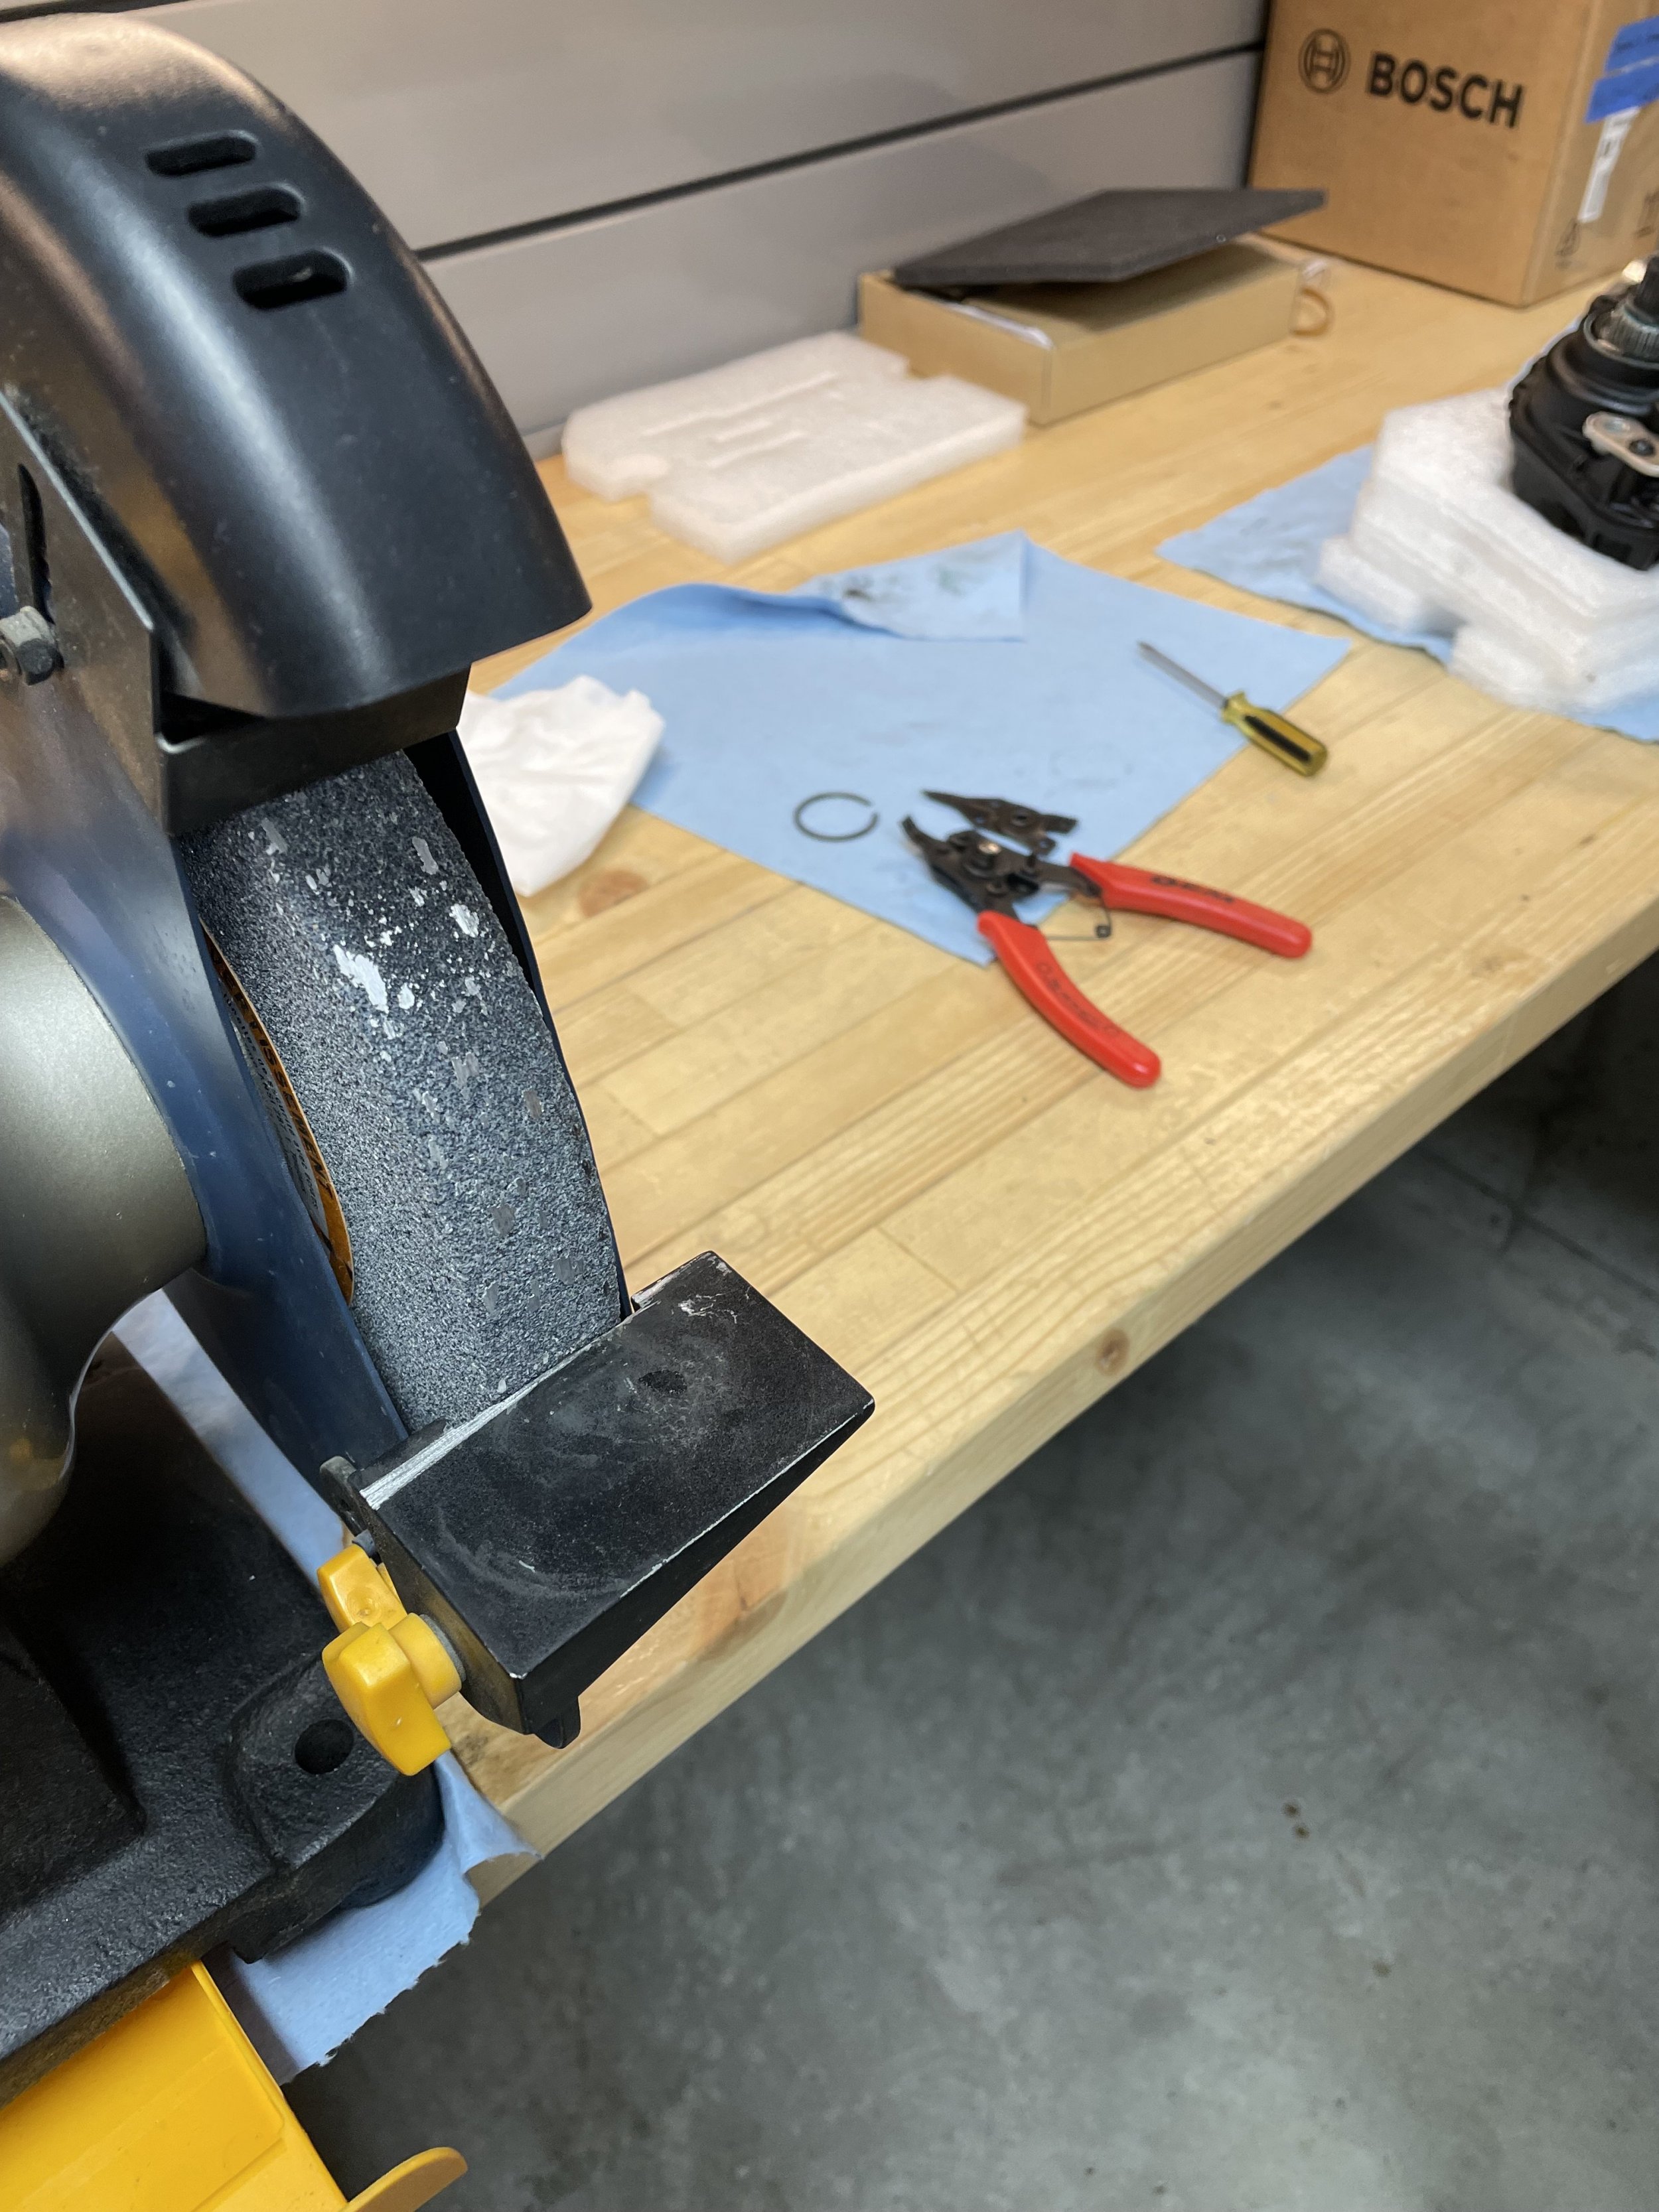
The tip of the tool now fitted perfectly into the channel and between the pointy ends of this special cir-clip. I then expanded the cir-clip and easily removed it without touching the crank threads. There is enough friction, and or stiction, that the tool grabs the cir-clip easily for removal or installation.

I modified my old cir-clip pliers that are typically used for most cir-clips. I simply grounded down the rounded tips to create square tips. No further modification was required.


The tip of the tool now fitted perfectly into the channel and between the pointy ends of this special cir-clip. I then expanded the cir-clip and easily removed it without touching the crank threads. There is enough friction, and or stiction, that the tool grabs the cir-clip easily for removal or installation.
Good job, and 10 x cheaper than our Snap-On onesWell…that was easy.
I modified my old cir-clip pliers that are typically used for most cir-clips. I simply grounded down the rounded tips to create square tips. No further modification was required.
View attachment 127178
View attachment 127179
The tip of the tool now fitted perfectly into the channel and between the pointy ends of this special cir-clip. I then expanded the cir-clip and easily removed it without touching the crank threads. There is enough friction, and or stiction, that the tool grabs the cir-clip easily for removal or installation.

Good eye, and thanks. This grinder is rarely used but the/some aluminum has embedded into the coarse grinding wheel. I will definitely “dress” that before next use.Good job, and 10 x cheaper than our Snap-On onesCan't help but mention, I was always taught that aluminium embodied into a grinding wheel is extremely dangerous because it expands faster than the wheel and can also overheat the wheel causing it to shatter! Maybe worth getting a dressing tool

This new and specific tool was cheap, and easy to make, has only one purpose…but wow!.… It’s handy for this purpose.
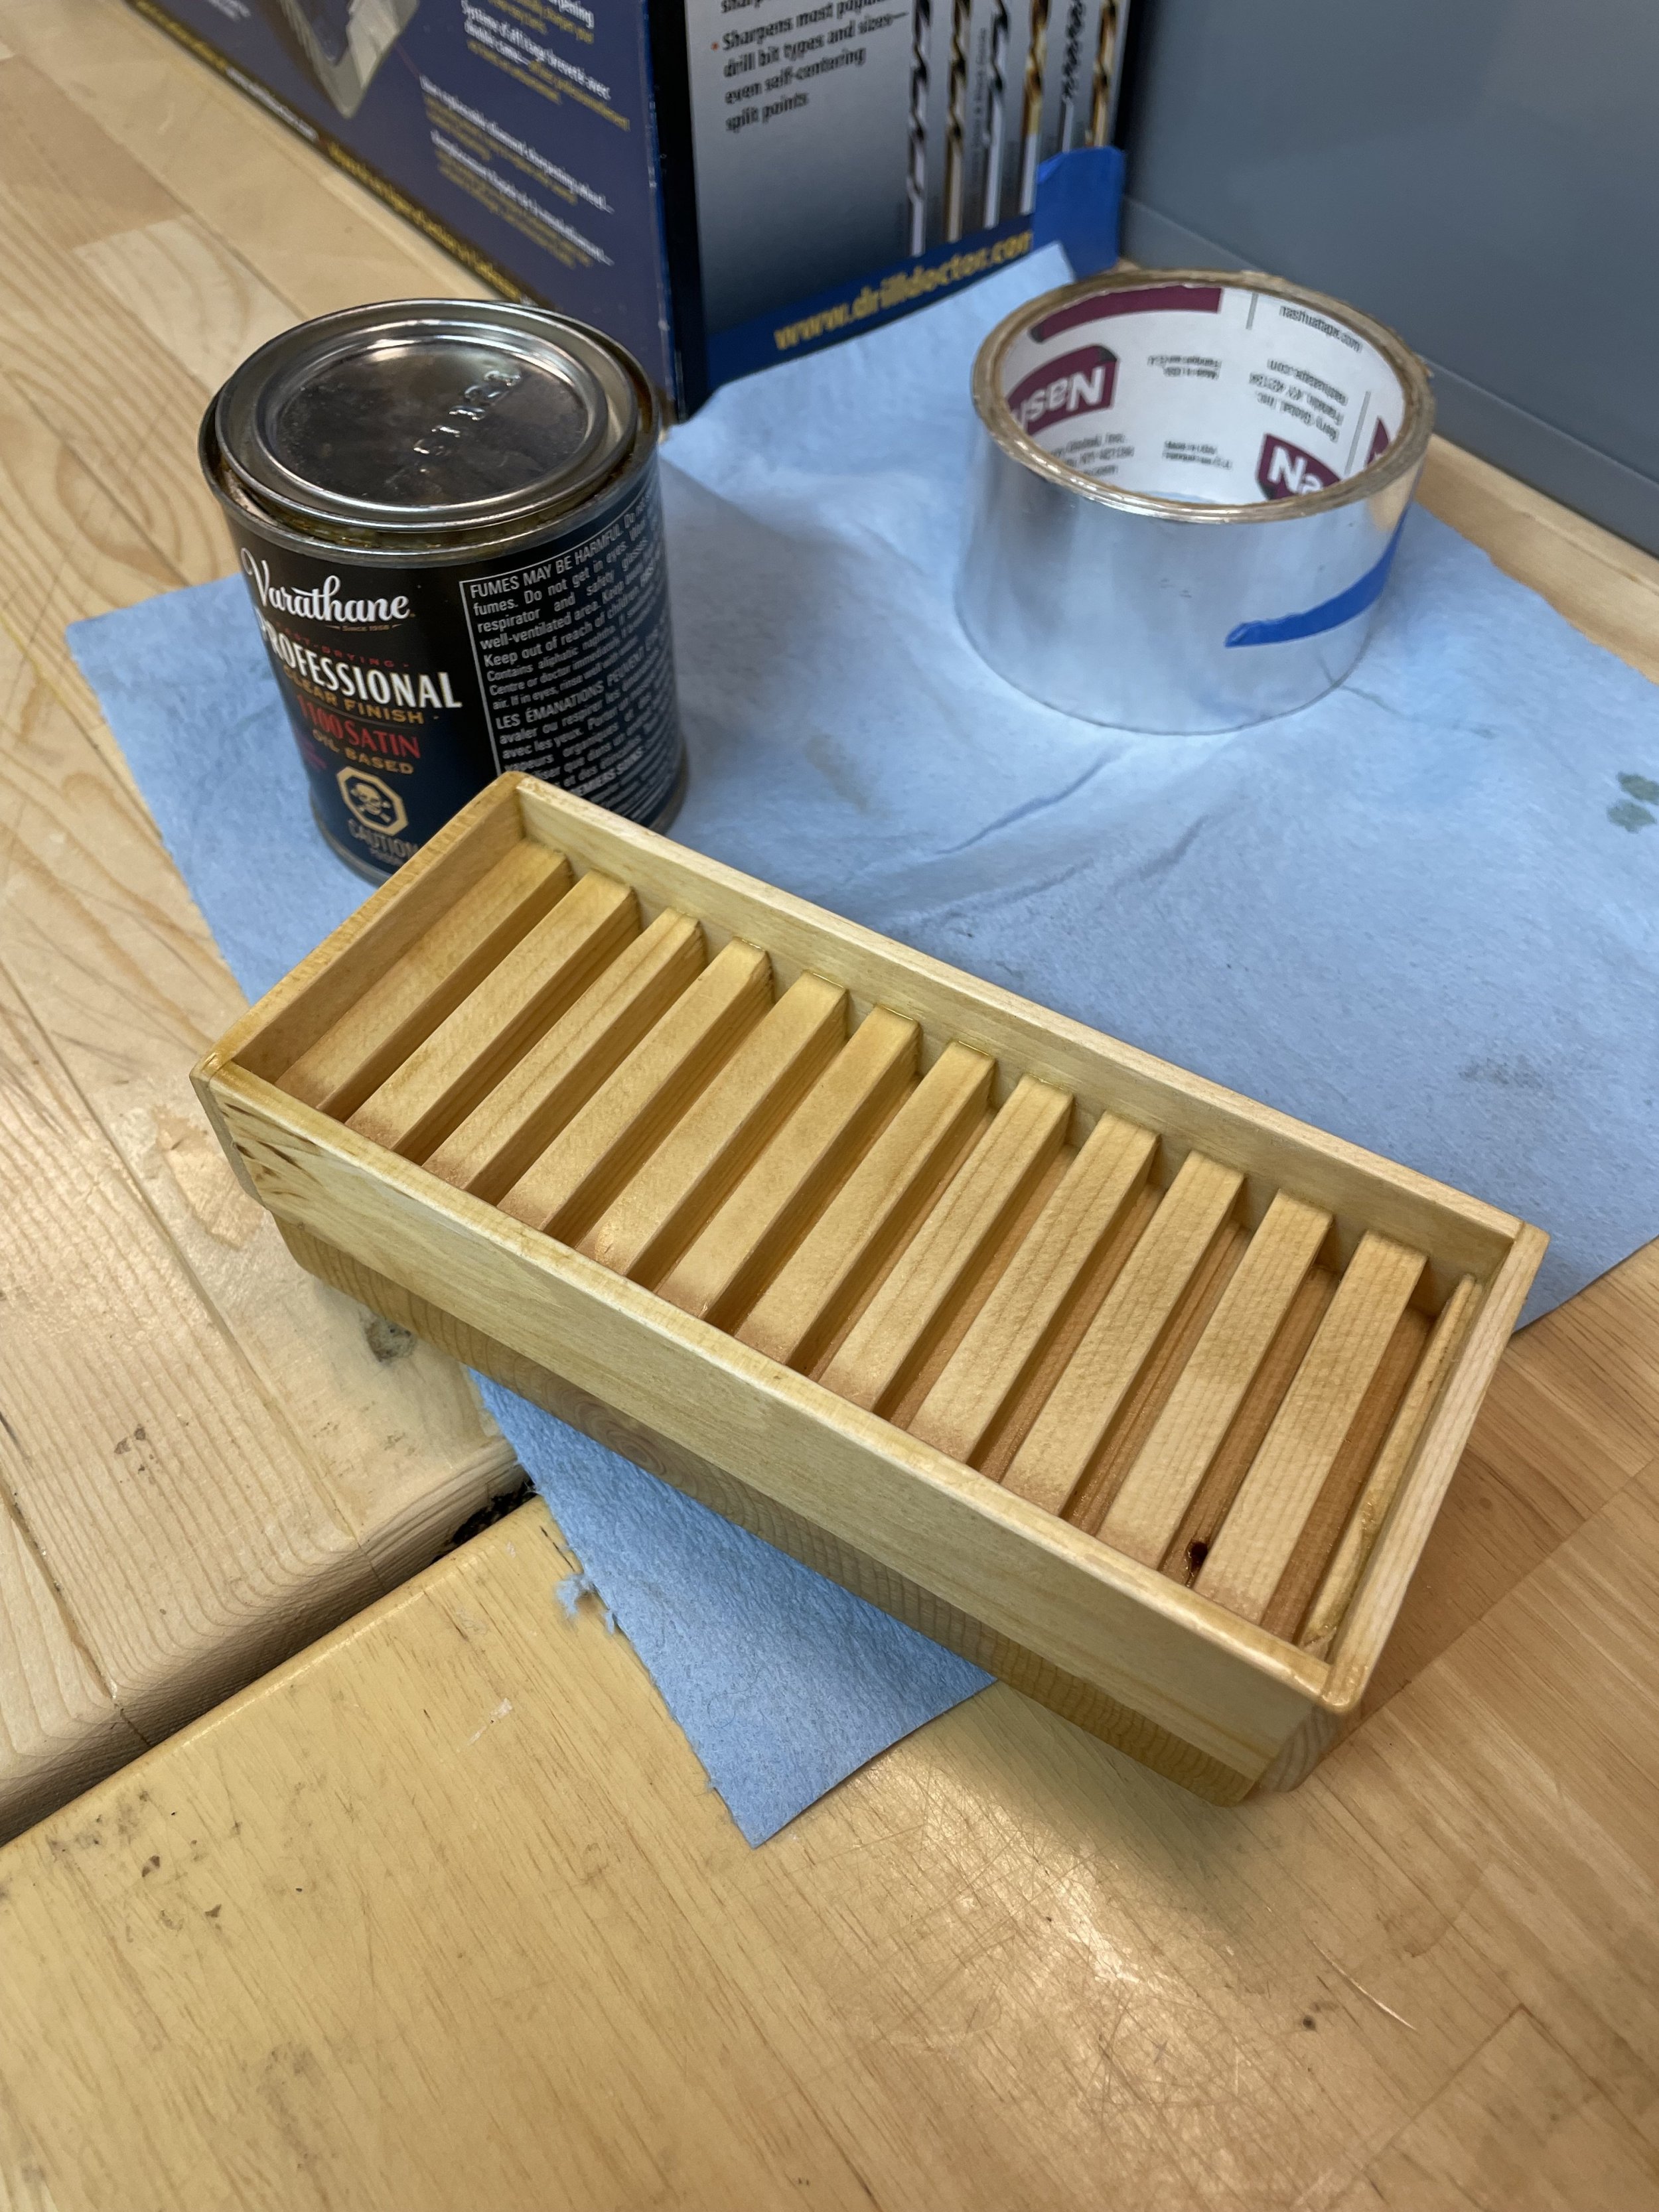
Side note; I’m more of a “wood” guy.
Anyone recognize this thing that I made?
Last edited:
ralfturfsmurf
Member
Gosch gen 4 in Trek rail 7 2023
2 broken bolts on one side. Motor replaced under warranty.


2 broken bolts on one side. Motor replaced under warranty.
TS25 (Torx security 25 with 5 point not six point). Can be replaced with standard T25 or better still TP25's However, the standard ones are quite high tensile machine screws.Gen 4 2021 ,what size or part number them bolts m5 Allan head t25 ?
My is not secure just normal torx plus t25
No idea what would be strong enough or not, we only use the original screws. but looking at them they are:
Flange headed TS25 5 point machine screw M5X0.8X16 Black nitride finish.
If you use a standard type machine screw, find something with a large head to grip the ally mounting bracket and spread the load as well as possible. Don't use washers, use a medium strength Loctite.
Flange headed TS25 5 point machine screw M5X0.8X16 Black nitride finish.
If you use a standard type machine screw, find something with a large head to grip the ally mounting bracket and spread the load as well as possible. Don't use washers, use a medium strength Loctite.
Similar threads
EMTB Forums
Since 2018
Join Our Community
The World's largest electric mountain bike community.
- 576K
- Messages
- 29,329
- Members
