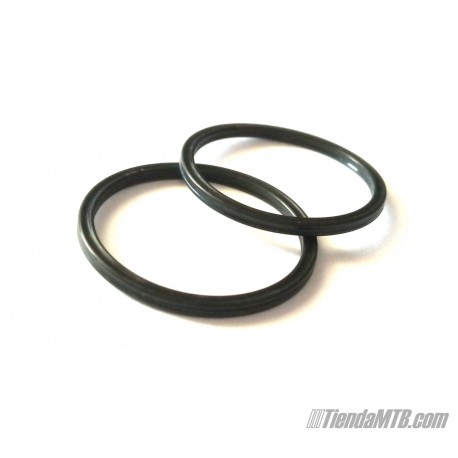
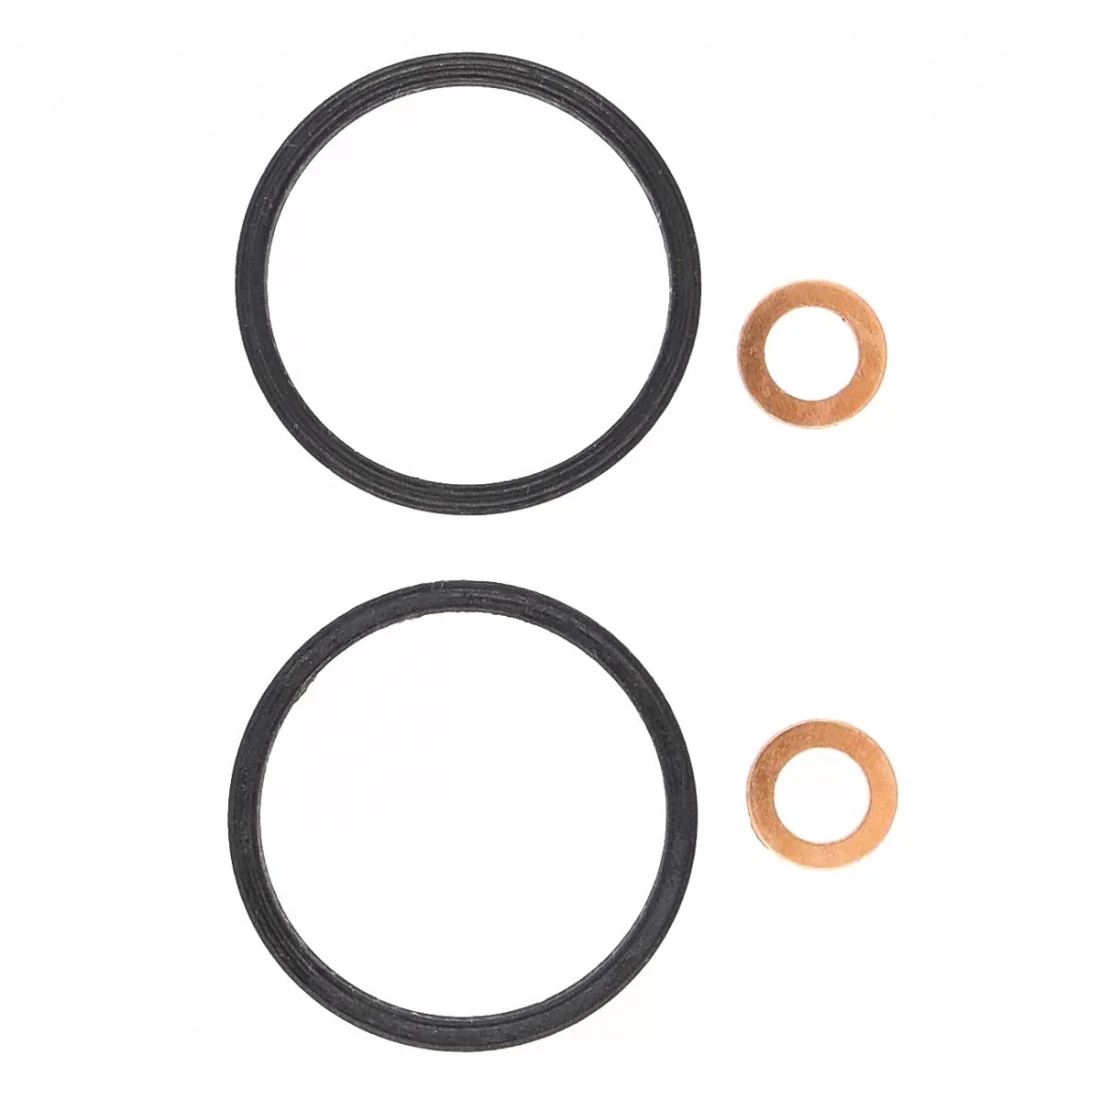
Did a 2 year service on my 2023 Levo Expert. Checking suspension bearings and repacking them. To get to the main chain stay bearings I had to drop the motor, so it got a good cleaning. The motor runs great, but I wanted to address the gaps found on the motor drive crank axles. Its an area that allows water/dust into the bearings and clutches. Instead of shipping it to the motor guys, I figured I give it a go with some DIY exploration. I ordered some various x-rings to see if anything might fit. I found something that works perfect from what I can see. Once the crank arms were torqued, they just touched the seals and the gaps are sealed off. You can see how the drive side fit as I mounted w/o the spider. If you have a new unit still under warranty, these mount on w/o any modification. Put them on, and take them off as needed.
.jpg")
.jpg")
.jpg")
.jpg")
.jpg")
.jpg")
.jpg")
.jpg")
.jpg")